About
Cost Guides
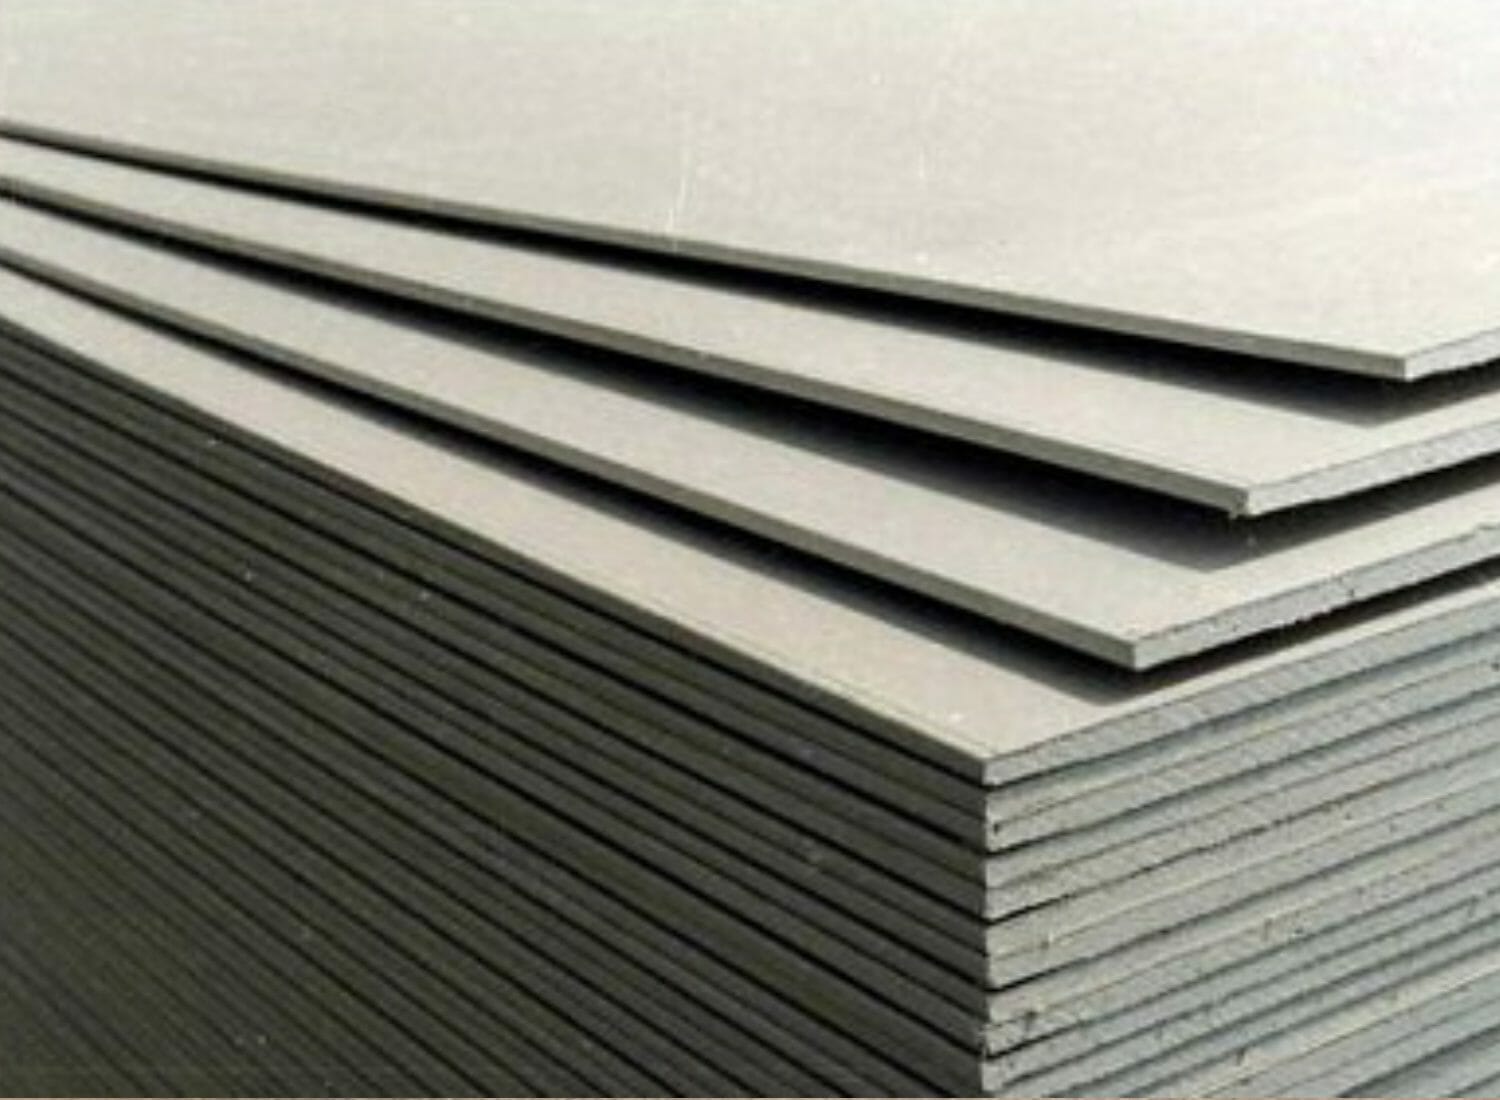
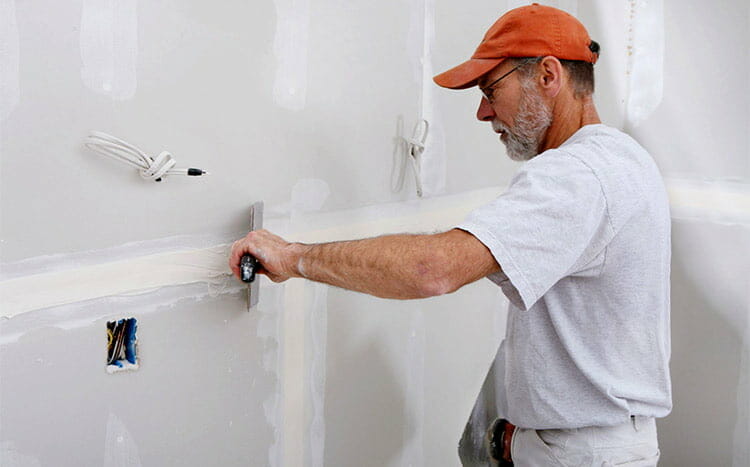
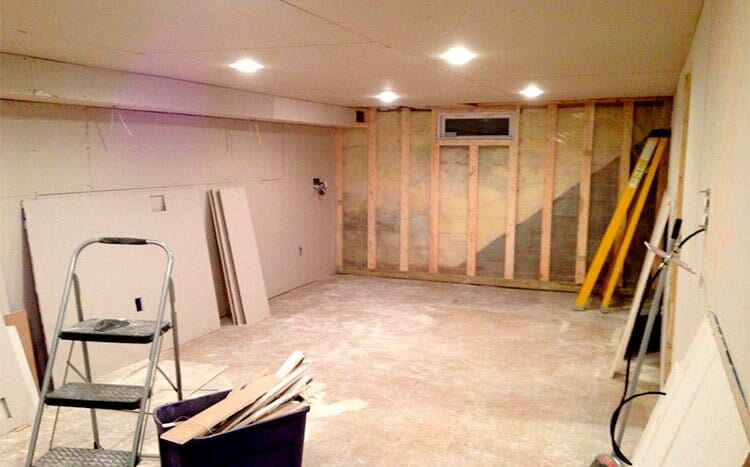
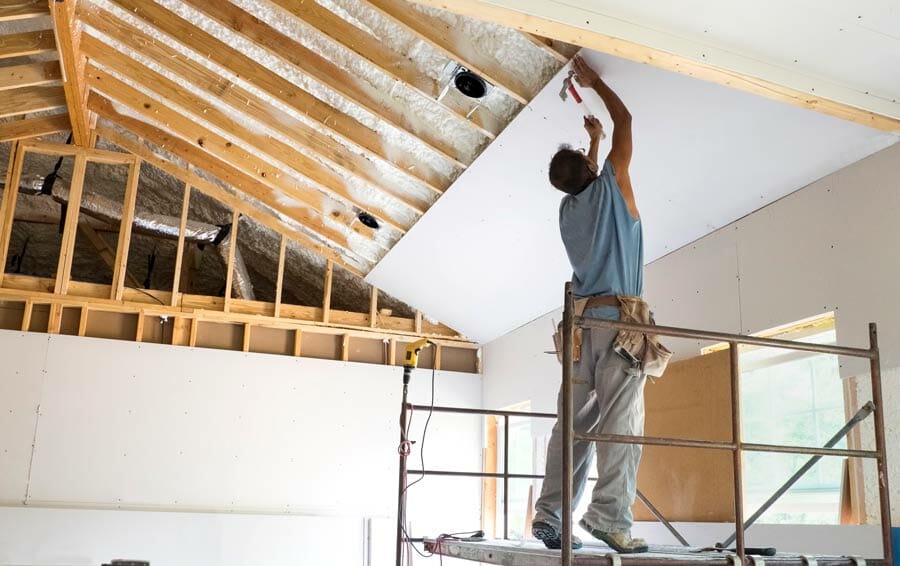
Drywall
Fencing
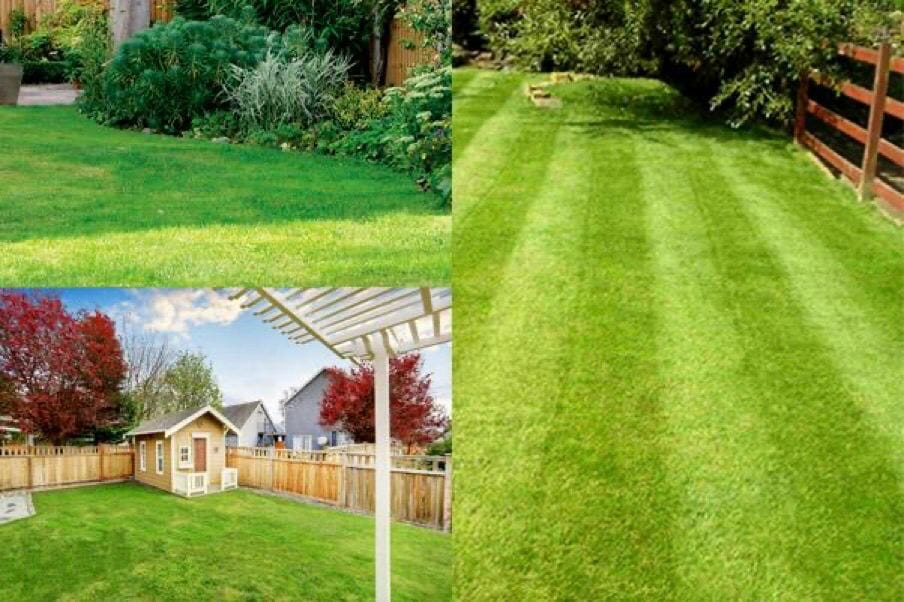
Lawn Care
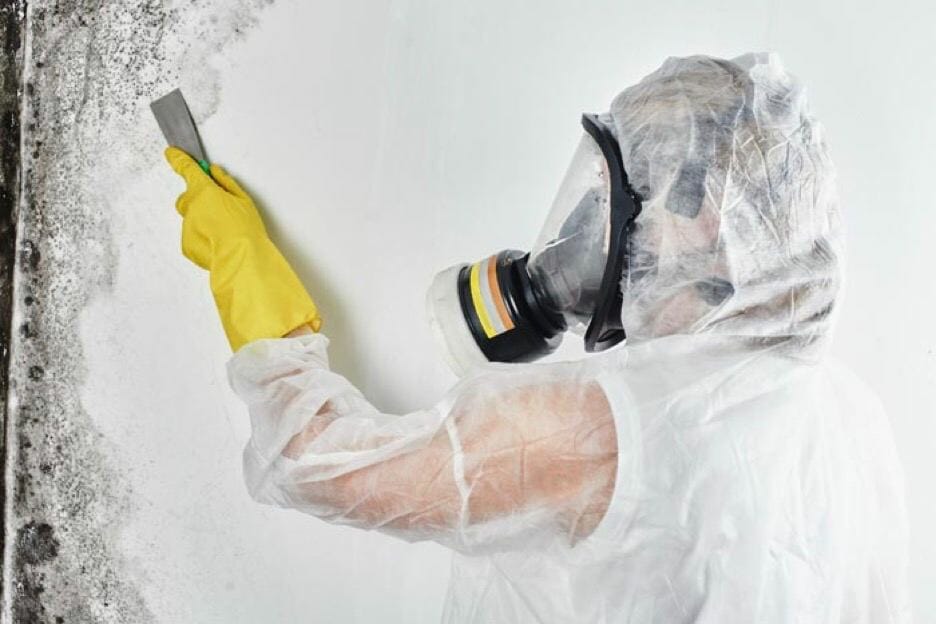
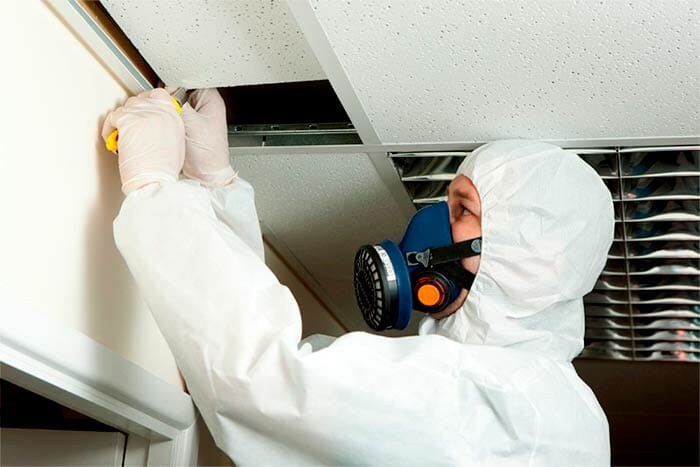
Mold Removal
Regulations
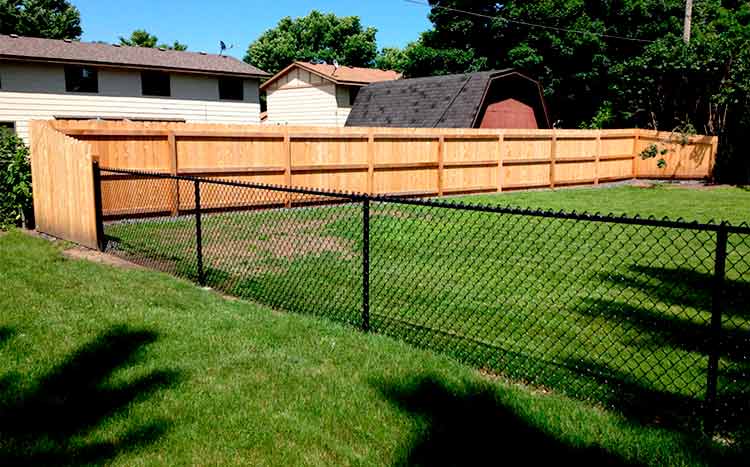
Fencing
Mold
Contact
“so much cheaper”
“fast turn-around”
“excellent free service”
Find out how much your home garden project will cost
Fast, East, Free - 1 Form, 2 Minutes, 3 Free Estimates
Fencing
Drywall
Fence Laws
Mold
Lawn
Search
Lawn
Mold
Fencing
Drywall
Lawn
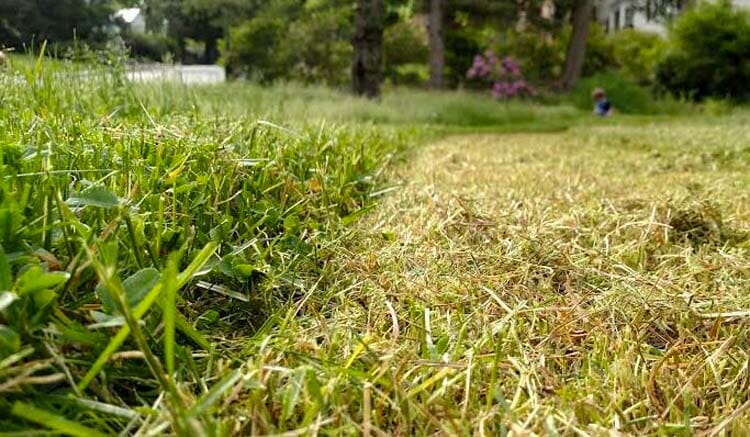
What Happens if You Cut Grass Too Short?
Lawn Services Cost
Avg. price: $50 - $420
Lawn Overseeding Service Near Me
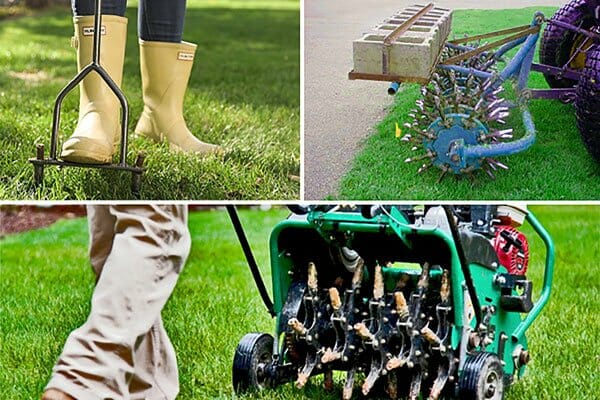
How Often Do You Aerate a Lawn?
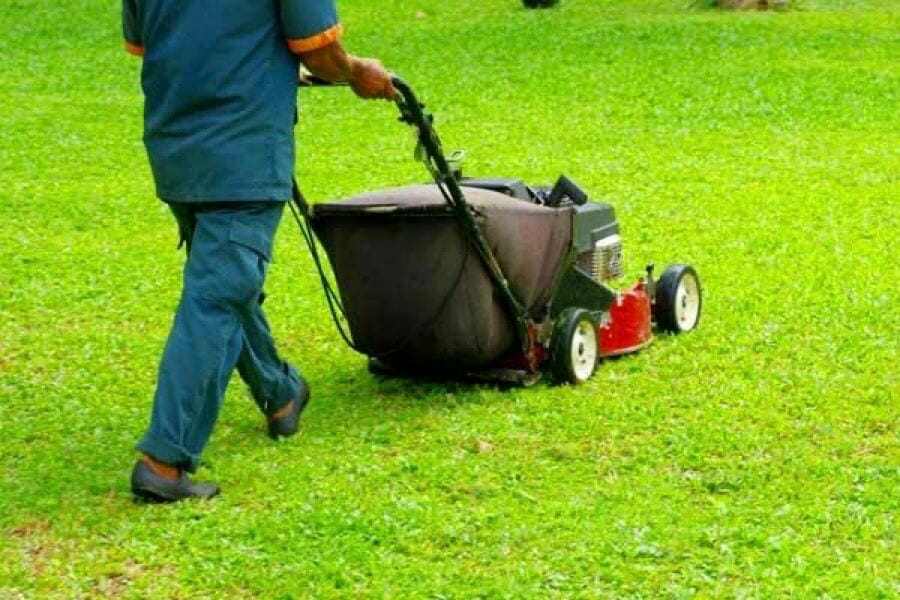
Lawn Mowing Cost
Avg. price: $40 - $522
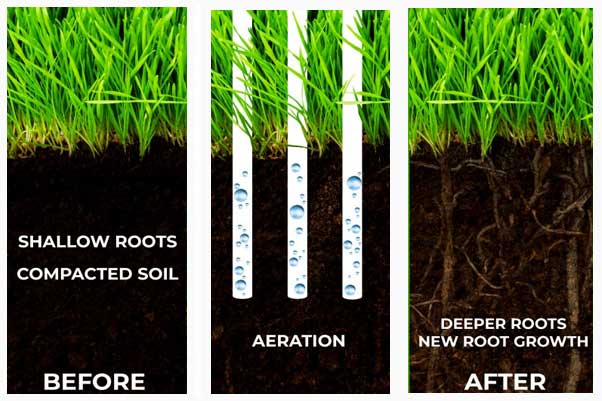
What is Lawn Aeration?
More Lawn guides
Can You Mow Wet Grass?
Dahlias
Chrysanthemum
What is the Best Time of Year to Hydroseed?
Can I Hydroseed My Own Lawn?
How Much Does Lawn Aeration Cost?
How Much Does a Gardener Cost?
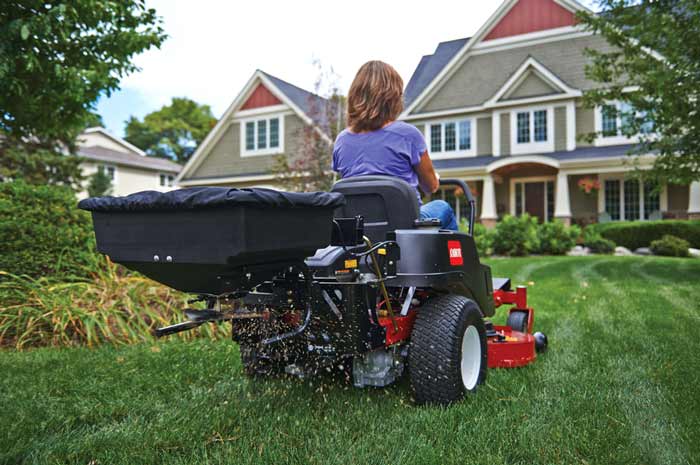
Cost to Reseed or Overseeding a Lawn
How Often Do You Mow the Lawn?
Should I Dethatch Before Overseeding?
What does aeration do for your lawn?
Is Grass a Plant?
Mold
Does a Landlord Have to Disclose Mold?
When is Mold Remediation Required?
Mold Remediation Cost
Avg. price: 871
Mold Testing and Inspection Companies Near Me
Does Mold Remediation Really Work?
Free Mold Inspection & Testing Near Me
More Mold guides
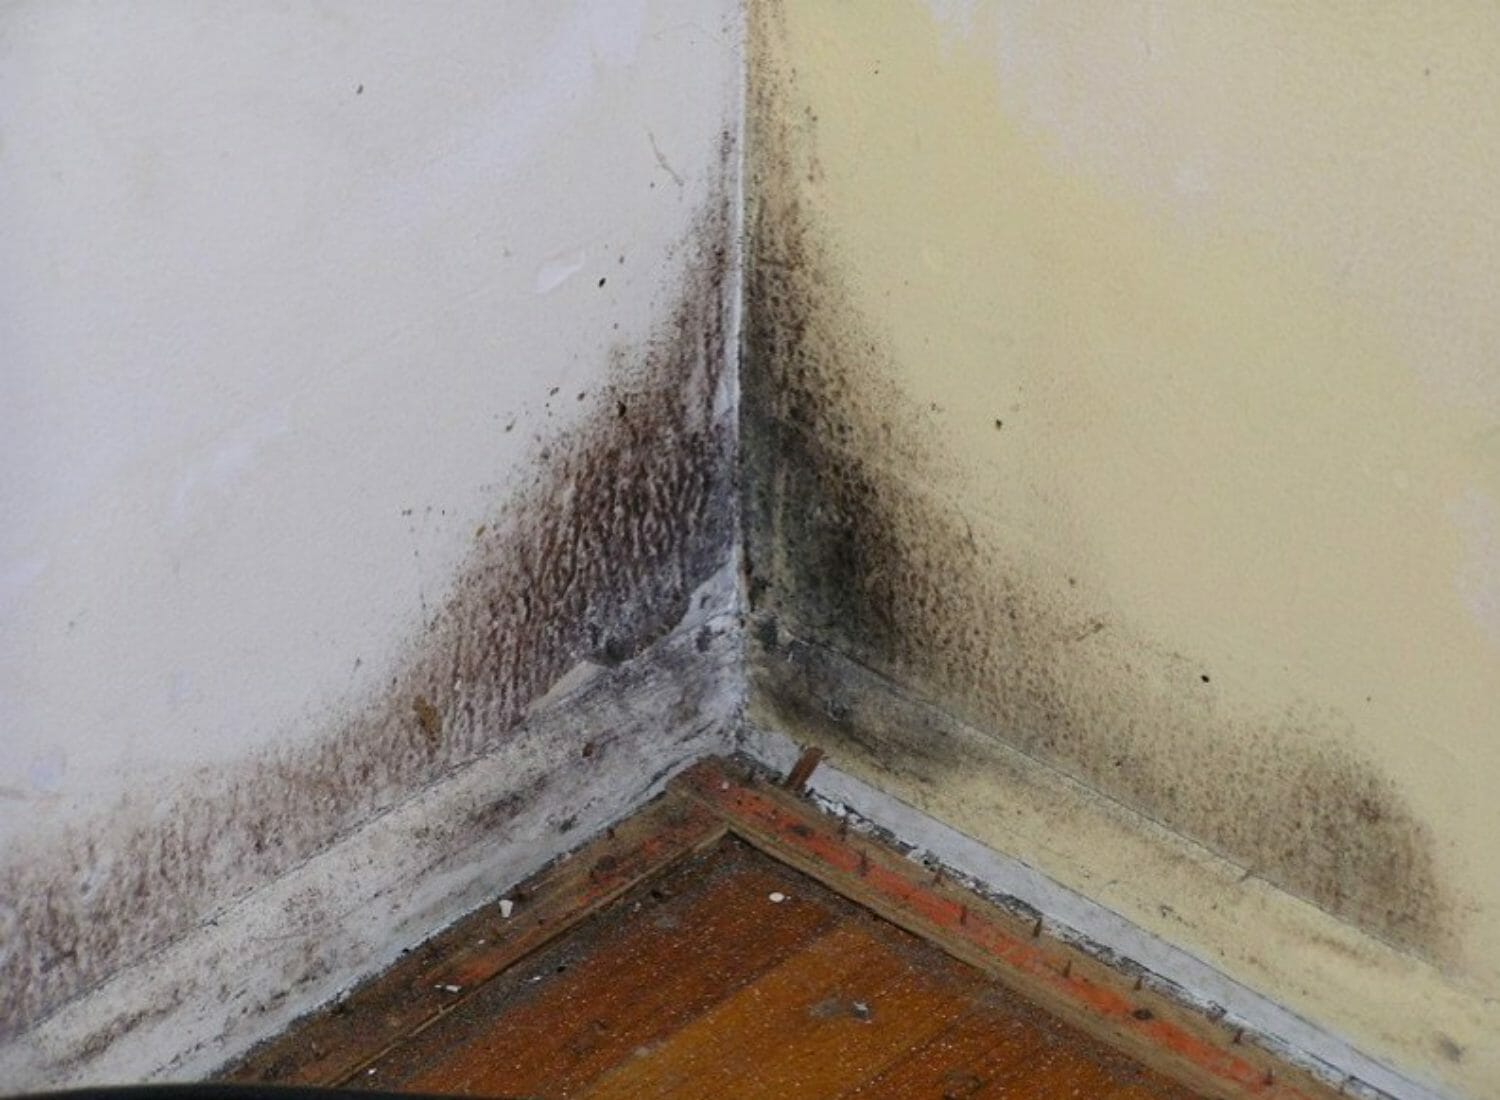
How to Detect Black Mold
Commercial Mold Remediation Near Me
Can You Live in a House During Mold Remediation?
How Many Levels of Mold Remediation are There?
Should I Get a Free Mold Inspection?
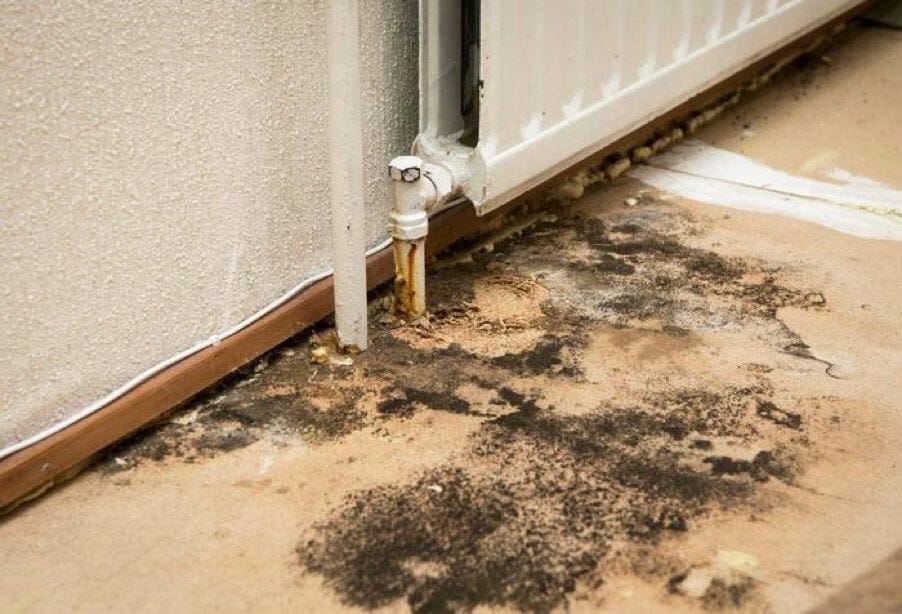
Is Mold in the Basement Dangerous?
Can Mold in Basement Affect Upstairs?
What level of Mold is Dangerous?
Can I Paint Over Mold?
Can a House with Mold be Sold?
Cleaning Up Mold Yourself
How Much Does Basement Mold Removal Cost?
Fencing
Chain Link vs. Wooden Fences
Can a Neighbor Remove a Fence
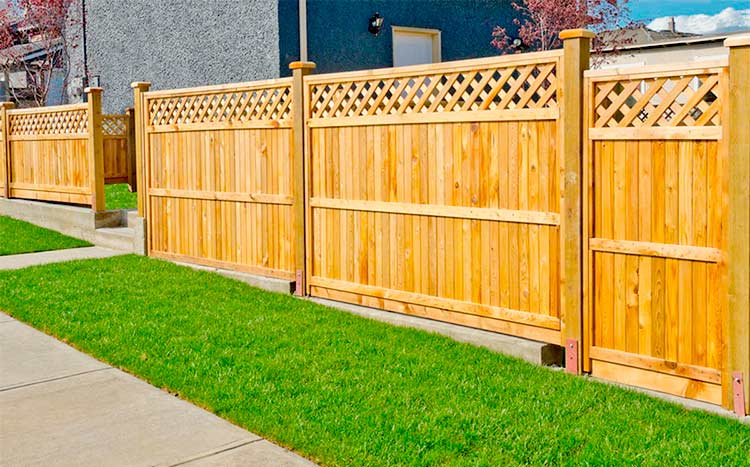
Wooden Fence Cost
Avg. price: $1,700 - $4,000
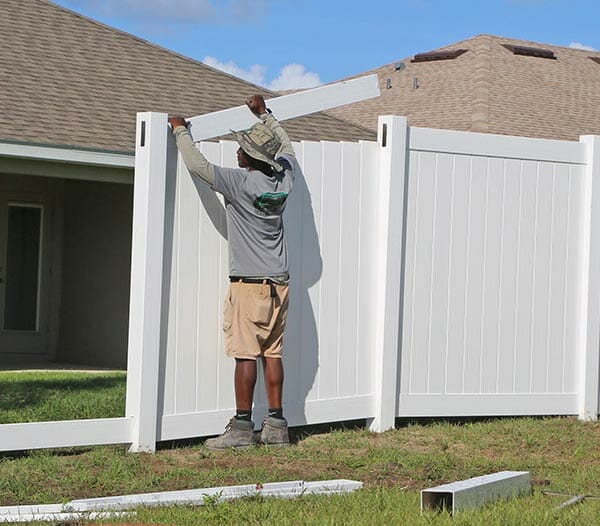
Vinyl Fencing Company Near Me
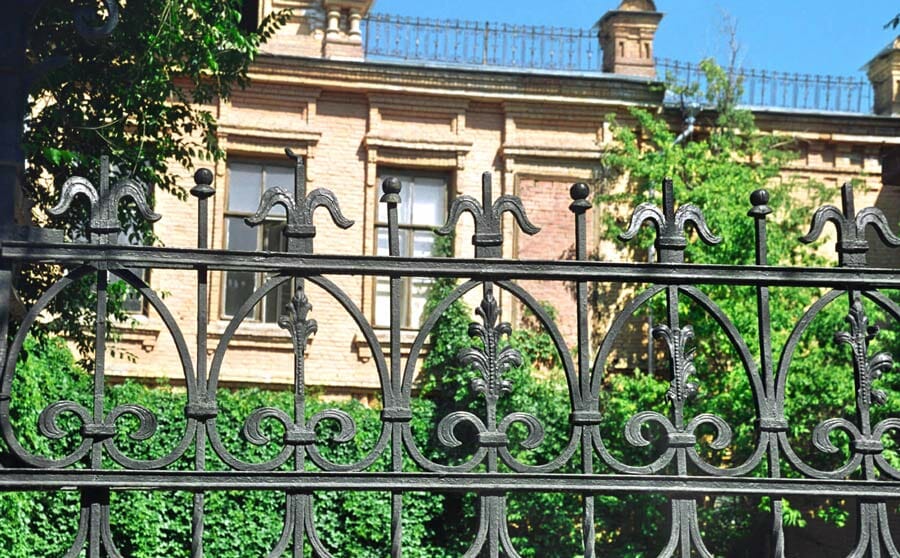
Wrought Iron Fencing Cost
Avg. price: $3,500 - $5,000
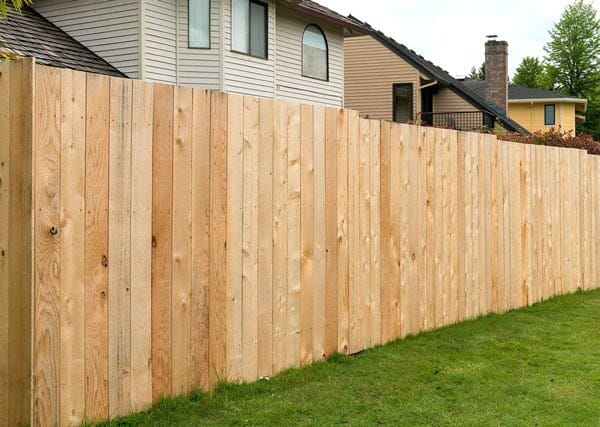
What is the Best Wood for Fencing?
More Fencing guides
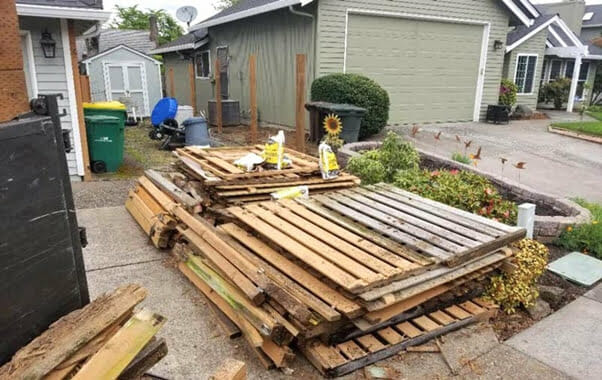
Fence Repair
How Tall Can a Fence Be?
What happens if the Neighbour refuses to pay for a fence?
Do I need a permit to replace a fence?
How close to the property line can I build a fence?
Fence Laws
Who gets the good side of the fence?
Privacy Fence Height Limit
Who pays for a fence between neighbors?
Stockade Fencing Cost
Do I need a Fence Permit?
Do I need a permit to build a fence?
Drywall
When Was Drywall Invented?
Is it Ok to Drywall Over Drywall?
Drywall Contractor Near Me
12 Drywall alternatives
Cost to Drywall a Basement
Avg. price: $3,000 - $30,000.
What’s the best thickness drywall for walls and ceiling?
More Drywall guides
How To Fix Drywall Tape Bubble
Bathroom Drywall: Which is best?
Cost to Drywall a Garage
What’s the Difference Between Sheetrock and Drywall?
Can You Put Drywall Over Paneling?
Cost to Finish Drywall
Fire Resistant Drywall
Difference Between Drywall and Plaster
Cost to Tape Drywall Joints
Can Wet Drywall be Saved?
Drywall Installation Cost
Is It Better to Repair or Replace Drywall?
Find out how much your job will cost
Get My 3 Estimates