Drywall tape bubbling can arise from various reasons such as incorrect application, moisture exposure, or the wall’s inherent aging process. While it might initially seem like a small cosmetic issue, failing to address a bubble in the drywall tape can lead to serious damage, potentially impacting the structural integrity of the wall.
Fortunately, fixing a drywall tape bubble is a relatively straightforward process that can be done with a few tools and materials. First, identify the cause of the bubble and address any underlying issues, such as moisture or improper installation. Once the cause has been addressed, the bubble can be cut open and the loose tape removed.
With the right tools and techniques, fixing a drywall tape bubble can be a simple and cost-effective DIY project for homeowners or renters.
Identifying drywall tape bubbles

Drywall tape bubbles can appear as air pockets, ripples, or lumps in the tape, and they can be unsightly and compromise the integrity of the wall.
To identify drywall tape bubbles inspect the tape carefully since bubbles are often visible as raised areas in the tape, and they may be accompanied by cracks or tears. The bubbles may also be visible as areas of discoloration or unevenness on the surface of the wall.
Understanding the causes
Drywall tape bubbles can be frustrating to deal with, but understanding the causes can help prevent them from occurring in the future. Here are some of the most common causes of drywall tape bubbles:
Moisture
Moisture is one of the leading causes of drywall tape bubbles. When drywall is exposed to moisture, it can weaken the bond between the tape and the wall, causing it to bubble and peel.
This can happen if the drywall is installed in a damp environment or if there is a leak in the wall. To prevent this from happening, it is important to ensure that the drywall is installed in a dry environment and to fix any leaks in the wall as soon as they are detected.
Poor installation
Poor installation is another common cause of drywall tape bubbles. If the drywall is not installed properly, it can cause air pockets to form between the tape and the wall, which can lead to bubbling. This can happen if the drywall is not secured tightly to the wall or if there is an overlap in the tape. To prevent this from happening, it is important to ensure that the drywall is installed correctly and that the tape is applied smoothly and evenly.
Improper installation technique
Improper installation techniques can also cause drywall tape bubbles. If the tape is not applied correctly, it can cause air pockets to form between the tape and the wall, which can lead to bubbling.
This can happen if the tape is not pressed firmly enough onto the wall or if it is not smoothed out properly. To prevent this from happening, it is important to use the proper technique when applying the tape and to ensure that it is pressed firmly onto the wall.
Tools required for fixing drywall tape bubble
When fixing a drywall tape bubble, it is important to have the right tools on hand. Here are some of the tools that are commonly used:
- Putty Knife
- Utility Knife
- Joint Knife
- Drywall Knife
- Sandpaper
Steps for drywall tape bubble repair
Step 1
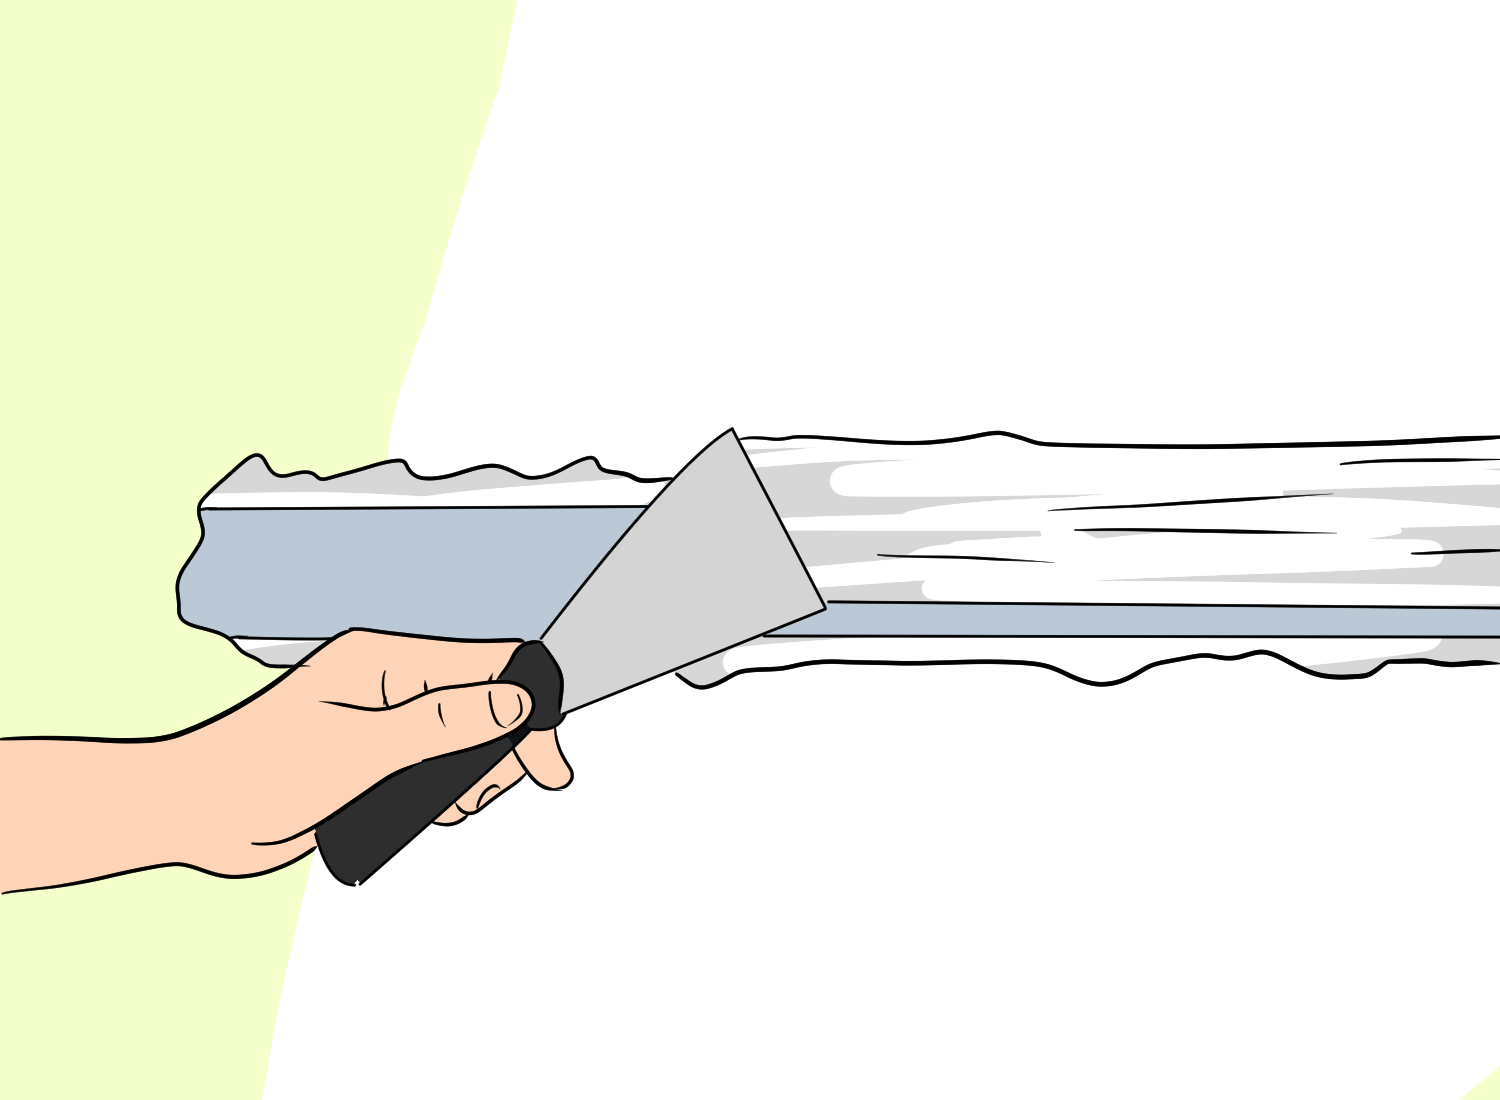
Remove any loose or flaking drywall tape around the bubble. Use a drywall knife to cut away the damaged area and make sure the edges are smooth. This will ensure that the new tape adheres properly to the wall.
Step 2
Now, apply a thin layer of joint compound over the area where the tape bubble was. Make sure to spread it evenly and cover the entire area. Use a putty knife to smooth out any bumps or ridges and feather the edges to blend it with the surrounding wall.
Step 3
Once the joint compound is dry, sand it lightly with fine-grit sandpaper to create a smooth surface. Avoid sanding too hard as it can damage the wall.
Step 4

Before applying the new tape, it is essential to ensure that the surface is clean and free of dust and debris. Use a damp cloth to wipe the area and let it dry completely.
Step 5
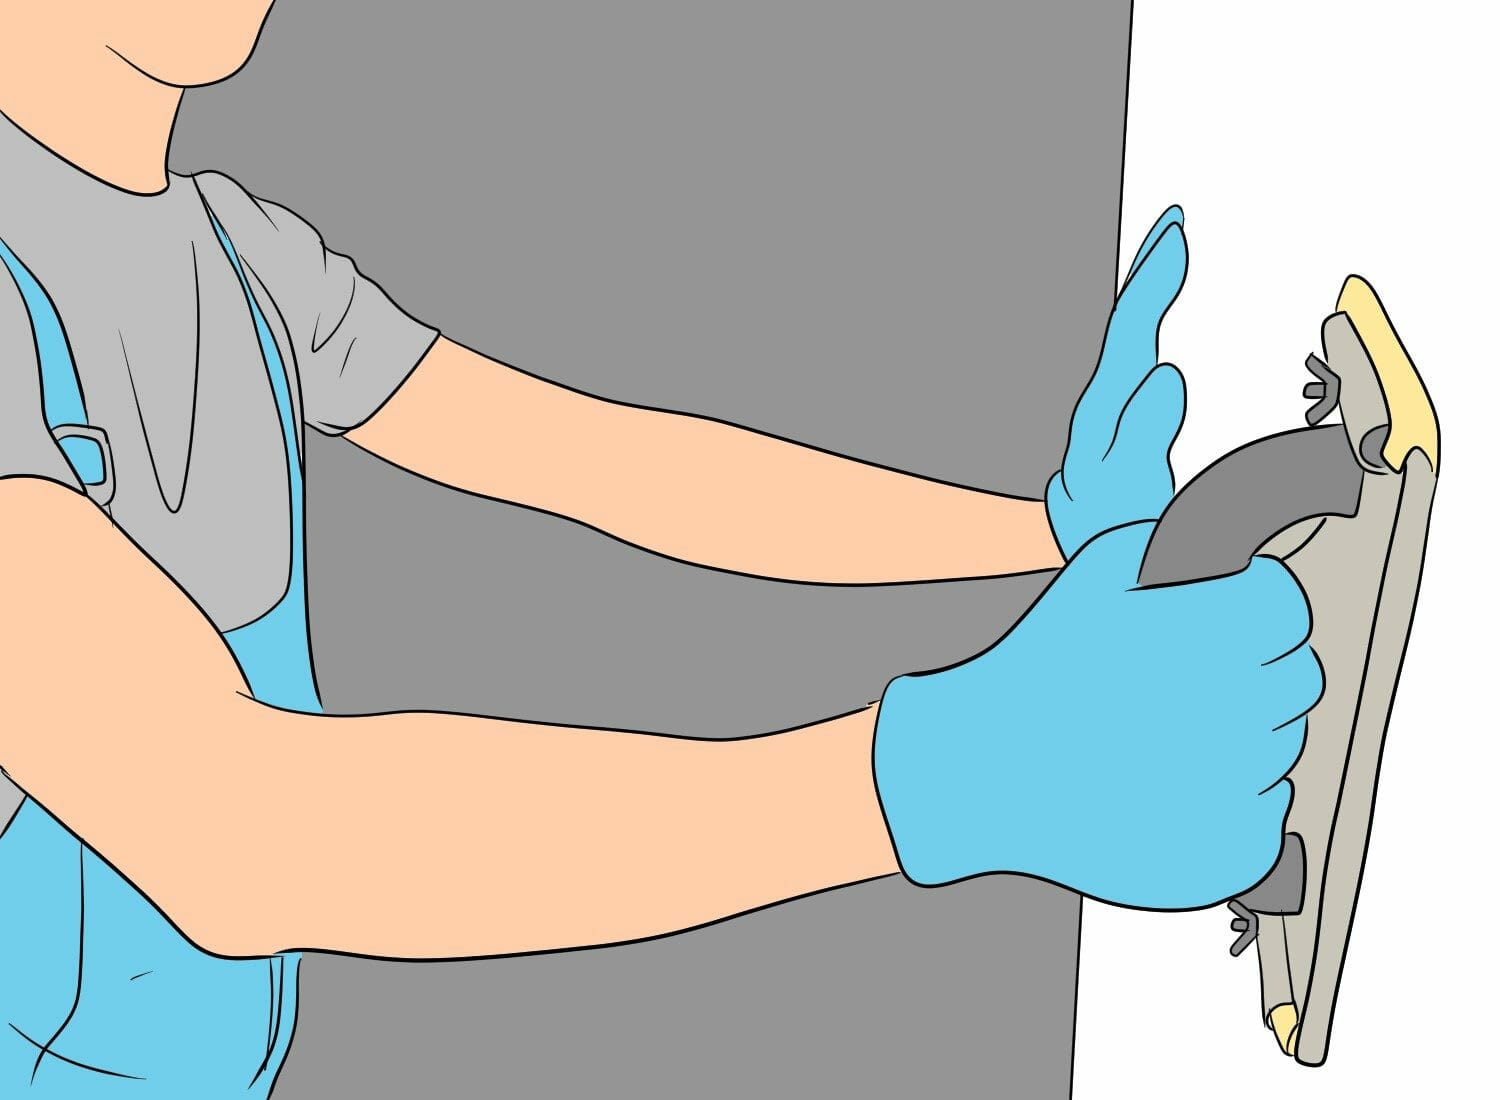
Finally, apply a new piece of drywall tape over the joint compound. Make sure to center it over the repair area and smooth it out with a putty knife. Apply a thin layer of joint compound over the tape, feathering the edges to blend it with the surrounding wall. Let it dry completely before sanding it lightly and apply a second coat of joint compound if necessary.
Removing the damaged tape - steps
Step 1
When fixing a drywall tape bubble, the first step is to remove the damaged tape. This can be done by cutting out the bubble with a utility knife or scissors. It is important to cut only the damaged portion of the tape and not the drywall underneath.
Step 2
Once the damaged tape is removed, the area should be inspected for any loose or damaged drywall. If there is any damage, it should be repaired before applying new tape.
Step 3
Remove any remaining adhesive residue using a putty knife or scraper to gently scrape the area. Be careful not to damage the drywall surface underneath.
Step 4
After the area is clean and dry, a new piece of tape can be applied. It is recommended to use a new piece of drywall tape rather than reusing the old one.
When applying the new piece of tape, it should be centered over the joint and pressed firmly into place. Any excess adhesive should be smoothed out with a putty knife or scraper.
Applying new drywall tape
Applying new drywall tape is often the best solution. The process of applying new tape is relatively simple and can be done by anyone with a bit of DIY experience. Before applying new tape, it is important to choose the right type of tape for the job.
There are several types of drywall tape available, including
- Paper tape
- Joint tape
- Mesh tape
Paper tape is the most common type of tape, but joint tape and mesh tape are often preferred for their added strength.
Prepare the surface
Once the right tape has been chosen, the next step is to prepare the surface. The area where the old tape has been removed should be clean and free of any debris. If there are any rough spots, they should be sanded down to create a smooth surface.
Applying
To apply the new tape, start by applying a thin layer of drywall glue to the surface. This will help to hold the tape in place and prevent it from shifting. Next, carefully lay the tape over the area where the old tape was removed, making sure to smooth out any wrinkles or bubbles.
After the tape has been applied, it is important to let it dry completely before attempting to sand or paint over it. This can take anywhere from a few hours to a full day depending on the type of glue used and the humidity in the room.
Sanding the surface
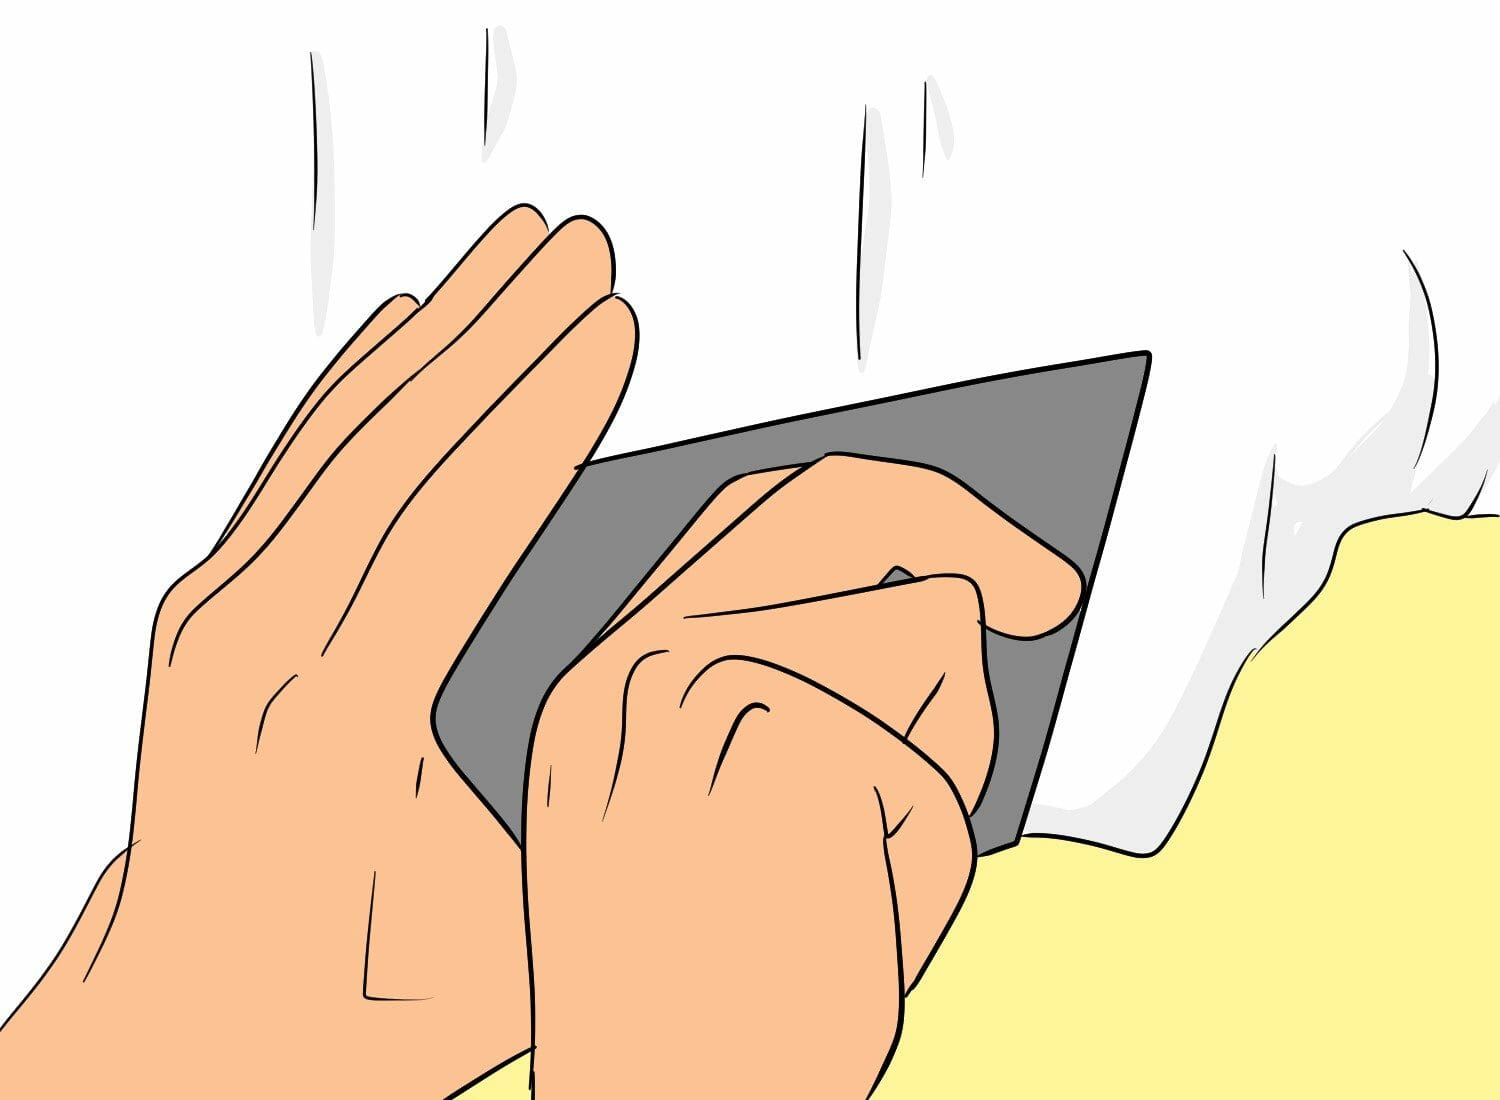
Once the drywall tape is applied and has dried, it’s time to smooth out the surface. The first step is to sand the area lightly with sandpaper. This will help to remove any rough spots and prepare the surface for further smoothing.
When sanding the surface, it’s important to use a fine-grit sandpaper. This will prevent the surface from becoming too rough and will help to create a smooth finish. It’s also important to sand in a circular motion, as this will help to create an even surface.
After sanding, the surface should be wiped down with a damp cloth to remove any dust or debris. Once the surface is clean and dry, it’s time to smooth out any remaining imperfections.
Smoothing the surface
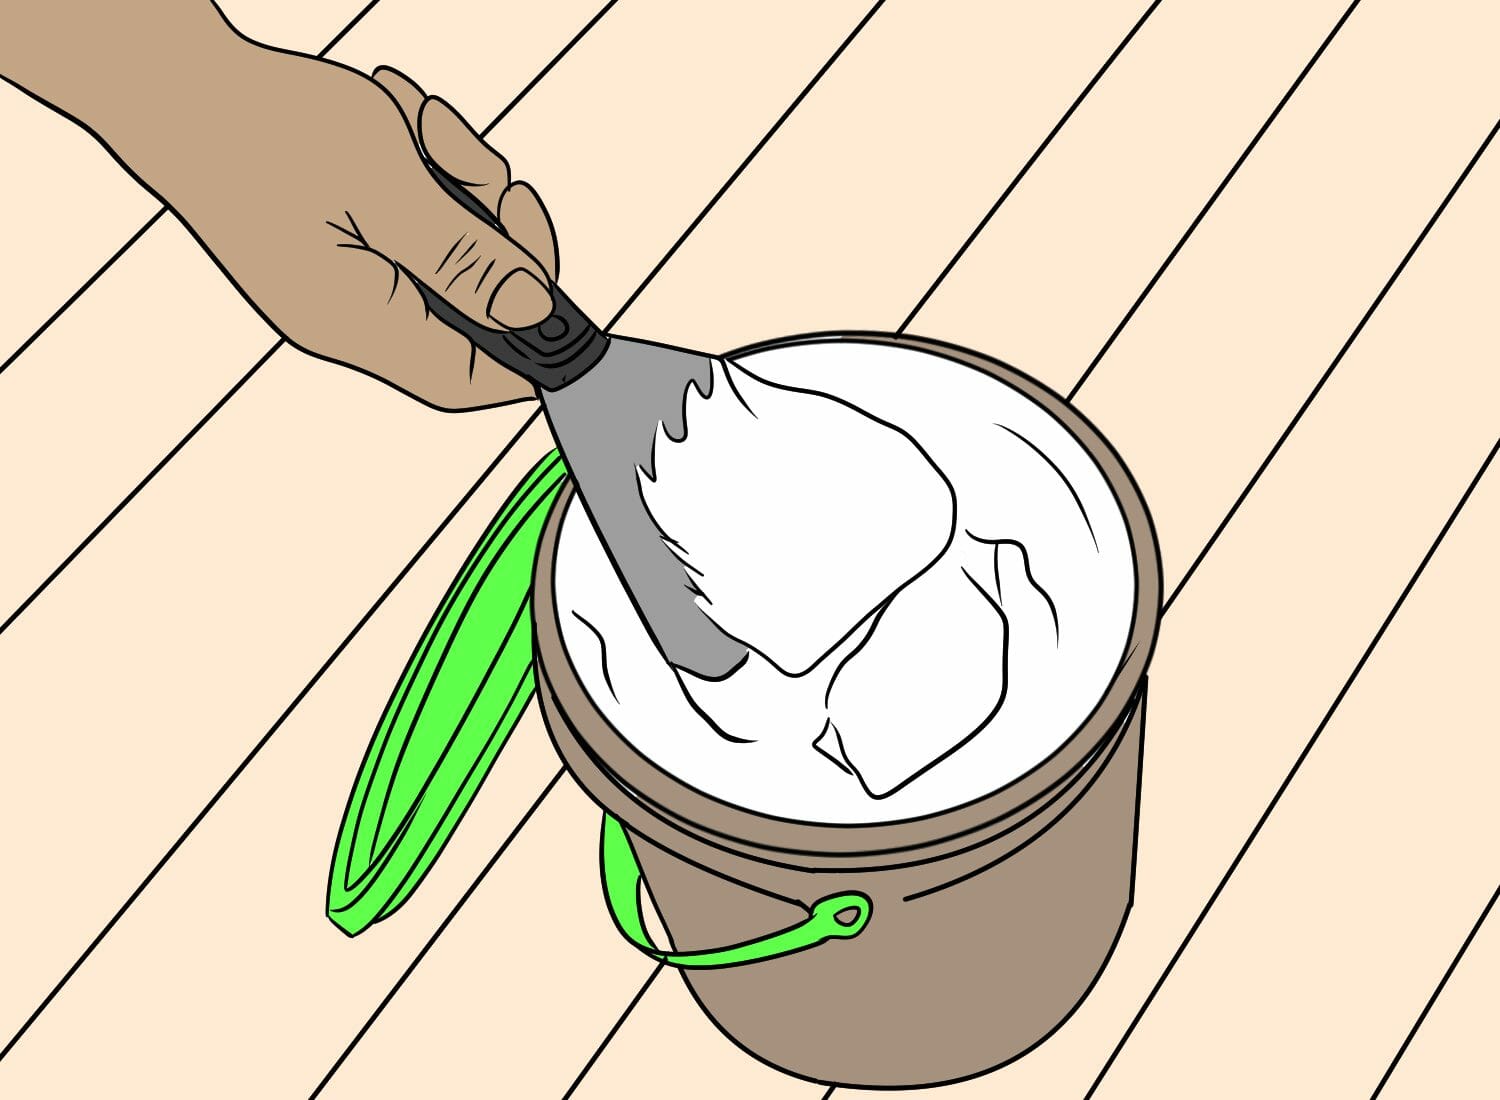
To smooth out the surface, it’s important to use a joint compound. This compound should be applied in a thin layer over the entire area, using a putty knife to spread it evenly. Once the compound has been applied, it should be left to dry for several hours.
After the compound has dried, it’s time to sand the surface again. This time, a finer-grit sandpaper should be used to create an even smoother surface. The sanding should be done in a circular motion, as before.
Finally, the surface should be wiped down again with a damp cloth to remove any dust or debris. At this point, the surface should be smooth and ready for further finishing.
Priming and painting the wall
After the drywall tape bubble has been repaired, the next step is to prime and paint the wall. Priming the wall is an essential step as it helps to ensure that the paint adheres properly to the wall.
Priming the wall
Before priming, it is important to make sure that the surface is clean and free from any dust or debris. Use a damp cloth to wipe down the wall and allow it to dry completely before applying primer.
When selecting a primer, choose one that is specifically designed for drywall. This will help to ensure that the primer fills in any imperfections in the drywall and creates a smooth surface for painting. Apply the primer evenly using a roller or brush, and allow it to dry completely before applying the paint.
Painting the wall
When it comes to painting, there are a few things to keep in mind. First, make sure that the paint you choose is appropriate for the type of surface you are painting. For drywall, latex paint is a popular choice as it is easy to work with and dries quickly.
Before painting, sand the surface lightly with fine-grit sandpaper to ensure that the surface is smooth and free from any imperfections. Apply the paint using a roller or brush, and make sure to apply it evenly to avoid any drips or streaks.
It is also important to apply multiple coats of paint to ensure that the color is even and the surface is fully covered. Allow each coat to dry completely before applying the next one.
Preventing future bubbles
Preventing future bubbles in drywall tape requires proper installation techniques. Here are some tips to avoid bubbles from forming:
- Apply the drywall tape with a consistent amount of pressure. Too much pressure can cause the tape to stretch and too little pressure can cause it to loosen.
- Use a high-quality joint compound and apply it evenly over the tape. Avoid over-applying the compound, as it can cause the tape to lift and create bubbles.
- Allow the joint compound to dry completely before sanding. Sanding too early can cause the tape to lift and create bubbles.
- Use a wide knife to apply the joint compound. This will help ensure that the compound is applied evenly and reduce the risk of bubbles forming.
- Apply a second coat of joint compound if necessary. This will help fill in any gaps or imperfections and reduce the risk of bubbles forming.
- Avoid using water to clean up excess joint compounds. Water can cause the tape to lift and create bubbles. Instead, use a dry cloth or scraper to remove excess compound.
FAQ's
Drywall tape can bubble due to several reasons, including insufficient adhesive, improper installation, humidity, or moisture. When the drywall tape is not properly adhered to the wall, it can bubble and create an unsightly appearance.
To fix drywall tape that is lifting at the edges, you will need to apply a small amount of joint compound under the tape and press it firmly against the wall. After the joint compound has dried, sand it down until it is smooth and even with the surrounding wall.
The best way to repair drywall tape cracks is to remove the damaged tape and replace it with a new piece. Use a utility knife to cut out the damaged area and apply a new piece of tape. Then, apply the joint compound over the area and sand it down until it is smooth.
Drywall tape can bubble after painting due to moisture or humidity trapped under the paint. The moisture can cause the tape to lift and create bubbles. To prevent this, make sure the wall is completely dry before painting and use a high-quality primer before applying paint.
To fix drywall tape bubbles in corners, cut a small slit in the center of the bubble with a utility knife. Then, use a putty knife to apply the joint compound under the tape and press it firmly against the wall. After the joint compound has dried, sand it down until it is smooth and even with the surrounding wall.