Mastering the skill of precise drywall cutting is crucial for both DIY enthusiasts and professional contractors. Whether you are installing new drywall or repairing existing ones, understanding how to execute proper cuts is significant.
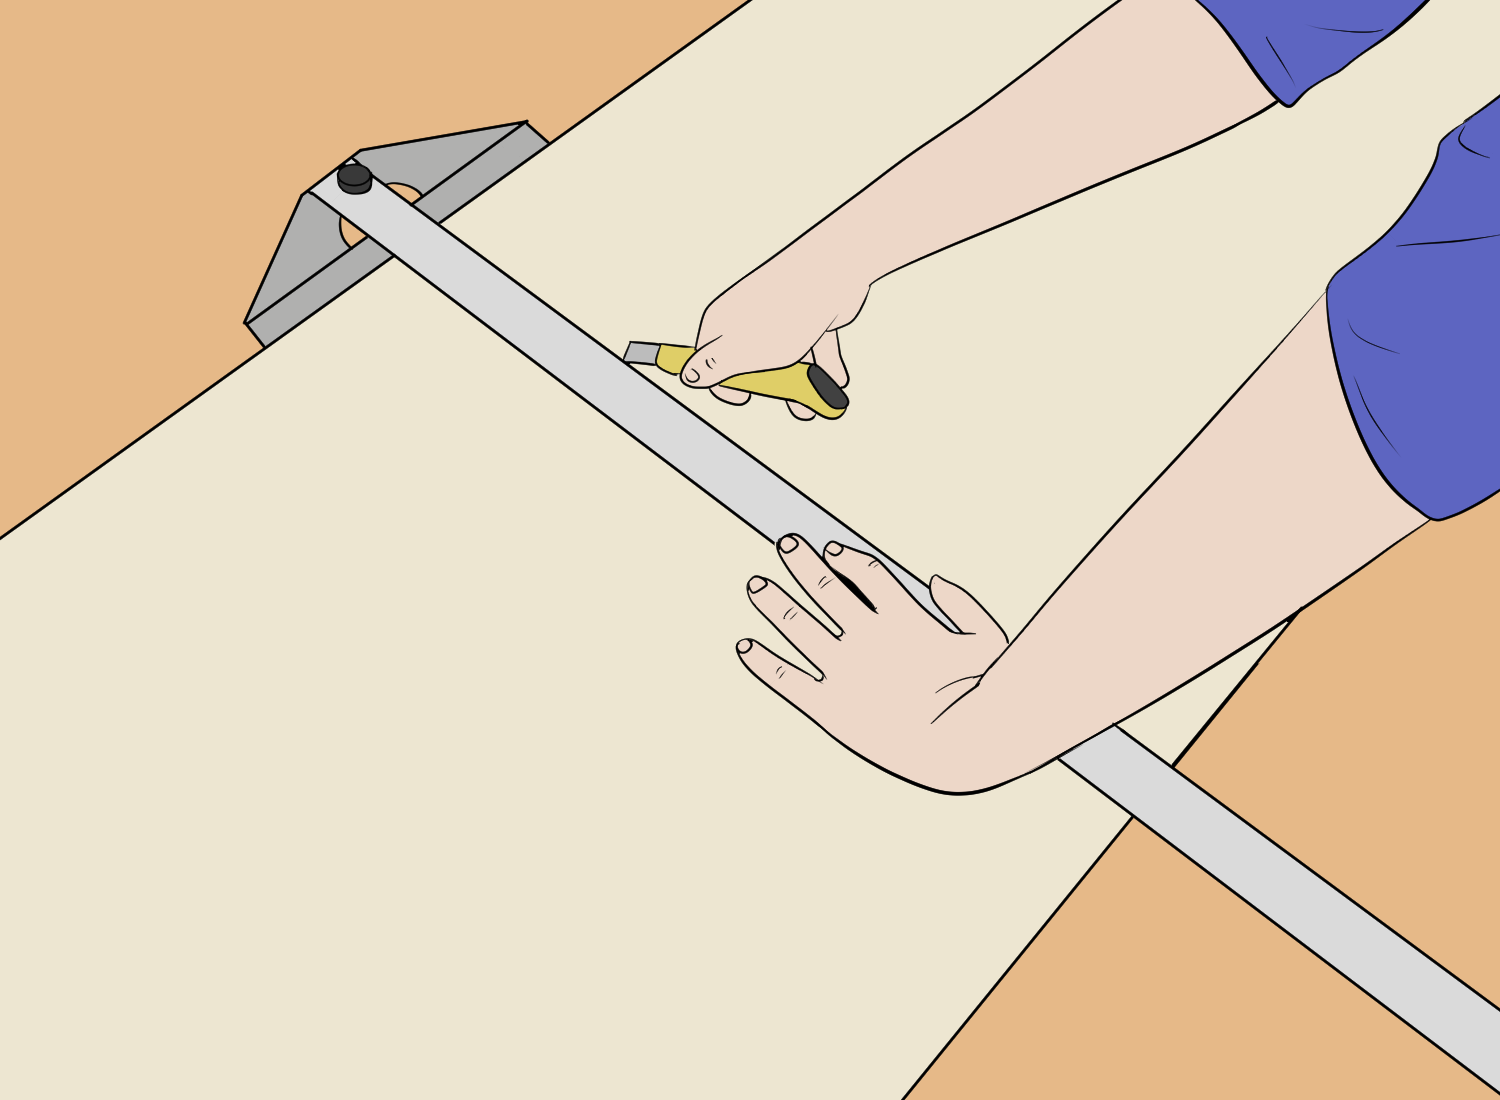
The first step in cutting drywall is to measure and mark the area that needs to be cut. Once the area is marked, the next step is to score the drywall. This can be done using a utility knife or a drywall saw.
After the drywall is scored, it can be snapped along the score line. Finally, the backside of the drywall can be cut to complete the process.

Tools and materials needed
Cutting drywall requires a few specific tools and materials. In this section, we’ll go over the essential items needed to cut drywall.
Measuring tools
Before cutting drywall, it’s important to measure the area accurately to ensure a precise cut. The following measuring tools are necessary:
- Tape measure: A tape measure is essential for measuring the length and width of the drywall sheet accurately.
- Pencil: A pencil is used to mark the measurements on the drywall sheet.
- Drywall T-square: A drywall T-square is a tool used to draw straight lines on the drywall sheet. It is crucial for making accurate cuts.
Cutting tools
After measuring the area, it’s time to cut the drywall sheet. The following cutting tools are necessary:
- Utility knife: A utility knife is the most common tool used for cutting drywall. It is perfect for making small cuts and precise cuts around outlets and switches.
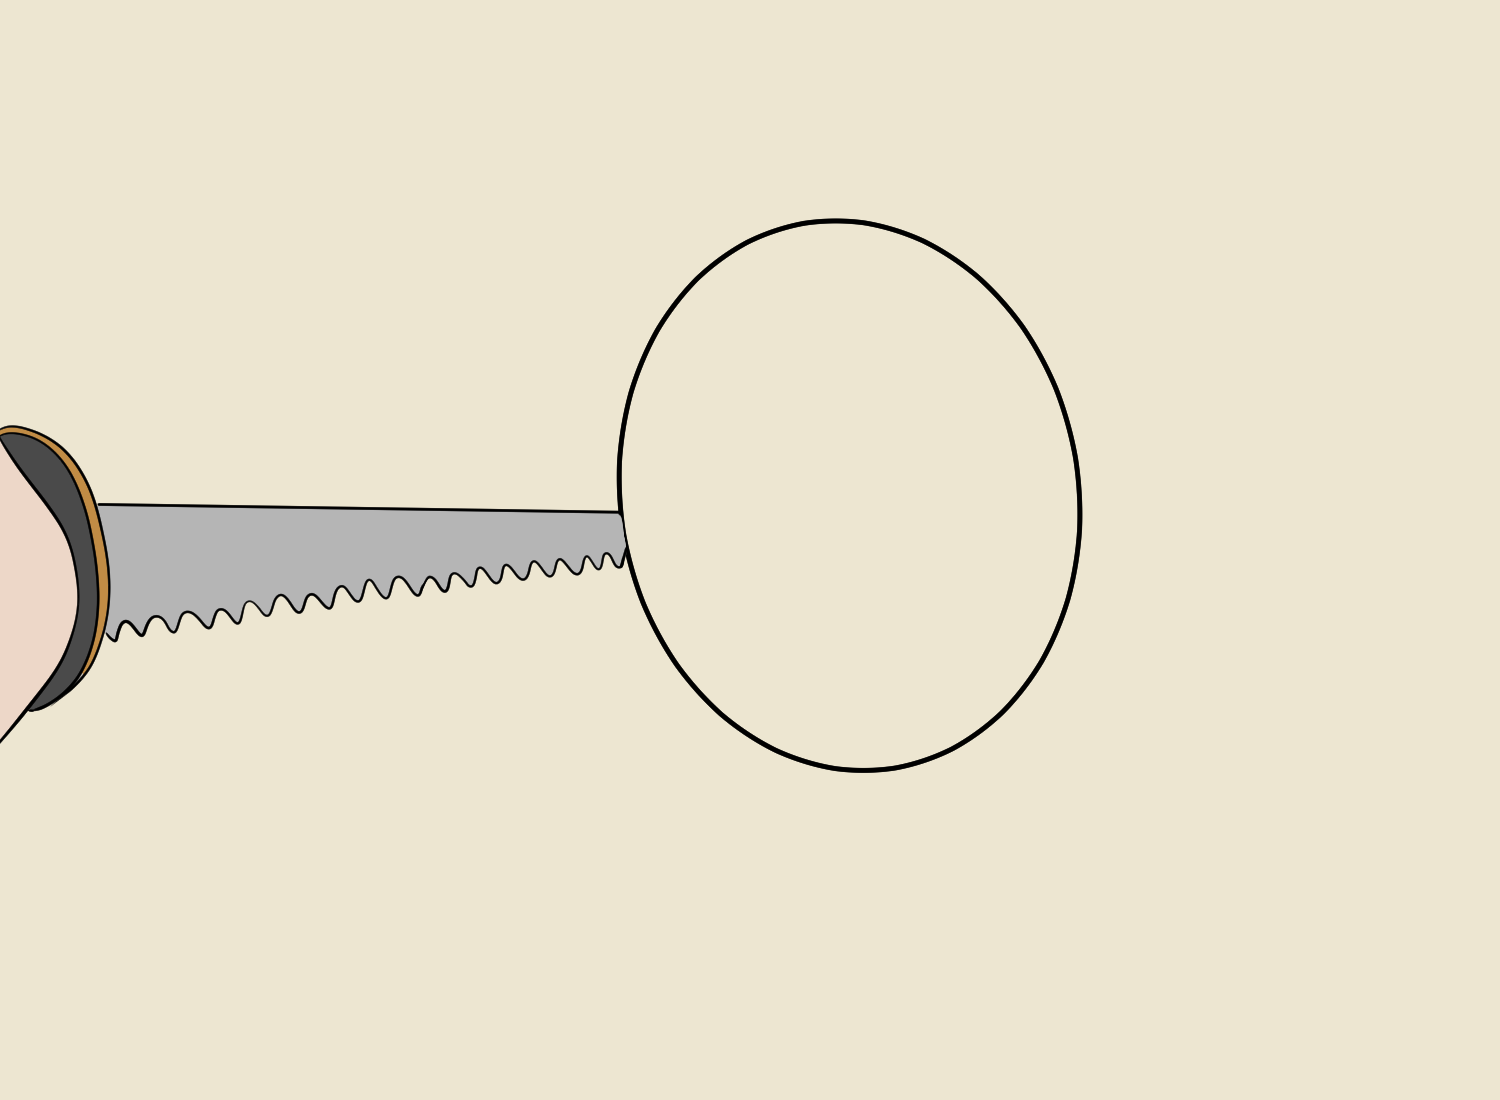
- Keyhole saw: A keyhole saw is a hand saw with a long, narrow blade used for cutting small areas of drywall.
- Jab saw: A jab saw is a hand saw with a pointed tip used for making rough cuts in drywall.
- Rotary tool: A rotary tool is a versatile power tool that can be used to cut drywall. It is perfect for cutting small holes and making precise cuts.
- Reciprocating saw: A reciprocating saw is a powerful tool that can be used to make rough cuts in drywall. It is ideal for cutting large sections of drywall quickly.
Safety equipment
Cutting drywall can create a lot of dust and debris. It’s important to wear the following safety equipment to protect yourself:
- Dust mask: A dust mask is essential for protecting your lungs from drywall dust.
- Safety glasses: Safety glasses protect your eyes from flying debris.
- Gloves: Gloves protect your hands from cuts and scrapes.
With these essential tools and materials, cutting drywall can be a straightforward process.
Preparation steps
Before cutting drywall, it’s important to prepare the work area and have the necessary tools and materials on hand. This section will cover the preparation steps, including measuring the drywall and marking the cut lines.
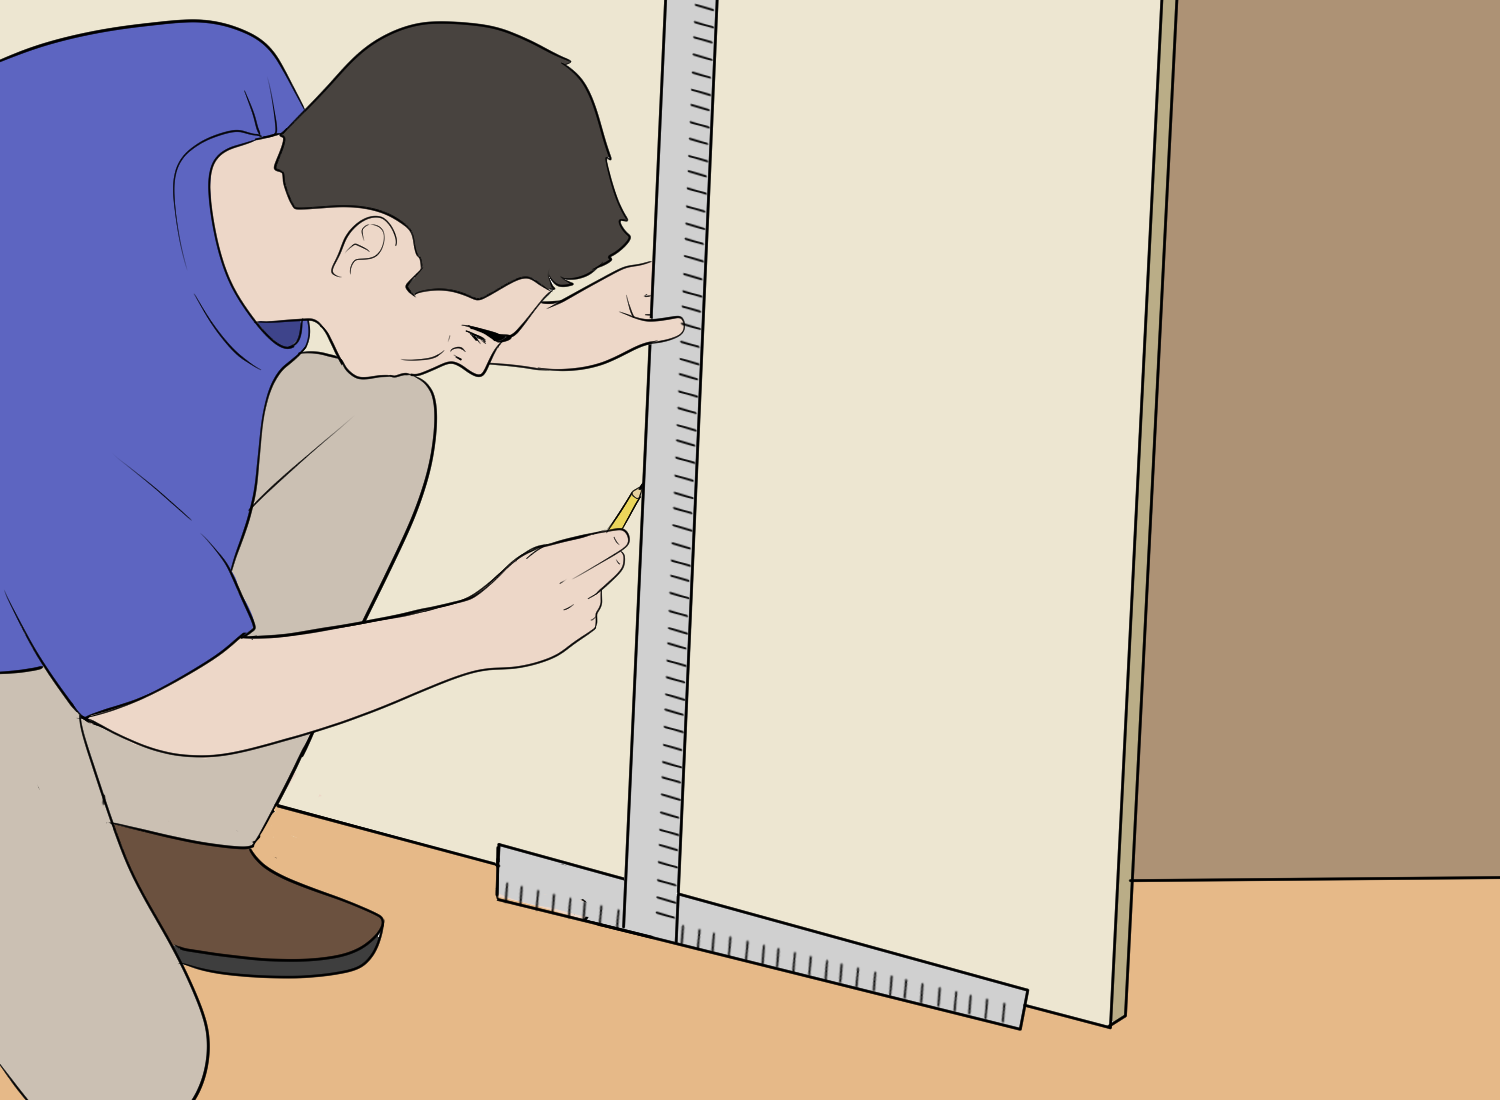
Step 1: Measuring the drywall

The first step in preparing to cut drywall is to measure the area where the drywall will be installed. Use a tape measure to measure the height and width of the wall or ceiling.
Make sure to account for any openings, such as windows or doors, by measuring their height and width as well.
Once you have the measurements, transfer them to the drywall using a straightedge and a pencil. Make sure to mark both the front and back of the drywall to ensure accurate cuts.
Step 2: Marking the cut lines
After measuring the drywall, the next step is to mark the cut lines. Use a straightedge and a pencil to mark the cut lines on the front of the drywall. If you need to make any openings, such as for electrical boxes or light fixtures, mark those as well.
Once the cut lines are marked, use a utility knife to score the front paper of the drywall along the cut lines. Be sure to apply enough pressure to cut through the paper but not the drywall itself.
After scoring the front paper, snap the drywall along the cut lines by folding it back and applying pressure to the back of the drywall. Finally, use a utility knife to cut through the paper on the back of the drywall to complete the cut.
Cutting techniques
When it comes to cutting drywall, there are a few techniques that can be used to ensure a clean and precise cut. Whether you are cutting straight lines, curved lines, or holes, there are specific methods that can be used to achieve the desired result.
Cutting straight lines
Using a utility knife
One of the most common techniques for cutting straight lines in drywall is to use a utility knife. To use this method, measure the length of the cut and mark it on the drywall using a pencil.
Then, use a straight edge or T-square to guide the knife along the line, applying enough pressure to score the paper layer of the drywall. Once the paper layer is scored, snap the drywall along the line to break the gypsum core.
Finally, use the knife to cut through the remaining paper layer on the back of the drywall.
Using a drywall saw
Another technique for cutting straight lines is to use a drywall saw. This method is best suited for longer cuts that cannot be made with a utility knife.
To use a drywall saw, mark the length of the cut on the drywall and then use the saw to cut along the line, applying enough pressure to cut through the paper and gypsum core of the drywall.
Cutting curved lines
Cutting curved lines in drywall requires a bit more finesse than cutting straight lines.
Using a fine-tooth blade
One method for cutting curves is to use a jigsaw with a fine-tooth blade.
To use this method, mark the curve on the drywall and then use the jigsaw to cut along the line, applying enough pressure to cut through the paper and gypsum core of the drywall.
Using a keyhole saw
Another technique for cutting curves is to use a keyhole saw. This method is best suited for smaller curves that cannot be cut with a jigsaw.
To use a keyhole saw, mark the curve on the drywall and then use the saw to cut along the line, applying enough pressure to cut through the paper and gypsum core of the drywall.
Cutting holes in drywall
Cutting holes in drywall requires a different technique than cutting straight or curved lines.
Using a drywall saw or jigsaw
One method for cutting holes is to use a drywall saw or jigsaw to cut along the perimeter of the hole, applying enough pressure to cut through the paper and gypsum core of the drywall.
Once the perimeter is cut, use a utility knife to score the paper layer of the drywall within the perimeter of the hole. Finally, snap the drywall along the scored line and use the knife to cut through the remaining paper layer on the back of the drywall.
Using a drywall router
Another technique for cutting holes is to use a drywall router. This method is best suited for larger holes that require a precise cut. To use a drywall router, attach the router bit to the tool and set the depth of the cut.
Then, use the router to cut along the perimeter of the hole, applying enough pressure to cut through the paper and gypsum core of the drywall.
Once the perimeter is cut, use a utility knife to score the paper layer of the drywall within the perimeter of the hole.
Finally, snap the drywall along the scored line and use the knife to cut through the remaining paper layer on the back of the drywall.
Post-cutting actions
After cutting drywall, there are a few post-cutting actions that need to be taken to ensure that the project is completed successfully.
Sanding the edges of drywall

After cutting drywall, the edges may become rough and jagged. Sanding the edges will ensure that the drywall fits together properly and creates a seamless finish.
Use a fine-grit sandpaper and sand the edges of the drywall until they are smooth and even. Be sure to wear a dust mask and eye protection while sanding.
Disposing of drywall scraps
After cutting drywall, there will be scraps and debris left over. It is important to properly dispose of these materials to ensure a safe and clean work environment. Drywall scraps can be disposed of in a few different ways:
- Trash: Small scraps can be placed in a trash bag and disposed of with regular household trash.
- Recycling: If the drywall scraps are clean and free of contaminants, they can be recycled at a local recycling center.
- Landfill: Large pieces of drywall or scraps that cannot be recycled should be disposed of at a landfill.
It is important to check with local regulations to determine the proper way to dispose of drywall scraps in your area.
By taking these post-cutting actions, the drywall installation process will be smoother and the end result will be a professional-looking finish.
Common mistakes to avoid
Cutting drywall is a task that requires precision and care. Here are some common mistakes to avoid when cutting drywall:
1. Inaccurate measurements
One of the most common mistakes when cutting drywall is inaccurate measurements. Taking precise measurements is essential to ensure that the drywall fits perfectly.
It is recommended to measure twice and cut once to avoid wasting material and time.
2. Using the wrong tools
Using the wrong tools can make the task of cutting drywall more challenging than it needs to be. A dull or inappropriate tool can cause the drywall to break or tear, leading to uneven edges and a poor finish.
It is crucial to use the right tools, such as a drywall saw or a utility knife, to achieve clean and precise cuts.
3. Cutting too deep
Cutting too deep into the drywall can cause damage to the underlying structure, such as electrical wires or plumbing.
This can be dangerous and expensive to repair. It is essential to cut only the surface layer of the drywall and avoid cutting into the underlying structure.
4. Ignoring safety precautions
Cutting drywall can produce a significant amount of dust and debris, which can be harmful to health if inhaled.
It is crucial to wear protective gear, such as a dust mask, safety goggles, and gloves, to avoid any potential health hazards. Additionally, it is essential to ensure that the work area is well-ventilated to prevent the accumulation of dust.
By avoiding these common mistakes, cutting drywall can become a straightforward and efficient task.
Taking the time to measure accurately, using the right tools, cutting only the surface layer of the drywall, and taking safety precautions can help achieve a clean and professional finish.