To achieve dry and crisp edges, joint tape combined with compound is utilized to smoothly merge the corners with the surrounding walls.
- The first step in drywalling corners is to measure the length or height of the corner of the wall that needs taping.
- The next step is to apply the tape in a tight fit. This will set you up for the mud compound.
- Next, you will apply the joint compound to cover the tape.
- Once dry, apply additional coats of compound where needed, feathering it out to blend with the wall.
- Sand the area for a smooth finish and paint or texture as desired.
In this article, we will provide step-by-step instructions on how to drywall corners and achieve professional results. With these steps, anyone can learn how to drywall corners and achieve a professional-looking finish.
Types of Drywall Corners
Drywall corners are an essential part of drywall installation. They are the points where two walls meet, creating inside or outside corners. Drywall corners can be finished in various ways, including metal, vinyl, and paper-faced corner beads. Each type of corner bead has its unique benefits and drawbacks, and the choice of which to use can depend on the specific project requirements.
- Inside corners: Inside corners are where two walls meet at an angle that is less than 180 degrees. These corners require a different type of corner bead than outside corners. Metal corner bead is commonly used for inside corners because it provides a strong and durable edge that can withstand impacts and other types of damage. Vinyl and paper-faced corner beads can also be used for inside corners but are not as strong as metal.
- Outside corners: Outside corners are where two walls meet at an angle that is greater than 180 degrees. These corners require a different type of corner bead than inside corners. Metal corner bead is also commonly used for outside corners because it provides a strong and durable edge that can withstand impacts and other types of damage. Vinyl and paper-faced corner beads can also be used for outside corners but are not as strong as metal.
- Rounded Corners: Rounded corners are a popular alternative to traditional sharp corners. They are created using a special corner bead to create a smooth, rounded edge. Rounded corners are often used in homes with children or elderly residents because they are less likely to cause injuries than sharp corners.
Essential Tools and Materials
Having the right tools and materials is essential for a smooth and professional finish when it comes to drywalling corners. Here are some of the essential items you will need:
Tools
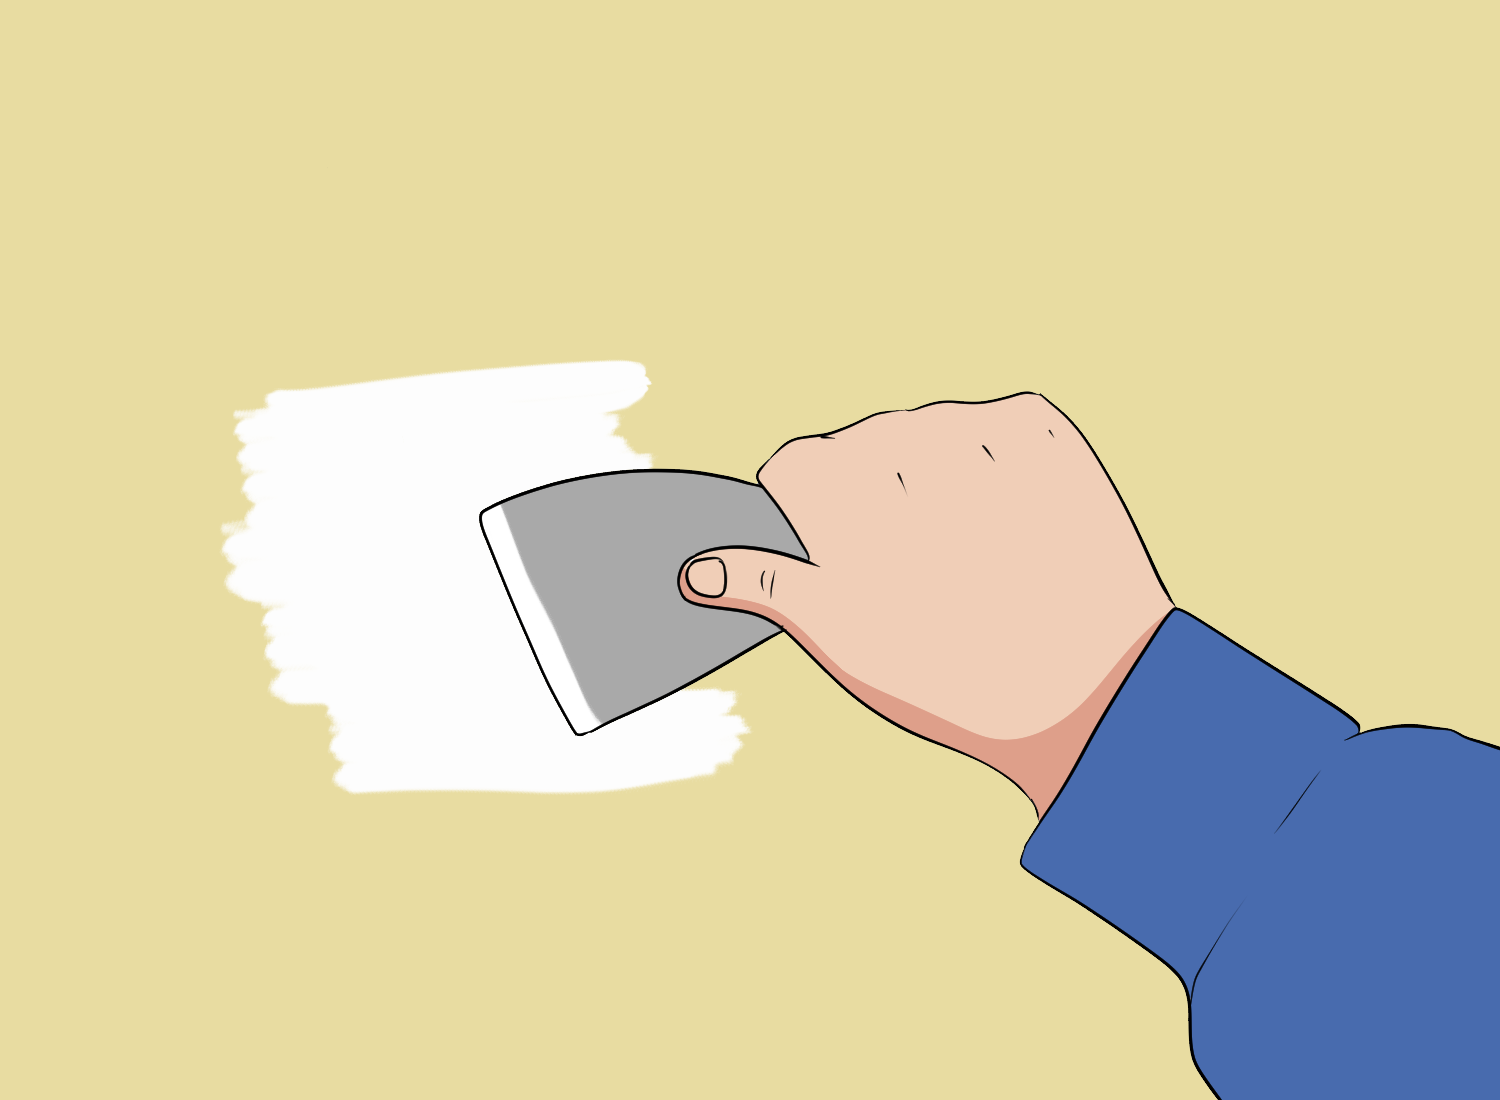
Drywall knife

A high-quality knife is essential for cutting and scoring drywall sheets. A 10 or 12-inch drywall knife is recommended for corners and larger areas.
Sander

A sander is necessary to smooth rough areas and ensure a flat surface. A pole sander is recommended for larger areas, while a hand sander can be used for smaller areas.
Corner knife

A corner knife is used to apply joint compound to corners.
Hawk
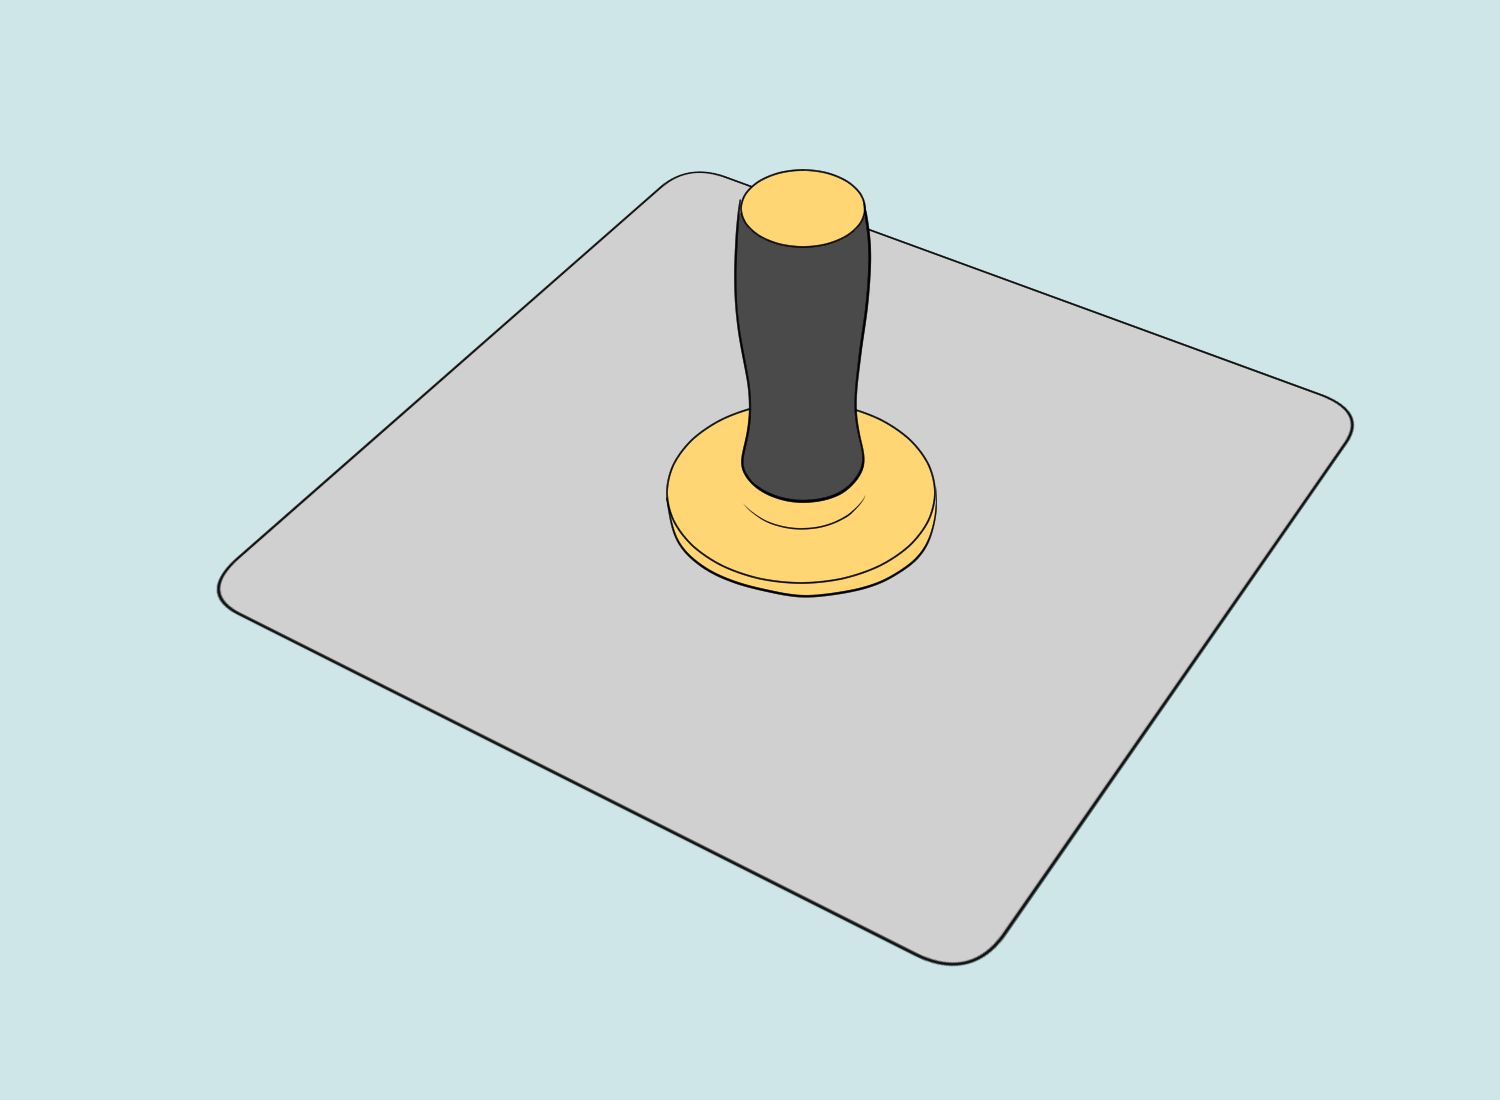
A hawk is a flat square board with a handle to hold a joint compound. It is used for applying joint compounds to corners and hard-to-reach areas.
Utility knife
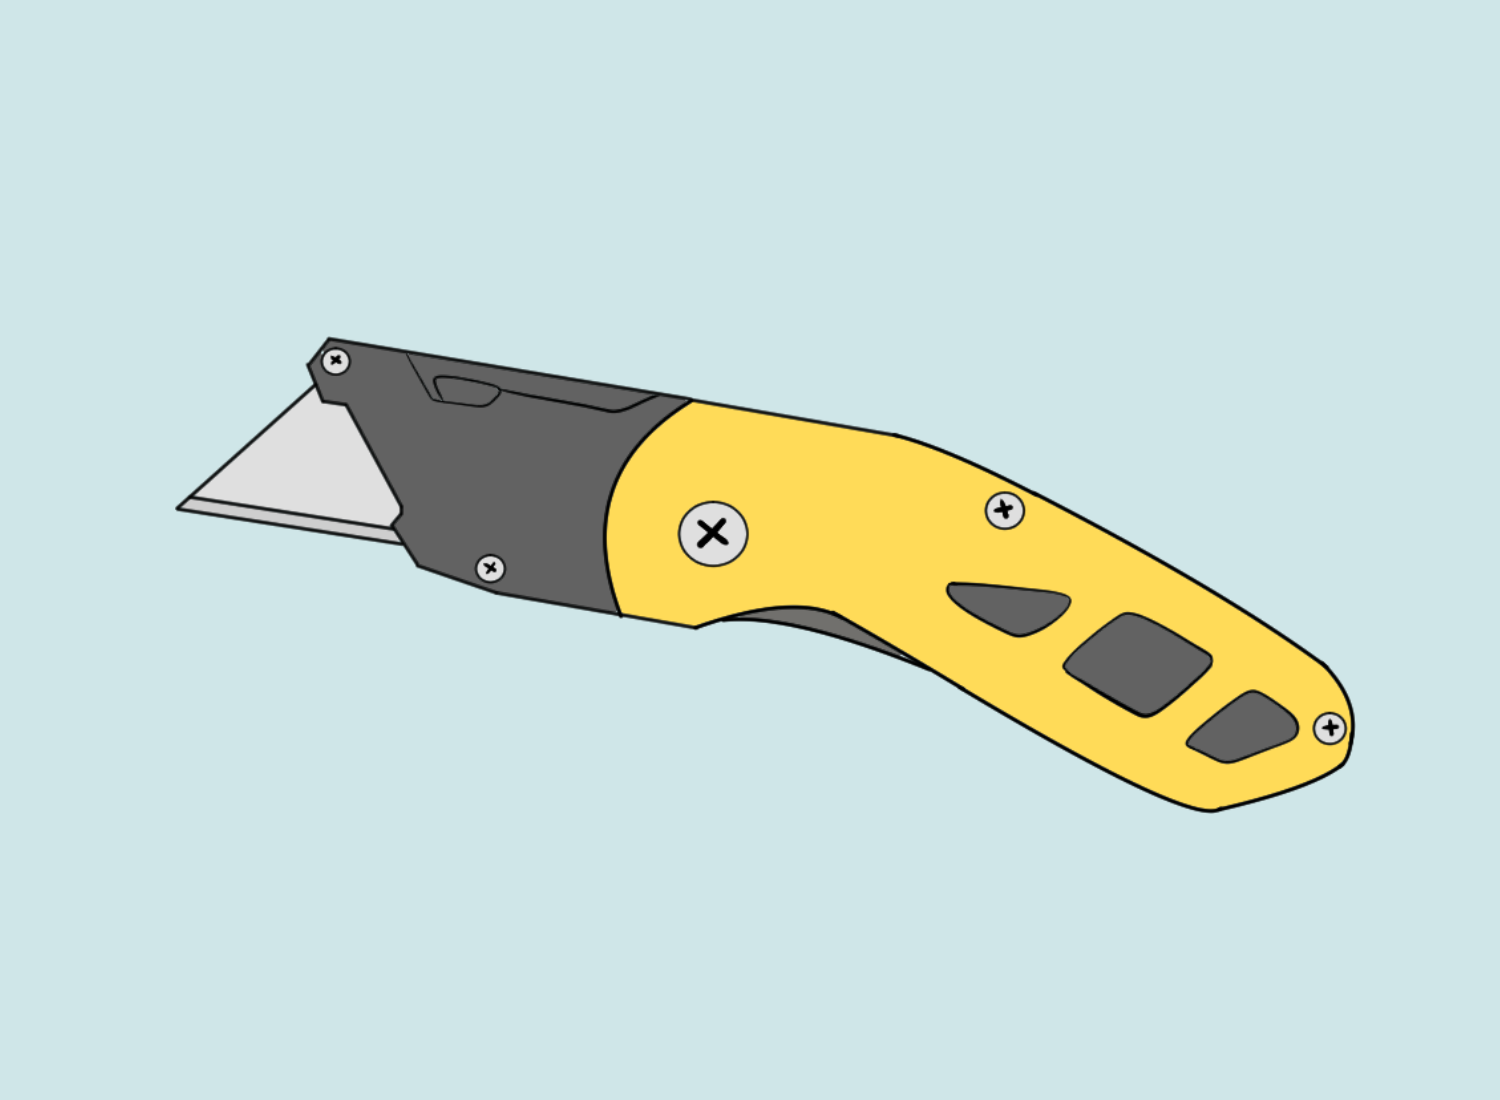
A utility knife is essential for cutting drywall sheets to size.
Mask and respirator mask
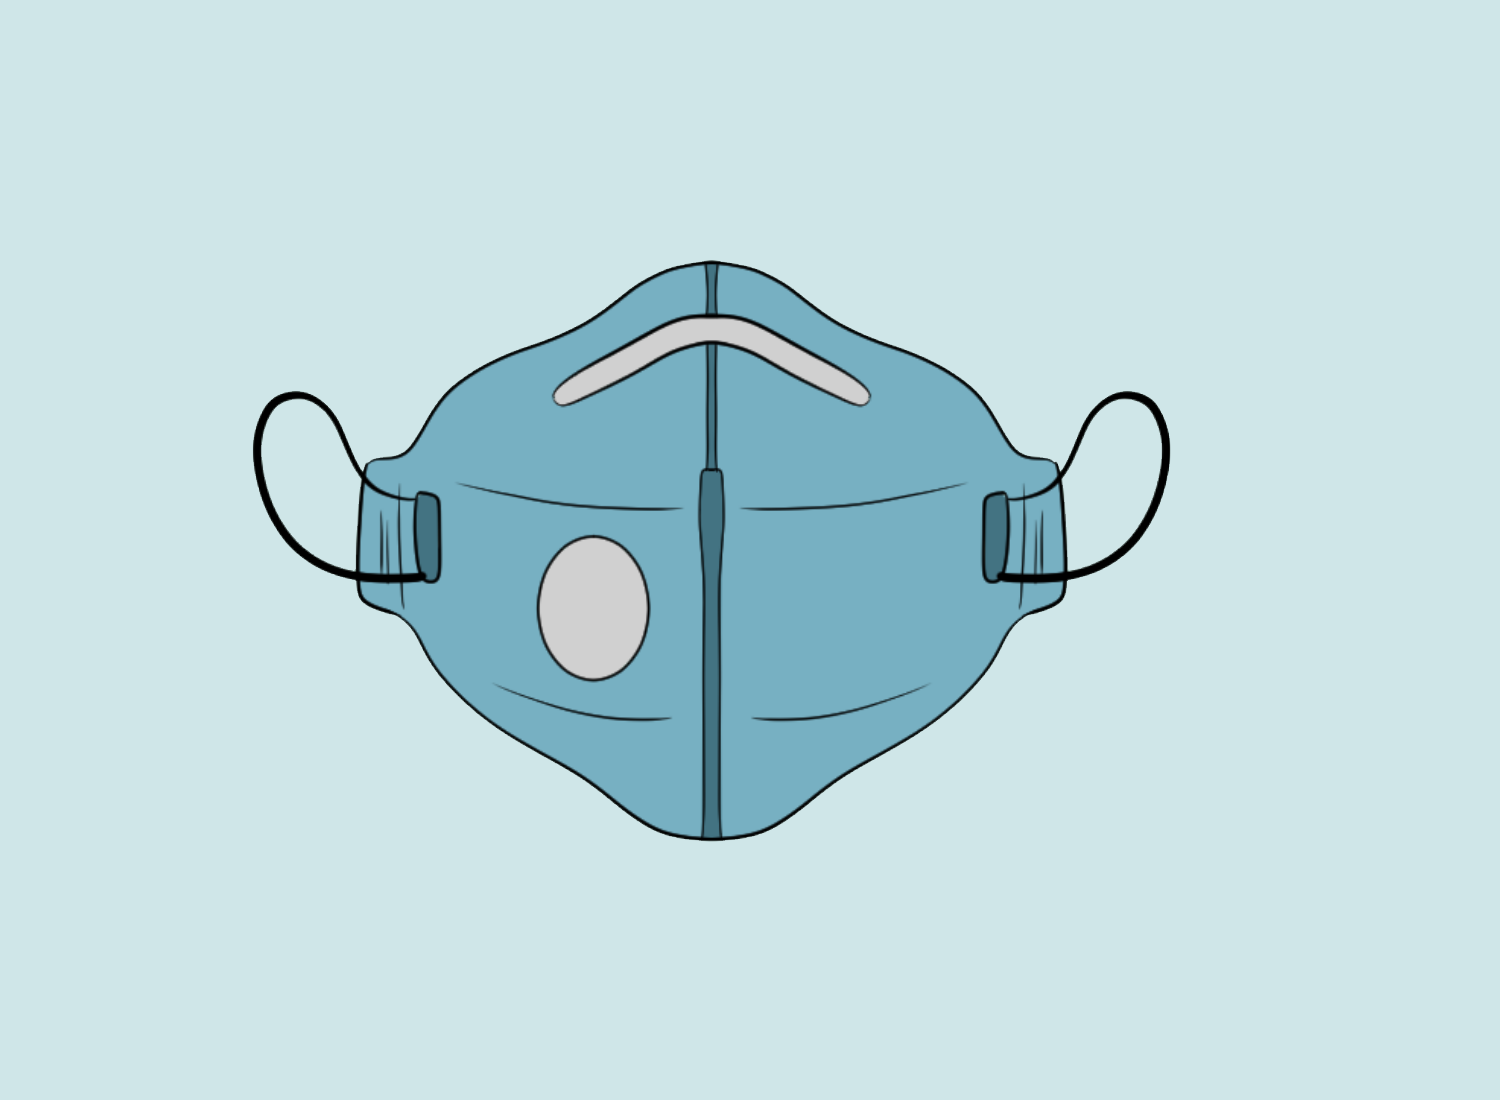
Wearing a mask and respirator mask is important for protecting against dust and particles during sanding.
Materials
- Joint compound: Joint compound is used to cover seams and smooth out rough areas. It comes in different types, including lightweight and all-purpose.
- Drywall sander: A drywall sander is used for sanding down joint compounds and achieving a smooth finish.
- Mud pans: Mud pans are used to hold joint compounds while applying to the drywall.
- Coveralls and drop cloths: Coveralls and drop cloths protect clothing and surfaces from dust and joint compounds.
Preparation and Planning
Before starting to drywall corners, proper preparation and planning are crucial to ensure a smooth and successful project. This section will cover the various steps in preparing and planning for drywalling corners, including framing, wall corners, ceiling, and closet.
Planning
The first step in preparing for drywalling corners is to plan the layout. This includes measuring the room’s dimensions and determining the amount of drywall needed. It is also important to consider the location of electrical outlets, light fixtures, and any other obstructions that may affect the installation process.
Framing and Studs
The next step is ensuring the framing and studs are in good condition and properly aligned. Any damaged or warped framing should be replaced, and the studs should be spaced evenly to allow for proper drywall installation.
Wall Corners
Special attention should be paid to the wall corners when it comes to drywalling corners. It is important to ensure that the corners are square and plumb, as any deviation can make it difficult to install the drywall properly. If the corners are out of square, cutting the drywall to fit may be necessary.
Ceiling
The ceiling should also be prepared before installing drywall on the corners. This includes ensuring the ceiling is level and that any electrical wiring or fixtures are properly installed and secured.
Closet
Finally, if there is a closet in the room, it should also be prepared before drywalling the corners. This includes ensuring that the closet is square and level and that any shelving or hanging rods are properly installed.
Installing Corner Bead
A corner bead is a strip of metal or paper-faced material installed on drywall corners to create a smooth, straight edge. Here are the steps to install corner bead:
- Measure the length of the corner where you will install the corner bead. Cut the corner bead to the appropriate length using tin snips or a hacksaw.
- Place the corner bead on the corner and use drywall screws or nails to attach it to the drywall. For metal corner beads, use screws, while for paper-faced corner beads, use drywall nails.
- Space the screws or nails about 6 inches apart along the length of the corner bead.
- Use a hammer to tap the edges of metal corner beads to ensure they are flush against the wall. For paper-faced corner beads, use a drywall knife to press the edges of the corner bead into the joint compound.
- Apply joint compound over the corner bead, covering it completely. Use a drywall knife to smooth the joint compound and feather it onto the surrounding drywall.
- Allow the joint compound to dry completely, then sand it smooth using a sanding block or sandpaper.
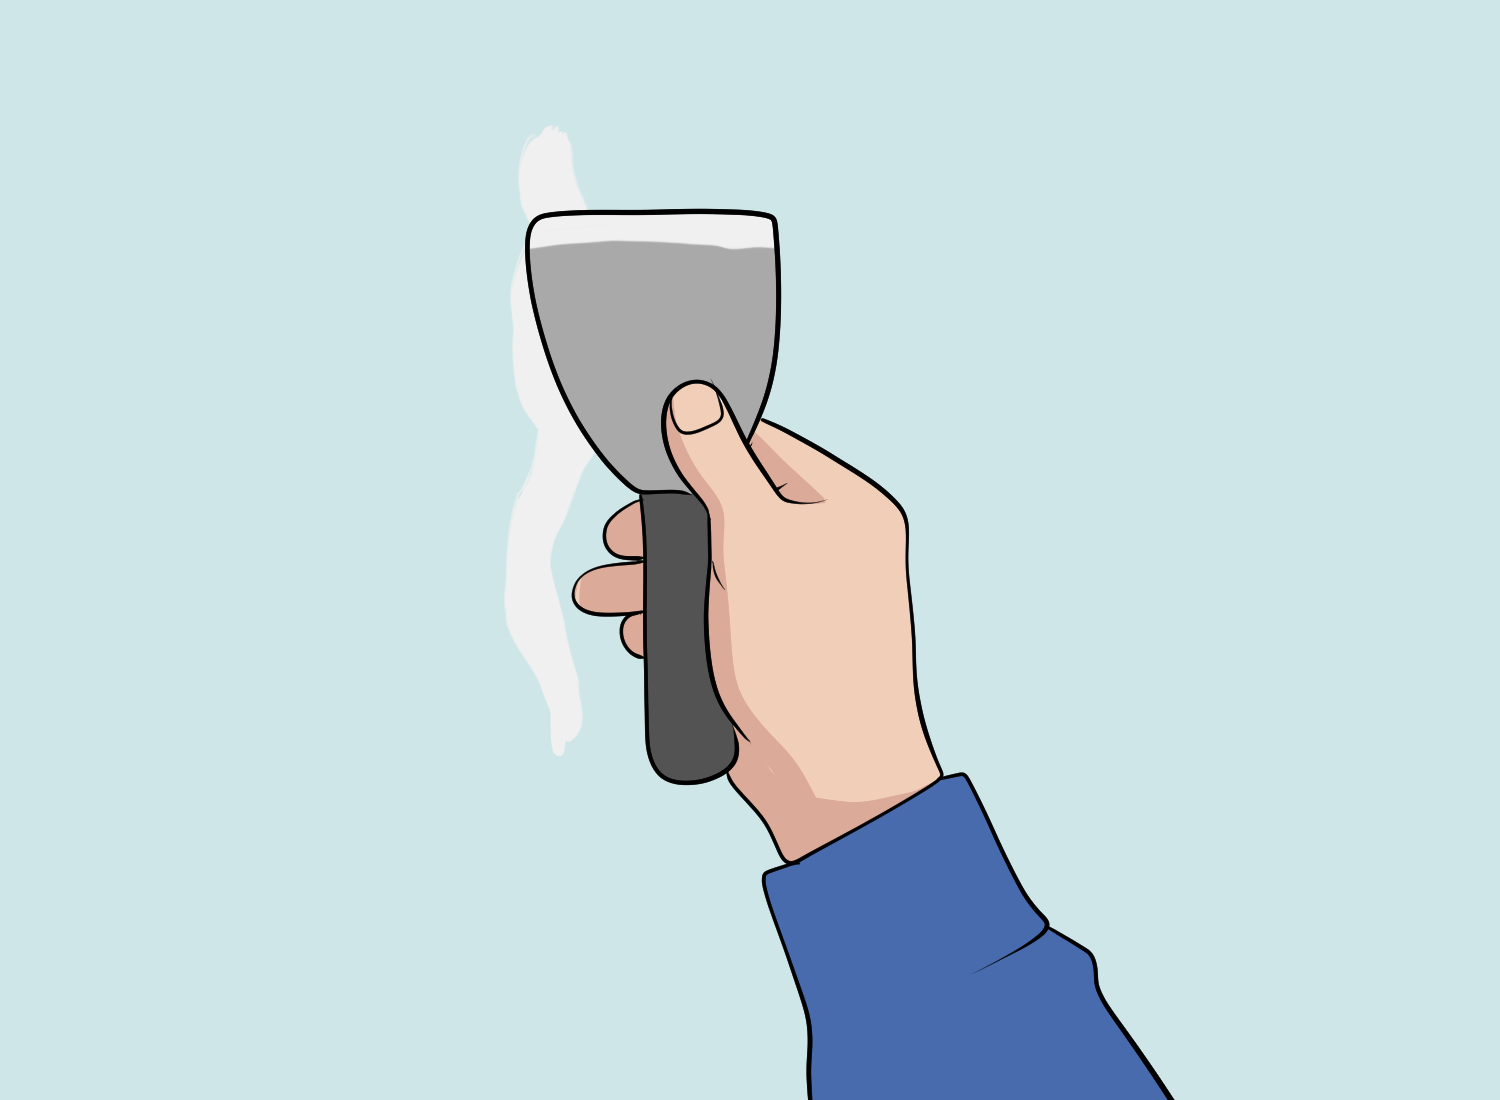
Applying Joint Compound
After applying the drywall tape, it’s time to apply the joint compound to the corners. Joint compound, also known as drywall compound or mud, is used to fill in gaps and cover seams between drywall sheets, creating a smooth surface for painting or wallpapering.
Before applying joint compound, it’s important to ensure the tape is securely adhered to the drywall. This can be done by pressing down on the tape with a putty knife or drywall knife. The joint compound can be applied once the tape is firmly in place.
The consistency of the joint compound should be similar to that of a thick pancake batter. It will be difficult to spread if it’s too thick, and if it’s too thin, it will not hold its shape on the corner. A good rule of thumb is to add water to the compound until it’s the consistency of thick yogurt.
To apply the joint compound, start by loading a drywall knife with the compound. Then, hold the knife at a 45-degree angle to the corner and apply the compound in a smooth, even motion. Cover the tape completely, feathering the compound out slightly onto the adjacent wall surface.
After the first coat of joint compound has been applied, it’s time to let it dry. This can take anywhere from a few hours to overnight, depending on the humidity and temperature in the room.
Once the compound is dry, apply the final coat, the finish coat. The finish coat should be applied like the first coat but with a lighter touch. The goal is to create a smooth, even surface without leaving any bumps or ridges. Once the finish coat is dry, the corner can be lightly sanded to remove imperfections.
Taping Corners
Taping corners is an essential step that ensures that the corners are smooth and seamless, and it also reinforces the joints to prevent cracking. The following section provides a step-by-step guide on how to tape drywall corners.
Materials Needed
Before taping corners, make sure you have the following materials:
- Drywall tape (paper or fiberglass)
- Joint compound
- Putty knife
- Sandpaper
Step-by-Step Guide
1. Apply Joint Compound
First, apply a thin layer of joint compound to the corner using a putty knife. Make sure to cover the entire corner evenly.
2. Apply Tape
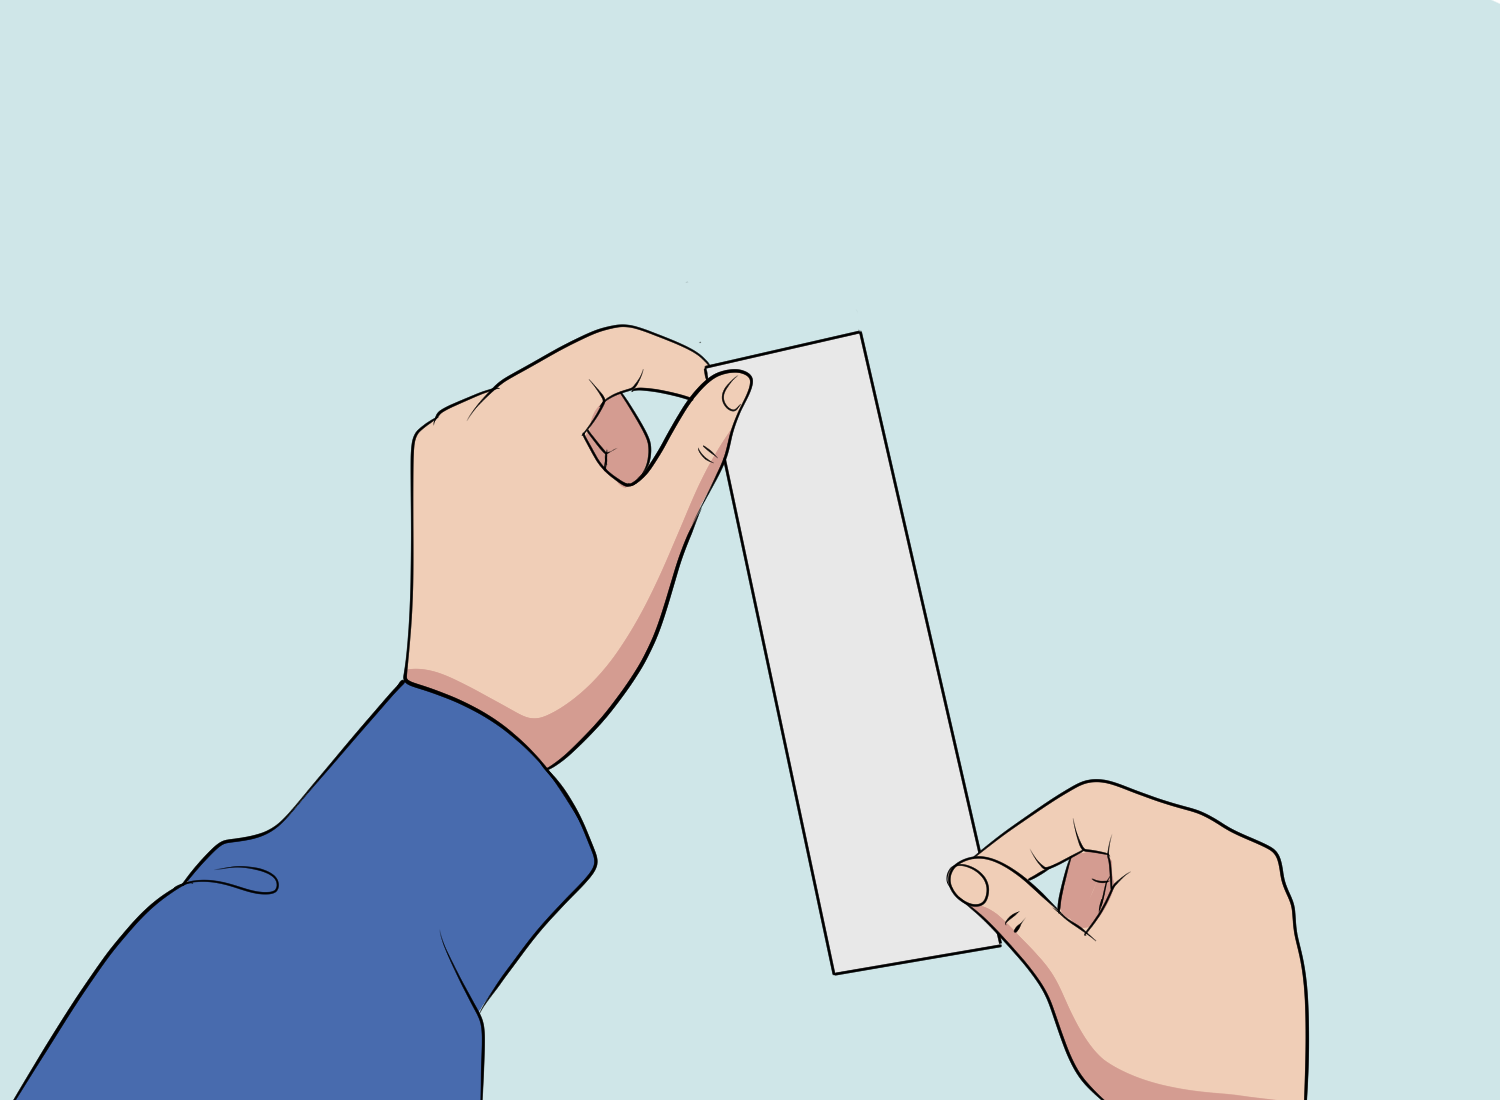
Next, apply the drywall tape to the corner. Use your fingers to press the tape into the joint compound, ensuring no air bubbles or creases.
3. Apply Joint Compound
Once the tape is in place, apply another layer of joint compound over the tape. Use the putty knife to smooth out the compound, ensuring it covers the tape completely.
4. Let it Dry
Allow the joint compound to dry completely. This can take 24 to 48 hours depending on the humidity and temperature.
5. Sand the Surface
Use sandpaper to smooth the surface once the joint compound is dry. Sand lightly, making sure not to sand through the joint compound.
6. Apply Additional Coats
If necessary, apply additional coats of joint compound until the corner is smooth and seamless.
Mudding and Finishing
Once the drywall is hung, the next step is to mud and finish the corners. This process involves applying joint compounds to the seams, gaps, and bumps to create a smooth and even surface.
Step 1: Apply the mud
To begin, the edges of the drywall should be tapered with a utility knife to create a shallow recess. This will allow the mud to be applied smoothly and evenly. Next, apply a thin layer of mud to the joint with a taping knife to fill any gaps or depressions.
Step 2: Second coat
After the first layer of mud has dried, apply a second layer using a wider taping knife. This layer should be wider than the first, extending about 2-3 inches on either side of the joint. Use a feathering technique to blend the mud into the surrounding drywall, creating a smooth and even surface.
Step 3: Repeat and feather
Repeat this process, applying additional layers of mud until the joint is flush with the surrounding drywall. Be sure to allow each layer of mud to dry completely before applying the next.
Once the joint is smooth and even, it is time to apply the final coat of mud. This coat should be thin and smooth, extending about 6-8 inches on either side of the joint.
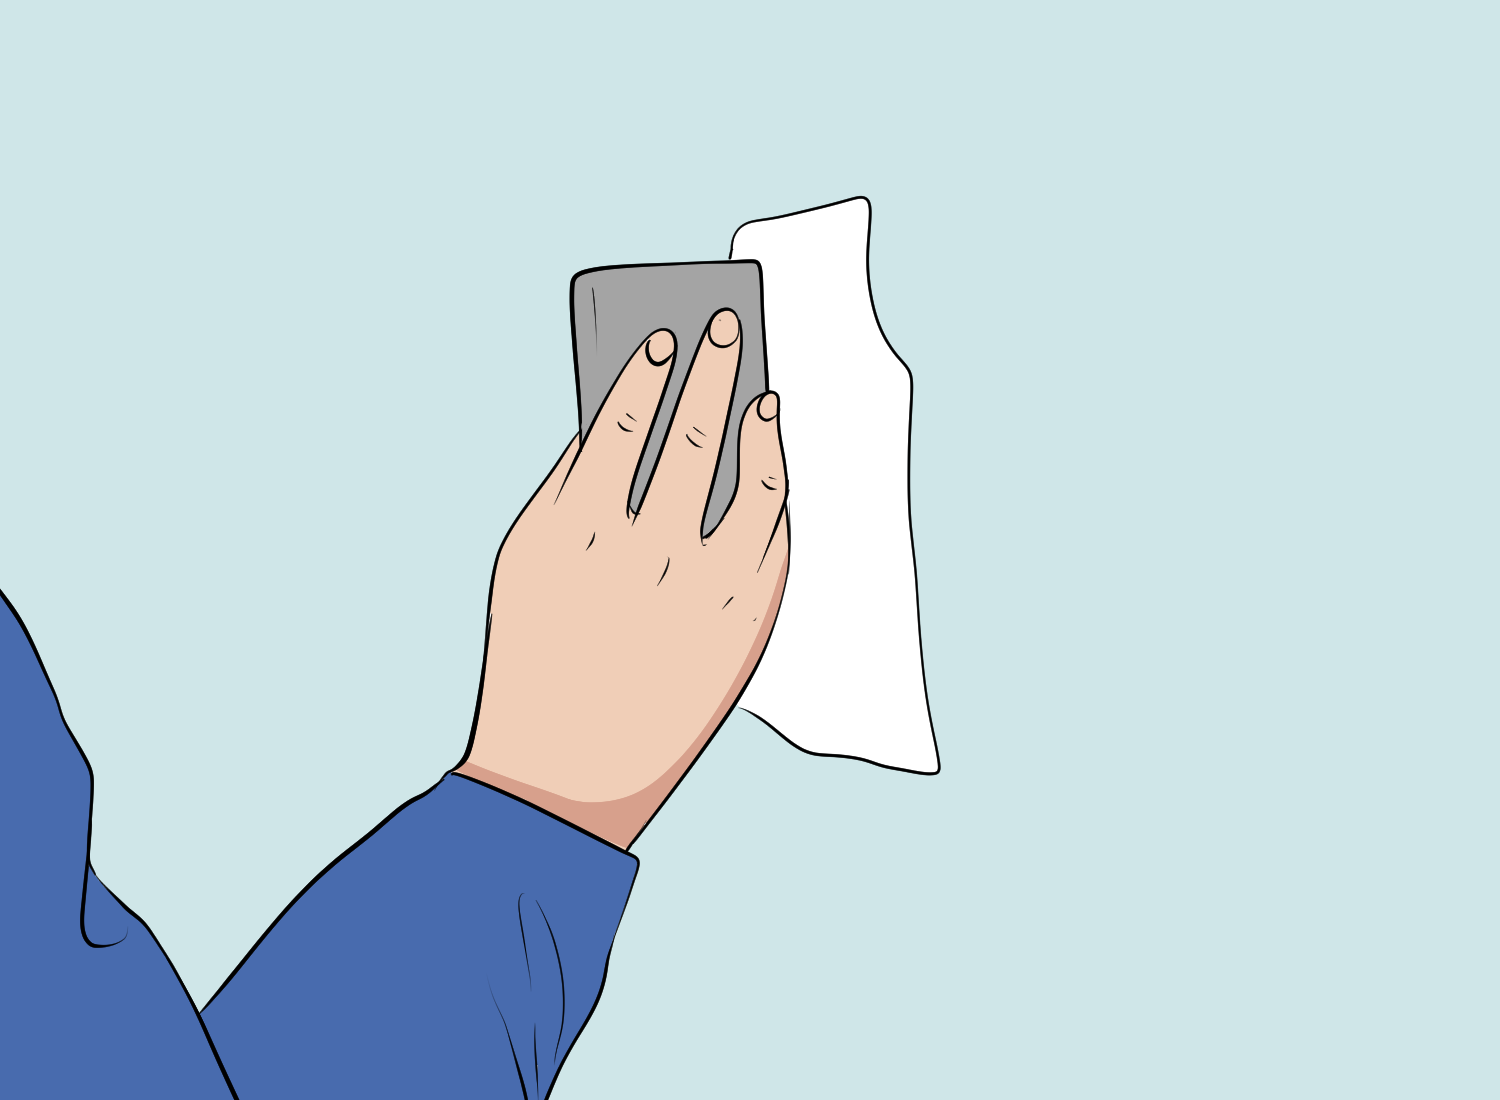
Use a feathering technique to blend the mud into the surrounding drywall, creating a seamless finish. After the final mud coat has dried, lightly sand the surface with fine-grit sandpaper to remove any bumps or rough spots. Clean the surface with a damp cloth before painting or applying wallpaper.
Sanding and Painting
After hanging and taping drywall, the next step is sanding and painting the corners. Sanding is essential to ensure the corners are smooth and even, while painting gives the walls a finished look.
When sanding drywall corners, it is recommended to use a 120-grit sandpaper. This type of sandpaper is not too rough or too fine, making it perfect for smoothing out rough edges and uneven surfaces. It is important to sand the corners evenly and not over-sand, as this can damage the drywall.
Professional Tips for a Smoother Drywall
When it comes to drywalling corners, a few professional tips can make all the difference in achieving a smooth finish. These tips can help anyone, from DIY enthusiasts to professionals, achieve a polished look for their walls.
- One of the most important secrets to smoother drywall is to use the right tools. This includes a drywall knife, taping knife, and corner trowel. These tools are available at most hardware stores.
- Applying joint compound properly is another key secret to achieving a smooth finish. This non-adhesive material is used to fill in gaps between drywall sheets and smooth out the surface. Applying it too thickly or too thinly can result in an uneven finish.
- You must sand the joint compound after it dries. This helps to remove any bumps or ridges and create a smooth finish. It’s important to use fine-grit sandpaper and to avoid sanding too aggressively, as this can damage the drywall.
- Finally, taking your time is one of the most important secrets to achieving a smooth finish. Rushing the process can lead to mistakes and an uneven finish. By following these professional secrets, anyone can achieve a polished look for their drywall corners.
FAQ's
The most commonly used materials for drywall corner beads are metal and vinyl. Metal corner bead is sturdy and durable and can be used for inside and outside corners. Vinyl corner bead is lightweight and flexible and is best suited for inside corners. Ultimately, the choice of material depends on the project’s specific needs.
To install a metal drywall corner bead, first measure and cut the bead to the appropriate length. Then, apply a thin layer of joint compound to the corner of the wall. Next, press the corner bead into place and secure it with drywall screws or nails. Finally, apply joint compound over the bead and let it dry before sanding and finishing.
The inside corner bead is a pre-formed material used to reinforce inside corners. On the other hand, paper tape is a flat strip of paper used to reinforce drywall seams. While both are used to strengthen the corners and seams, the inside corner bead provides a more durable and long-lasting solution.
First, measure and cut the bead to install drywall outside corner bead to the appropriate length. Then, apply a thin layer of joint compound to the corner of the wall. Next, press the corner bead into place and secure it with drywall screws or nails. Finally, apply joint compound over the bead and let it dry before sanding and finishing.
It is recommended to tape drywall seams first before installing corner beads. This is because the joint compound that covers the tape must dry before the corner bead is installed. Once the corner bead is installed, the joint compound can be applied over it along with the seams.
No, drywall should not be overlapped on corners. Instead, the edges of the drywall should meet at the corner and be reinforced with corner beads or paper tape. Overlapping the drywall can lead to uneven surfaces and make it difficult to install corner beads or tape.