If you spot cracks in your drywall, take comfort in knowing that this issue is quite common. These fissures can arise for several reasons, such as your house settling, changes in temperature, or simply as a natural result of the aging process over time.
It’s important to identify the type of crack you’re dealing with. Small hairline cracks can often be filled with spackle or joint compound, while larger cracks may require a more extensive repair process.
By properly identifying the type of crack and the necessary repair process, you can ensure that your repairs will be effective and long-lasting.

Materials and tools required
To fix cracks in drywall, you will need a few materials and tools. Here are the essential items you will need:
Materials
- Joint compound: This is a paste used to cover joints, cracks, and holes in drywall. It is available in premixed or powder form.
- Tape: Drywall tape is used to reinforce joints and prevent cracks from reappearing. It comes in paper or fiberglass form.
- Spackle: This is a lightweight compound used to fill small holes and cracks in drywall. It is available in premixed or powder form.
- Drywall screws: These screws are used to attach drywall to studs or other framing. They come in different lengths and thicknesses.
- Sandpaper: This is used to smooth out rough edges and surfaces after repairs have been made.
- Drywall patch: This is a self-adhesive patch used to cover small holes and cracks in drywall. It comes in different sizes and shapes.
- Spackling compound: This is a lightweight paste used to fill small holes and cracks in drywall. It is available in premixed or powder form.
- Fiberglass tape: This is a self-adhesive tape used to reinforce joints and prevent cracks from reappearing.
Tools
- Utility knife: This is used to cut drywall, tape, and other materials.
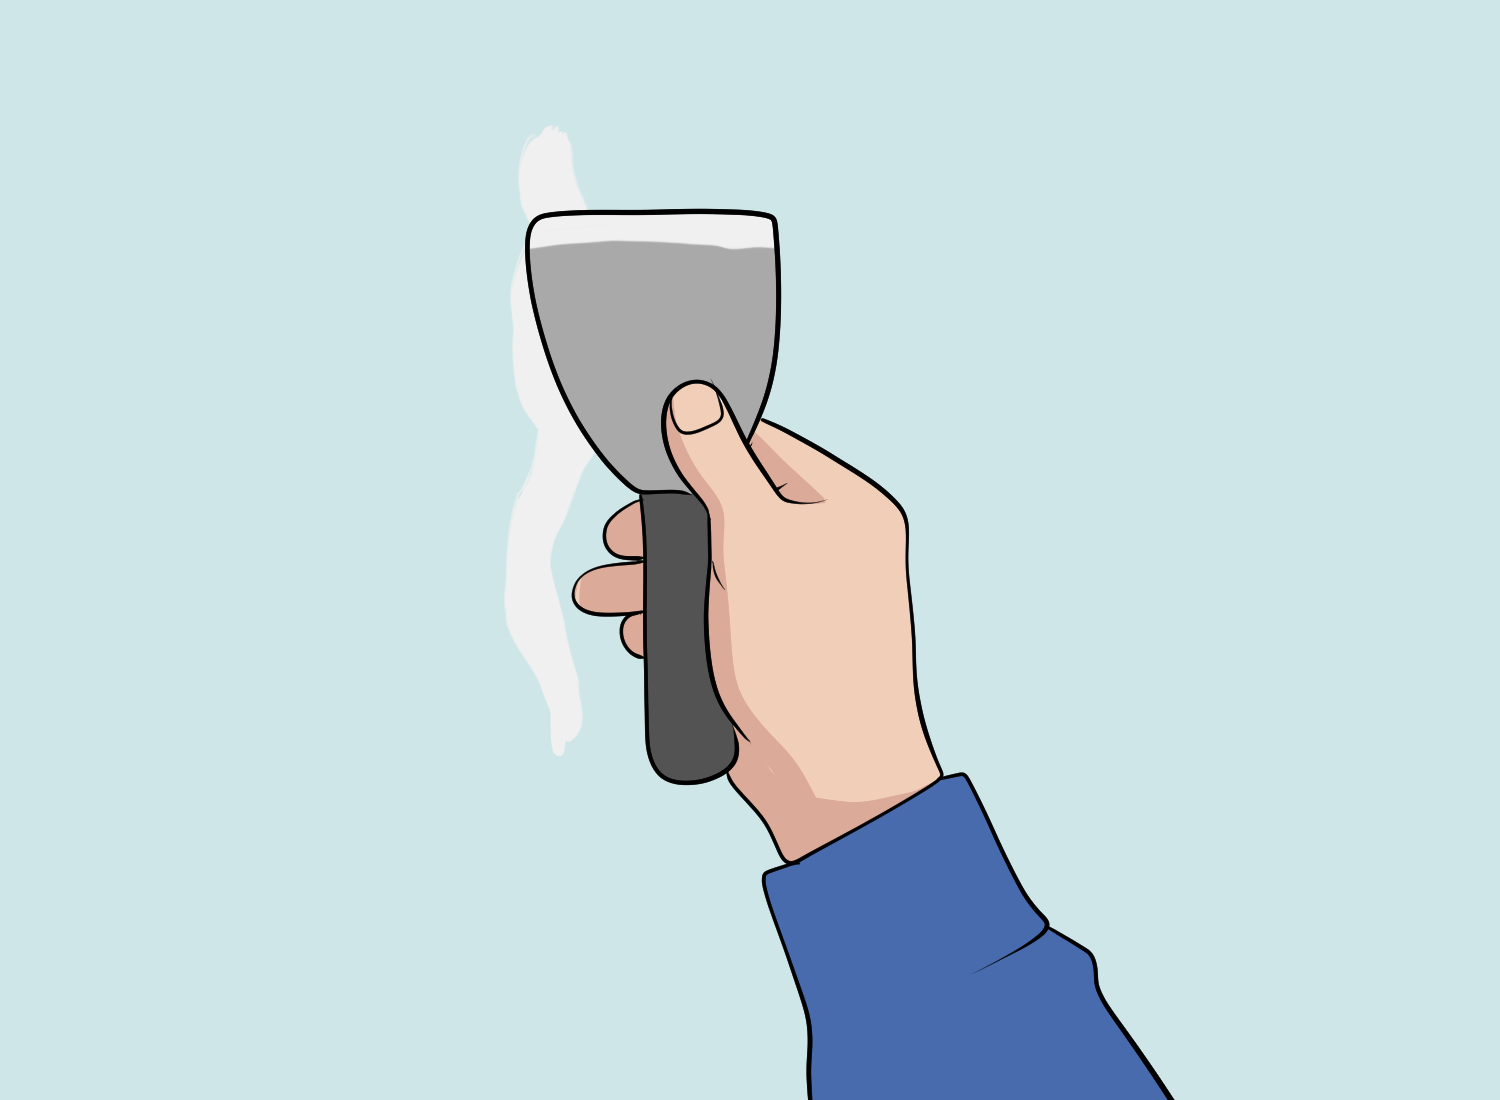
- Putty knife: This is used to apply joint compound, spackle, and other materials.
- Taping knife: This is used to apply drywall compound and tape to joints.
- Drywall saw: This is used to cut drywall to size.
- Stud finder: This is used to locate studs behind drywall.
- Hammer: This is used to drive in drywall screws.
- Rag: This is used to wipe away excess joint compound and spackle.
It is important to have all the necessary materials and tools before starting any drywall repairs. This will ensure that the repairs are done correctly and efficiently.
Identifying the type of crack
When it comes to fixing cracks in drywall, it’s important to first identify the type of crack you’re dealing with. Understanding the type of crack will help you determine the best course of action to fix it.
| Crack type | Cause | DIY or PRO |
|---|---|---|
| Hairline Cracks | Lots of movement | DIY |
| Diagonal Cracks | Foundation shift | Professional |
| Vertical Cracks | Foundation shift | Professional |
| Horizontal Cracks | Foundation shift | Professional |
Hairline cracks
Hairline cracks are the most common type of drywall crack. They are thin and shallow, and often appear in areas where there is a lot of movement, such as around doors and windows.
Hairline cracks are typically not a cause for concern and can be easily fixed with a coat of joint compound.
Diagonal cracks
Diagonal cracks are more serious than hairline cracks and can indicate a problem with the structure of the building. These cracks often appear at a 45-degree angle and can be caused by foundation settling or shifting.
If you notice diagonal cracks in your drywall, it’s important to have them inspected by a professional to determine the underlying cause.
Vertical cracks
Vertical cracks are another type of crack that can indicate a structural problem. These cracks are typically caused by settling or shifting of the foundation and should be inspected by a professional.
Horizontal cracks
Horizontal cracks are the most serious type of crack and can indicate a major structural problem. These cracks are typically caused by water damage or foundation issues and should be inspected by a professional immediately.
In conclusion, identifying the type of crack is crucial in determining the best course of action to fix it.
While hairline cracks can be easily fixed with joint compound, more serious cracks should be inspected by a professional to determine the underlying cause.
5 steps to fixing drywall cracks
Before you start fixing cracks in drywall, you need to prepare the area for repair. Here are the steps you should follow:
Step 1: Assess the damage
The first step is to assess the damage. Look for any cracks, seams, or holes in the wall. Determine the size and location of the damage. If the crack is wider than 1/8 inch, you should use drywall tape to reinforce the repair.

Step 2: Clean the area
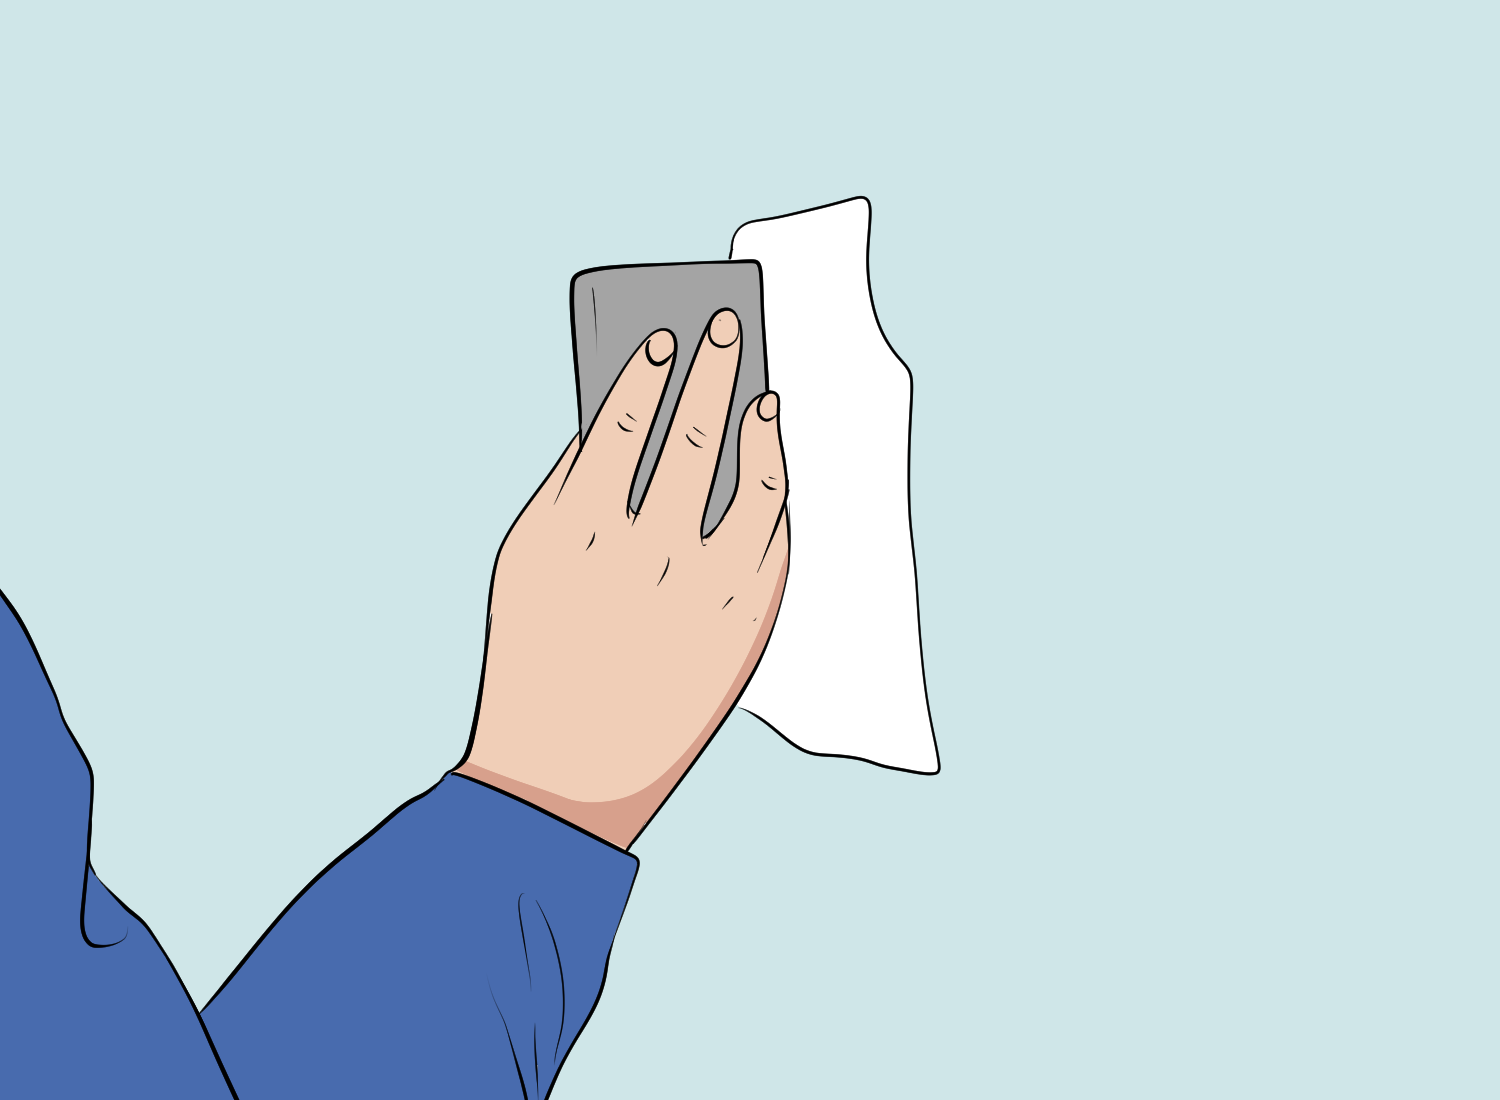
Next, you need to clean the area around the damaged spot. Remove any loose debris or flaking material. Use a dry cloth or brush to remove any dust or dirt.
If there are any air bubbles in the drywall compound, use a putty knife to remove them.
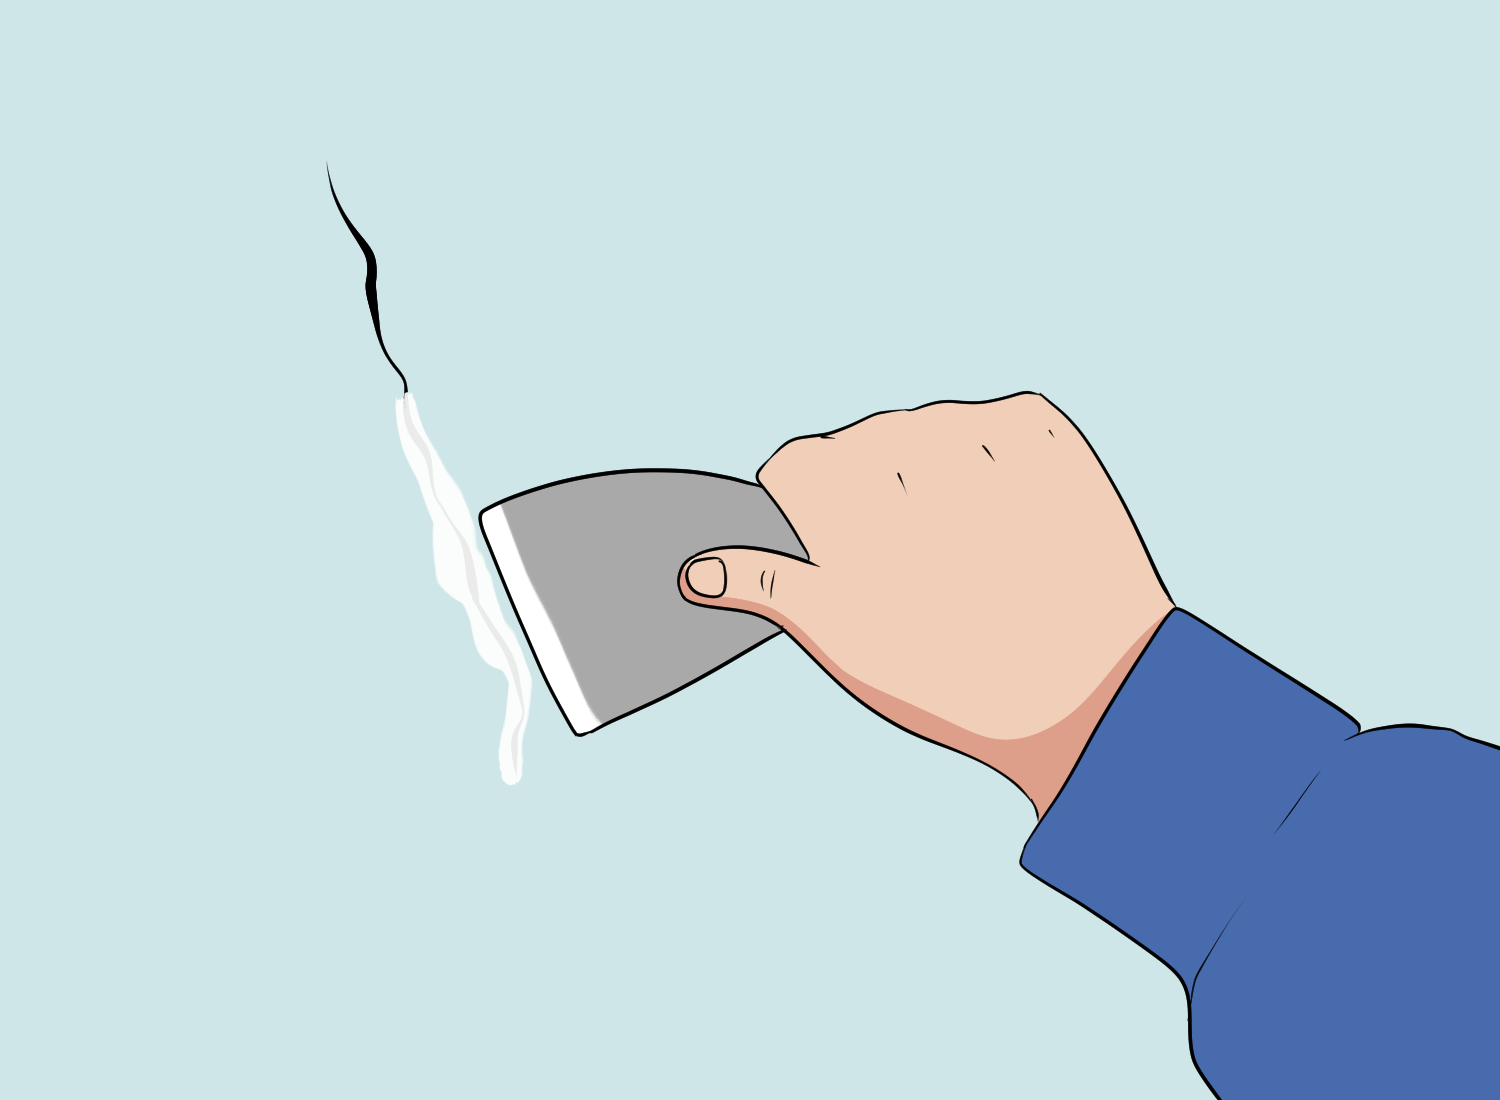
Step 3: Apply drywall compound
Apply drywall compound to the patched area. Use a putty knife to spread the compound over the crack or hole.
Feather the edges of the compound to blend it into the surrounding wall. Repeat the process until the patched area is smooth and level.
Step 4: Sand the area
Once the drywall compound has dried, use sandpaper to smooth the patched area. Start with a coarse grit sandpaper and gradually move to a finer grit. Sand until the patched area is smooth and level with the surrounding wall.
Step 5: Repeat if necessary
If the crack or hole is still visible after sanding, repeat the process of applying drywall compound and sanding until the patched area is smooth and level.
By following these preparation steps, you can ensure a successful repair of drywall cracks and holes.
How to fix small cracks
Small cracks in drywall can be an eyesore, but they are relatively easy to fix. Here are the steps to fix small cracks in drywall:
- Clean the area around the crack: Use a clean, dry cloth to remove any dust or debris from the area around the crack. This will ensure that the joint compound adheres properly.
- Apply joint compound: Use a putty knife to apply a thin layer of joint compound over the crack. Make sure the compound covers the crack completely and extends slightly beyond the edges of the crack.
- Apply drywall tape: Cut a piece of drywall tape to size and place it over the crack. Use a taping knife to smooth out any air bubbles and ensure that the tape is firmly pressed into the joint compound.
- Apply a second layer of joint compound: Use a putty knife to apply a second layer of joint compound over the drywall tape. Feather the edges of the compound to blend it with the surrounding wall.
- Sand the patched area: Once the joint compound is dry, use a sanding block or sandpaper to smooth out any rough spots or high spots.
- Prime and paint: Once the patched area is smooth, prime it with a good quality primer and then paint it to match the surrounding wall.
It’s important to note that if the crack is wider than 1/8 inch, you may need to use a different method to fix it.
Also, if the crack is caused by a structural issue, it’s important to address the underlying problem before attempting to fix the crack.
Overall, fixing small cracks in drywall is a relatively simple process that can be done with a few basic tools and materials. With a little bit of patience and attention to detail, you can make your walls look as good as new.
Fixing large cracks and holes
Fixing large cracks and holes in drywall requires a bit more effort and expertise than fixing smaller ones. For larger holes, it is best to cut out the damaged area and replace it with a new piece of drywall.
However, for larger cracks, it is possible to repair them with joint compound and tape.
Cutting loose drywall and locating wall studs
To fix a large crack, use a utility knife or drywall saw to cut out any loose or damaged drywall around the crack. Then, use a stud finder to locate the wall studs on either side of the crack.
Applying joint compound
Cut a piece of paper drywall tape to fit the length of the crack, and apply a layer of joint compound over the crack.
Next, place the tape over the joint compound, and use a taping knife to smooth out any air bubbles and ensure that the tape is securely embedded in the joint compound.
Allow the joint compound to dry completely, then apply a second layer of joint compound over the tape, feathering the edges to blend it into the surrounding wall.
Repairing large drywall holes
For larger holes, start by cutting out a square or rectangular shape around the damaged area, making sure to cut along the center of the wall studs.
Cut a piece of drywall patch to fit the hole, and secure it in place with wood backing strips and drywall screws.
Applying layers of joint compound
Next, apply a layer of joint compound over the seams between the patch and the surrounding wall, and embed paper drywall tape in the joint compound using a 6-inch drywall knife.
Allow the joint compound to dry completely, then apply a second layer of joint compound, feathering the edges to blend it into the surrounding wall.
Sanding rough spots
Once the joint compound is dry, use sandpaper to smooth out any rough spots or edges. Finish the repair by applying a coat of spackling compound over the patched area, feathering the edges to blend it into the surrounding wall.
Sand the patched area smooth, and it is ready for painting. Remember to take your time and work carefully, and you can achieve professional-quality results.
Post repair steps
Once you have repaired the crack in your drywall, there are a few post-repair steps you should take to ensure that the repair is properly finished and ready for painting.
Sanding
After the joint compound has dried, use a fine-grit sandpaper to sand the surface of the repair until it is smooth and level with the surrounding wall.
Be sure to wear a dust mask and eye protection while sanding, and wipe away any dust with a damp cloth.
Priming
Before painting, it is important to apply a coat of primer to the repaired area. This will help the paint adhere to the surface and prevent any discoloration or unevenness. Allow the primer to dry completely before painting.
Painting
Once the primer has dried, you can paint over the repaired area with your chosen color. Be sure to use a paint that matches the rest of the wall, and apply it evenly with a paintbrush or roller.
Allow the paint to dry completely before applying a second coat, if necessary.
Touch-up
After painting, inspect the repaired area for any imperfections or unevenness. If necessary, touch up the area with additional joint compound, sanding, priming, and painting until the repair is seamless and undetectable.
By following these post-repair steps, you can ensure that your drywall repair is properly finished and ready for painting.
When to call a professional
While fixing a small crack in drywall may seem like an easy DIY project, there are certain situations where it’s best to call a professional. Here are some instances where you should consider hiring a general contractor or a drywall contractor:
Structural problems
If you notice that the crack in your drywall is accompanied by other signs of structural problems, such as sagging floors or ceilings, it’s important to call a professional.
Structural problems can be caused by a variety of issues, such as foundation issues or water damage. If left untreated, these problems can lead to serious safety hazards and expensive repairs.
Large or multiple cracks
If the crack in your drywall is larger than a quarter inch or if there are multiple cracks, it’s best to call a professional. A drywall contractor can assess the situation and determine the underlying cause of the cracks.
They can also repair the damage in a way that will ensure the crack won’t return.
Water damage
If the crack in your drywall is the result of a leak or other water damage, it’s important to call a professional. Water damage can cause serious structural problems and can lead to mold growth.
A professional can assess the extent of the damage and make any necessary repairs.
Damaged drywall
If your drywall is damaged in addition to having cracks, it’s best to call a professional. A professional can replace the damaged drywall and repair any cracks in a way that will ensure the problem won’t return.
In summary, if you notice any signs of structural problems, large or multiple cracks, water damage, or damaged drywall, it’s best to call a professional.
While it may be tempting to try and fix the problem yourself, a professional can ensure that the repair is done correctly and safely.
Causes of drywall cracks
Drywall cracks are common in most homes, and they can be caused by various factors. Here are some of the most common causes of drywall cracks:
Settling
As a house settles over time, it can cause cracks to appear in the drywall. Settling can occur due to various reasons such as the weight of the house, soil movement, and changes in the moisture content of the soil.
These cracks are usually found near the corners of doors and windows.
Temperature changes
Temperature changes can also cause drywall cracks. When the temperature changes, the drywall expands and contracts, which can lead to cracks.
This is particularly common in areas with extreme temperature changes, such as attics and basements.
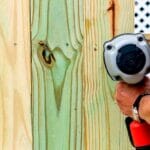
Green lumber
Green lumber is lumber that has not been dried properly. When green lumber is used to build a house, it can cause drywall cracks. This is because green lumber dries out over time, which can cause the walls to shift and crack.
Foundation settlement
Foundation settlement is another common cause of drywall cracks. When a house is built on a foundation that is not stable, it can cause the walls to shift and crack.
This can be caused by various factors such as soil movement, poor construction, and changes in the moisture content of the soil.
Structural problems
Structural problems such as roof leaks, termite damage, and foundation problems can also cause drywall cracks. These problems can weaken the structure of the house, which can cause the walls to shift and crack.
In summary, drywall cracks can be caused by various factors such as settling, temperature changes, green lumber, foundation settlement, and structural problems.
It is important to identify the underlying cause of the cracks before attempting to fix them.
FAQ's
The best materials for fixing drywall cracks are drywall joint compound, ready-mixed, adhesive drywall mesh joint tape, multipurpose spray adhesive, and drywall screws, coarse-thread, 1-5/8-inch.
These materials are easily available at hardware stores and are cost-effective.
If you want to fix vertical cracks in drywall without using tape, you can use a drywall patch kit. These kits come with a self-adhesive mesh patch that you can place over the crack.
Then, apply a joint compound over the mesh and smooth it out. Wait for it to dry, sand it down, and then paint over it.
For deep cracks in drywall, it is best to use a setting-type joint compound. This compound hardens quickly and is more durable than regular joint compound.
First, cut a V-shaped notch along the length of the crack, then fill it with the joint compound using a putty knife. Wait for it to dry, sand it down, and then paint over it.
To fix cracks in drywall with texture, first, remove any loose material from the crack. Then, apply joint compound over the crack and use a texture brush or roller to match the existing texture.
Wait for it to dry, sand it down, and then paint over it.
Yes, it is possible to fix cracks in drywall without professional help. With the right tools and materials, you can easily fix cracks in drywall yourself. However, if you are not confident in your DIY skills, it is always best to seek professional help.
Yes, cracks in drywall can be a sign of foundation problems.
If you notice cracks in your drywall that are accompanied by other signs of foundation problems, such as uneven floors or doors that won’t close properly, it is best to have your foundation inspected by a professional.