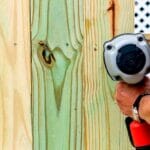
Enhancing the atmosphere of your room can be effortlessly achieved by adorning your walls with art pieces. Yet, the challenge of hanging art may seem overwhelming, particularly when dealing with drywall, which demands accuracy and skill. However, fear not! Armed with the appropriate tools and methods, mastering the skill of affixing pictures on drywall is within reach for everyone.
Begin by choosing the desired location for your picture. If possible, hang the picture on a wall stud for added strength. If not, use drywall anchors appropriate for the weight of the picture. Next, mark your hanging point, drill a small hole, and insert the anchor if necessary. Screw in the hook or hanger, ensuring its level. Finally, hang your picture and adjust it as needed.
A few different methods can be used to hang pictures on drywall. One popular option is using a picture hanging kit, which typically includes hooks and nails specifically designed for hanging pictures.
Another option is adhesive strips, which can be a good choice for smaller, lightweight pictures. With the right tools and techniques, hanging pictures on drywall can be a simple and rewarding DIY project that anyone can tackle.

Tools You’ll Need to Hang Pictures on Drywall
When hanging pictures on drywall, choosing the right tools is essential for ensuring a secure and level installation. Here are some tools that are commonly used for hanging pictures on drywall:
- Hammer
- Drill Bit
- Stud Finder
- Level
- Pencil
- Tape Measure
- Sawtooth Hanger
- Picture Hanging Kit
Types of Anchors and Hangers
When it comes to hanging pictures on drywall, choosing the right anchor or hanger is crucial to ensure that the picture stays securely in place. Here are some of the most common types of anchors and hangers that can be used for hanging pictures on drywall.
Wall Anchors

Wall anchors are designed to spread out the weight of the object being hung, making them ideal for heavier pictures. Wall anchors come in various materials, including plastic, metal, and nylon, and can be used with screws or bolts.
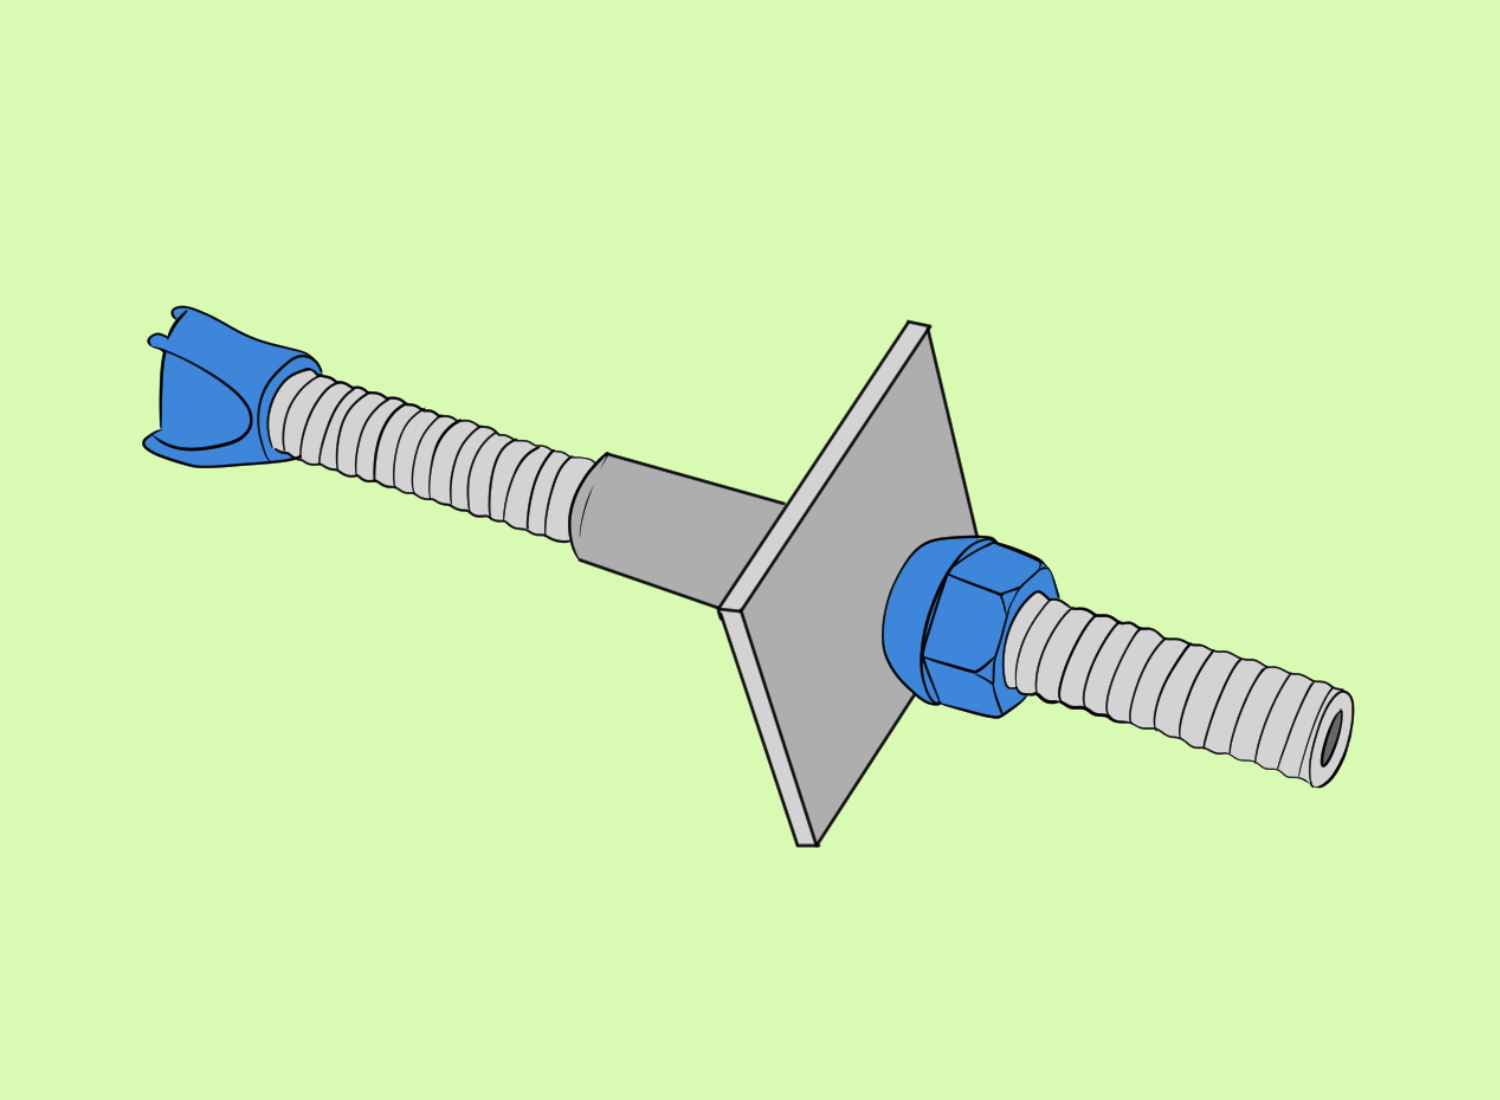
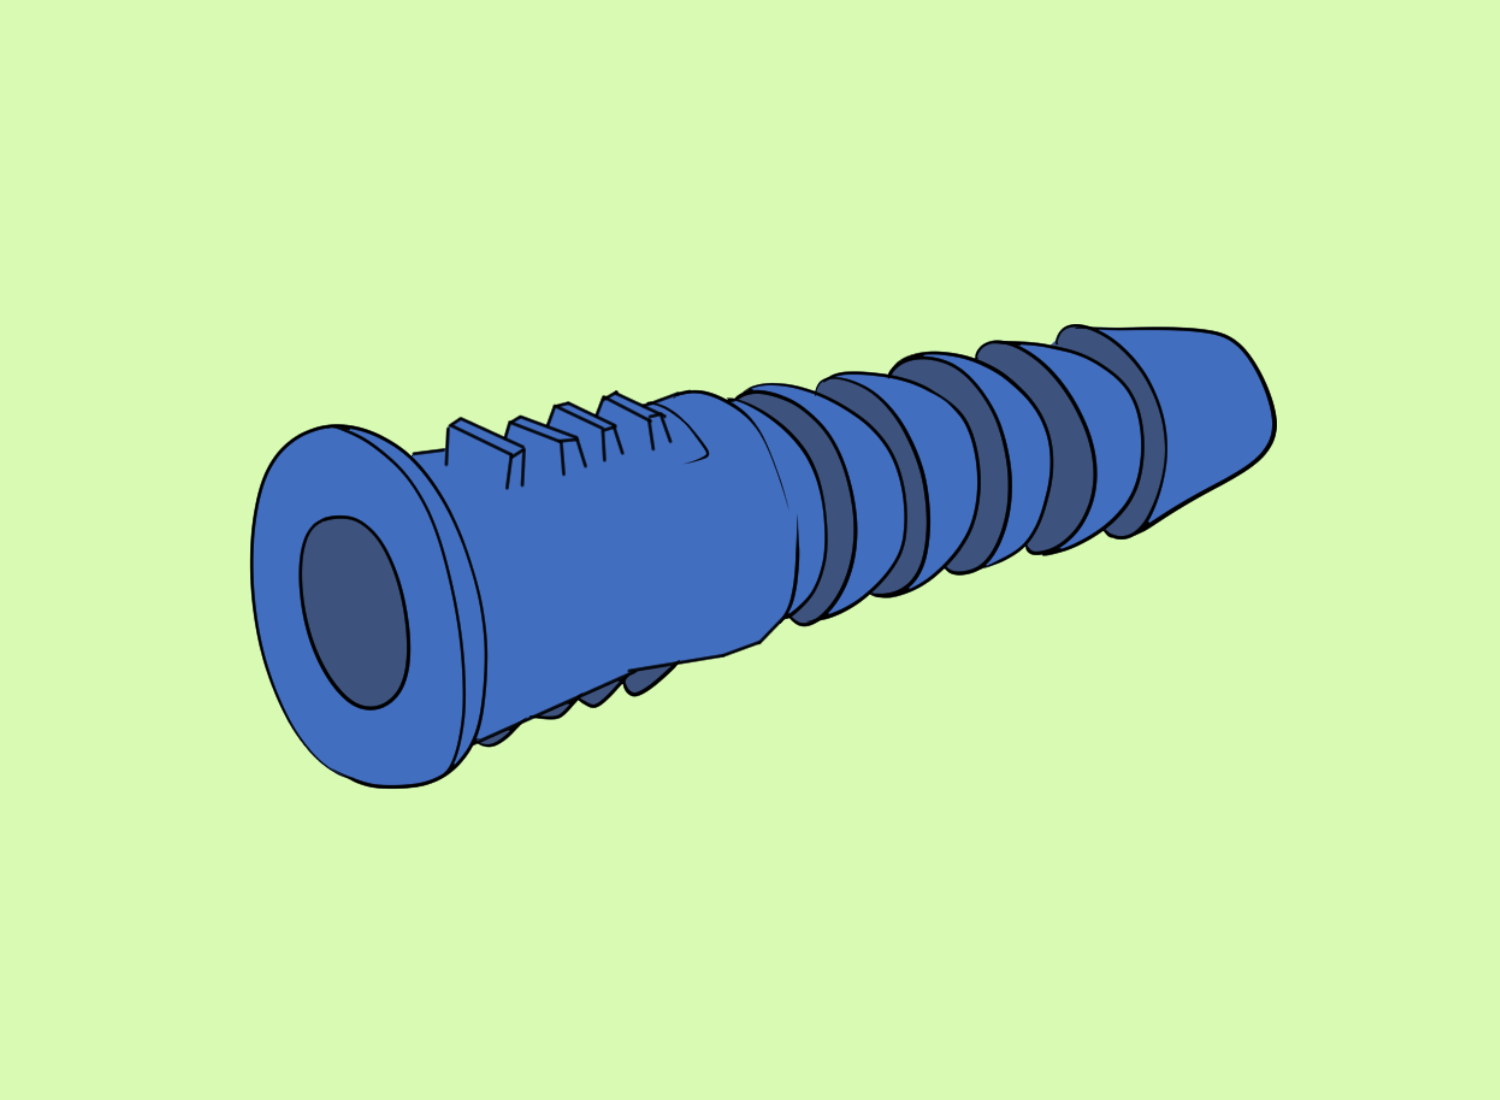
Toggle Bolts
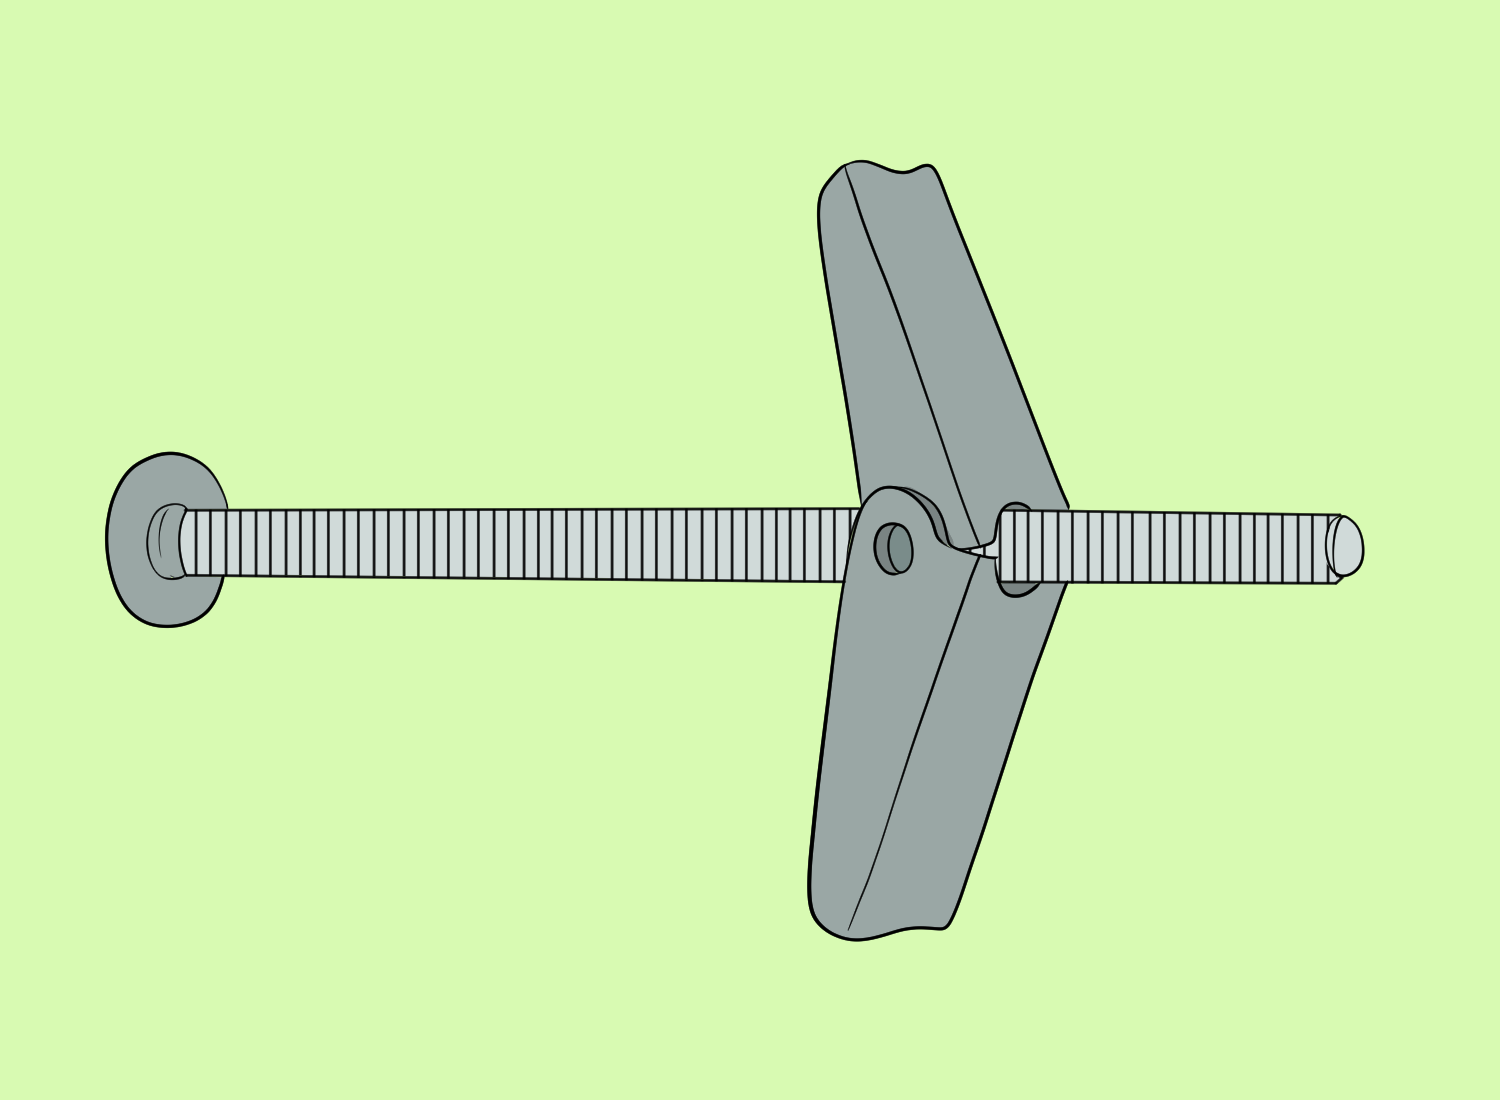
Toggle bolts consist of a bolt with two spring-loaded wings that expand once the bolt is inserted into the wall. Toggle bolts are ideal for hanging heavier pictures, as they can support more weight than regular wall anchors.
Self-Drilling Anchors
Self-drilling anchors are designed to make the installation process easier. They have a sharp point that allows them to be drilled directly into the drywall without needing a pilot hole. Self-drilling anchors are ideal for hanging lighter pictures.
Plastic Anchors
Plastic anchors are lightweight and easy to install, making them ideal for smaller pictures. Plastic anchors come in various sizes and can be used with screws or bolts.
Lag Bolts
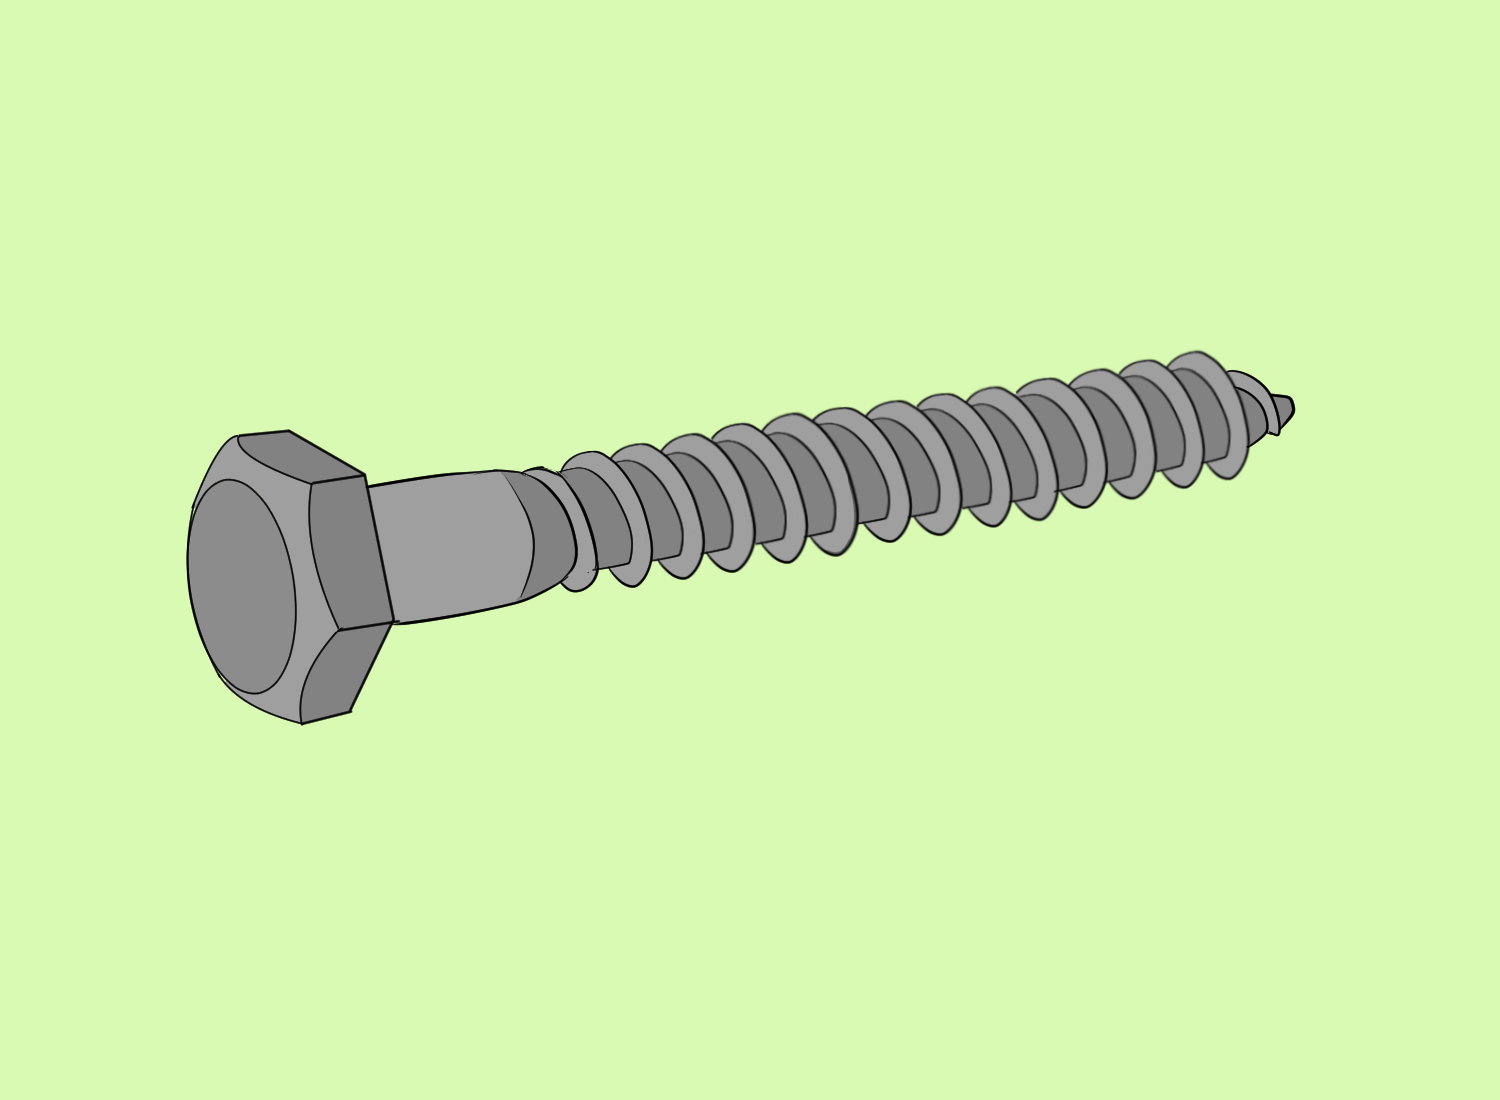
Lag bolts are heavy-duty screws designed to be used with wall anchors. They are ideal for hanging larger and heavier pictures on drywall. Lag bolts come in a variety of sizes and can be used with a variety of wall anchors.
Picture Hangers
Picture hangers are designed to be used with wire-backed picture frames. They consist of a hook attached to the back of the frame and a nail or screw inserted into the wall. Picture hangers are ideal for hanging lighter pictures on drywall.
Steps to Hang a Picture on Drywall
Step 1: Find the stud
When hanging pictures on drywall, it is important to locate the studs to ensure the picture is securely fastened to the wall. Studs are vertical framing members that provide support for the drywall. They are typically made of wood or metal and are 16 or 24 inches apart.
There are 3 ways to locate studs:
- Stud finder – One way to find a stud is to use a stud finder. These handheld devices use a magnet or electronic sensor to locate the metal screws or nails that attach the drywall to the studs. Simply run the stud finder along the wall until it beeps or lights up to indicate the location of a stud.
- Clues in the drywall – Studs are typically located near light switches, electrical outlets, and corners. Look for small dimples or bumps in the drywall, which may indicate the location of a screw or nail.
- Tap on the wall – with a hammer or the handle of a screwdriver. A solid sound indicates the presence of a stud, while a hollow sound indicates the absence of a stud. However, this method can be unreliable and damage the drywall if not done carefully.
It is important to note that studs may not always be where you expect them to be. Pipes, wires, and other obstacles may cause studs to be spaced irregularly or in unexpected places. Therefore, it is important to use caution when hanging pictures and to use appropriate hardware, such as wall anchors, if necessary.
Step 2: Marking and Drilling Holes
Before hanging pictures on drywall, it is important to mark and drill the holes properly to ensure a secure and stable hold. Here are some tips to follow:
- Marking the Holes – To mark the spot where the holes should be drilled, use a pencil to mark the top edge of the picture frame lightly. Then, measure the distance from the top of the frame to the center of the hanging wire or hook. Transfer this measurement to the wall by measuring down from the pencil mark and making a new one at this spot.
- Drilling the Holes – Use a drill bit that is slightly smaller than the screw or anchor that will be used to hang the picture. This will create a pilot hole, making it easier to screw in the screw or anchor. Hold the drill straight and perpendicular to the wall when drilling the pilot hole. This will ensure that the screw or anchor goes straight and securely holds the picture.
- Using Anchors – If the picture is heavy or the drywall is thin, it may be necessary to use anchors. This gives the screw something to grip onto and makes the hold more secure. When using anchors, be sure to choose the right size and type for the picture’s weight and the drywall’s thickness. Follow the manufacturer’s instructions for installation.
Step 3: Hanging Pictures on Drywall
Hanging pictures on drywall can be simple and easy with the right tools and techniques. Whether it’s a single framed piece or a collection of wall art, there are a few things to remember to ensure a secure and level installation.
Tools and Materials
Before hanging pictures on drywall gather the necessary tools and materials. These may include:
- Picture wire or sawtooth hangers
- Picture hooks or nails
- Measuring tape
- Level
- Pencil
- Hammer
Steps for Hanging the Picture
- Determine the placement of the picture: Hold the picture up to the wall and decide on the desired location. Use a measuring tape to ensure the picture is centered and at the desired height.
- Mark the wall with a pencil: Use a level to ensure the marks are straight and even.
- Install the picture hanger: If using picture wire, attach it to the back of the frame according to the manufacturer’s instructions. If using sawtooth hangers, simply attach them to the back of the frame.
- Install the picture hook or nail: Using the pencil marks as a guide, hammer the picture hook or nail into the wall. For heavier pictures, it may be necessary to use a wall anchor to ensure a secure installation.
- Hang the picture: If you’re using a picture wire, hang the wire on the picture hook. If using a sawtooth hanger, simply hang it on the picture hook.
Tips for Hanging Pictures on Drywall
- If hanging a collection of pictures, lay them on the floor first to determine the desired arrangement before hanging them on the wall.
- Use two picture hooks or nails to distribute the weight evenly and prevent the picture from tilting for larger or heavier pictures.
- To avoid damaging the wall, use a stud finder to locate the wall studs for a more secure installation.
- Wear safety glasses to protect your eyes from flying debris when using a hammer.
Safety Precautions
Hanging pictures on drywall may seem simple, but it can be dangerous if proper safety precautions are not taken. Here are some safety tips to keep in mind when hanging pictures on drywall:
Use a Level
Before hanging the picture, it is important to ensure it is level. A level is a tool that helps determine if something is straight. Using a level, avoid hanging a crooked picture that might fall off the wall.
Use the Right Tools
Using the right tools is essential for safety when hanging pictures on drywall. A hammer and drill bit are the most common tools used to hang pictures. When using a hammer, hold it securely and strike the nail straight on. When using a drill bit, use the right size and avoid drilling too deep into the wall.
Check for Wires
Before drilling into the wall, it is important to check for wires. Drilling into a wire can be dangerous and cause electrical shock or even start a fire. A wire detector can be used to locate wires in the wall.
Use Masking Tape
Using masking tape can help prevent damage to the drywall. You can prevent the drywall from cracking or chipping by placing a small piece of masking tape on the wall where the nail will go.
Take Your Time
Rushing to hang a picture can lead to mistakes and accidents. Take your time and follow the safety precautions to ensure a safe and successful picture-hanging experience.
By following these safety precautions, you can safely and confidently hang pictures on drywall without any accidents.
FAQ's
Several types of hardware can hang pictures on drywall, including picture hangers, adhesive strips, and toggle bolts. Picture hangers are the most common and reliable option, as they are specifically designed for hanging pictures and are easy to install.
Adhesive strips are a good option for lightweight pictures but may not be strong enough for heavier ones. Toggle bolts are another option for heavier pictures, but they require drilling a larger hole in the wall and can be more difficult to install.
The amount of weight that drywall can hold when hanging pictures depends on several factors, including the thickness of the drywall, the type of hardware used, and the picture’s location on the wall.
Generally, lightweight pictures can be hung using picture hangers or adhesive strips, while heavier pictures may require toggle bolts or other heavy-duty hardware. It is always a good idea to check the weight limit of the hardware being used and to distribute the weight evenly across the wall.
While it is possible to use drywall nails for hanging pictures, it is generally not recommended. Drywall nails are not as strong as other types of hardware and can easily pull out of the wall, especially when used to hang heavier pictures. Using picture hangers or other types of hardware specifically designed for hanging pictures is better.
When hanging heavy pictures in an apartment, it is important to consider the type of wall and the potential for damage. One option is a French cleat, a type of hardware that allows the picture to be hung securely and evenly.
Another option is to use a picture rail, a molding installed near the ceiling that allows pictures to be hung using hooks and wires. Both of these options are less likely to cause damage to the wall than traditional hardware.
It is important to use a level to hang a heavy picture with two hooks on drywall to ensure that the picture is hung evenly. Measure the distance between the hooks on the back of the picture and mark the corresponding spots on the wall. Use a drill to make holes in the hardware, and then install the picture hangers or other hardware according to the manufacturer’s instructions.
While nails and screws can be used to hang pictures on drywall, screws are generally a better option. Screws are stronger and less likely to pull out of the wall, especially when used with anchors. Nails can be used for lightweight pictures but may not be strong enough for heavier ones. It is always a good idea to check the weight limit of the hardware being used and to distribute the weight evenly across the wall.