If you are in the process of renovating a room or building a brand-new house, it’s essential to master the proper methods for applying joint compound and taping to drywall to achieve a smooth and flawless surface.
Understanding the differences between these materials is important to ensure the best results for your project.
By following these step-by-step instructions, you will be able to achieve a smooth and professional-looking finish for your drywall project.
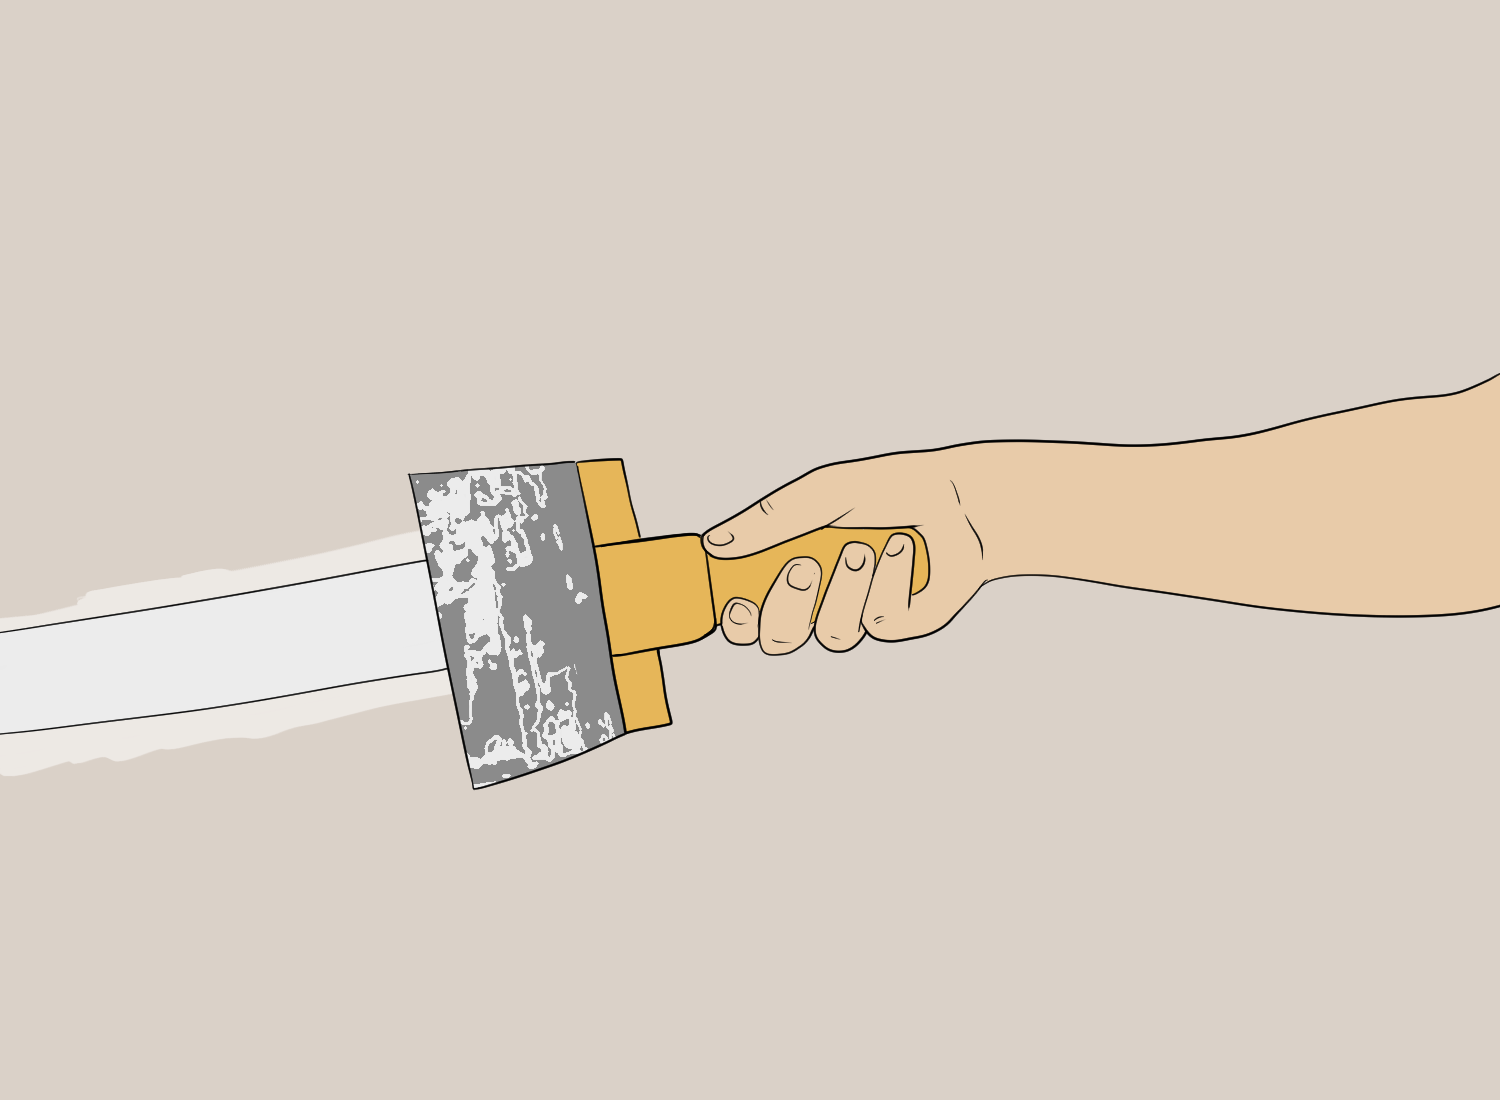
What we cover
ToggleTools and materials
When it comes to taping and mudding drywall, having the right tools and materials is crucial to achieving a professional finish. Here are some of the essential tools and materials you’ll need:
- Taping Knife
- Mud Pan
- Pole Sander
- Respirator Mask
- Drop Cloths
- Trowel
- 10-Inch Drywall Knife
- Flexible Putty Knife
Types of drywall mud
All-purpose mud
All-purpose mud, also known as joint compound, is the most versatile type of mud. It can be used for all stages of drywall installation, including taping, filling, and finishing.
Topping mud
Topping or finishing mud is used for the final coat of drywall finishing. It is a lightweight mud that is easy to sand and provides a smooth finish.
Setting mud
Setting mud, also known as hot mud, is a fast-drying mud that is ideal for filling large gaps and deep holes. Setting mud is most commonly used for the first coat of taping.
Types of drywall tape
Paper tape
Paper tape is the most common type of drywall tape. It is made from paper and has a crease down the middle that allows it to be folded for use on inside corners. Paper tape is easy to work with and provides a strong bond.
Mesh tape
Mesh tape is made from fiberglass or plastic and is self-adhesive. It is ideal for use on outside corners and areas prone to cracking. Mesh tape is available in both dry and wet forms.
Preformed tape
Preformed tape is used on outside wall corners and can be made from paper, plastic, thin metal, or other materials. The preformed tape creates a smooth, consistent appearance.
Fiberglass mesh tape
Fiberglass mesh tape is self-adhesive and sticks flat to the drywall surface. It is also resistant to mold.
Preparation
Before you start mudding and taping drywall, it is important to prepare the surface properly. This will ensure that the final product looks smooth and professional. Here are some steps you can follow to prepare your drywall:
Prep work
Start by cleaning the surface of the drywall. Remove any dust, dirt or debris using a vacuum cleaner or a dry cloth. If there are any stains or marks on the surface, use a damp cloth to remove them.
Allow the surface to dry completely before proceeding.
Corners
Corners are one of the most challenging areas to work on when mudding and taping drywall. To prepare corners, use a corner trowel to apply a thin layer of joint compound.
This will help to fill any gaps or cracks in the corner. Allow the compound to dry completely before proceeding.
Inside corners
Inside corners require special attention. To prepare inside corners, apply a strip of drywall tape along the length of the corner. Press the tape firmly into place using a drywall knife.
Apply a thin layer of joint compound over the tape, using the knife to smooth it out. Allow the compound to dry completely before proceeding.
Outside corners
Outside corners can be prepared in a similar way to inside corners. Apply a strip of drywall tape along the length of the corner, pressing it firmly into place.
Apply a thin layer of joint compound over the tape, using the knife to smooth it out. Allow the compound to dry completely before proceeding.
Edges
To prepare edges, apply a thin layer of joint compound along the edge of the drywall. Use a drywall knife to smooth out the compound. Allow the compound to dry completely before proceeding.
Screw holes
Screw holes should be filled with joint compound. Apply a small amount of compound over the hole using a putty knife. Allow the compound to dry completely before proceeding.
Cracks
If there are any cracks in the drywall, they should be filled with joint compound. Apply a small amount of compound over the crack using a putty knife. Use the knife to smooth out the compound.
Allow the compound to dry completely before proceeding. By following these steps, you can ensure that your drywall is properly prepared for mudding and taping.
Taping process
Taping drywall is a crucial step in finishing drywall installation. It involves covering the joints and screw heads with tape and mud to create a smooth surface. The taping process includes the following steps:
Step 1: Preparing the drywall
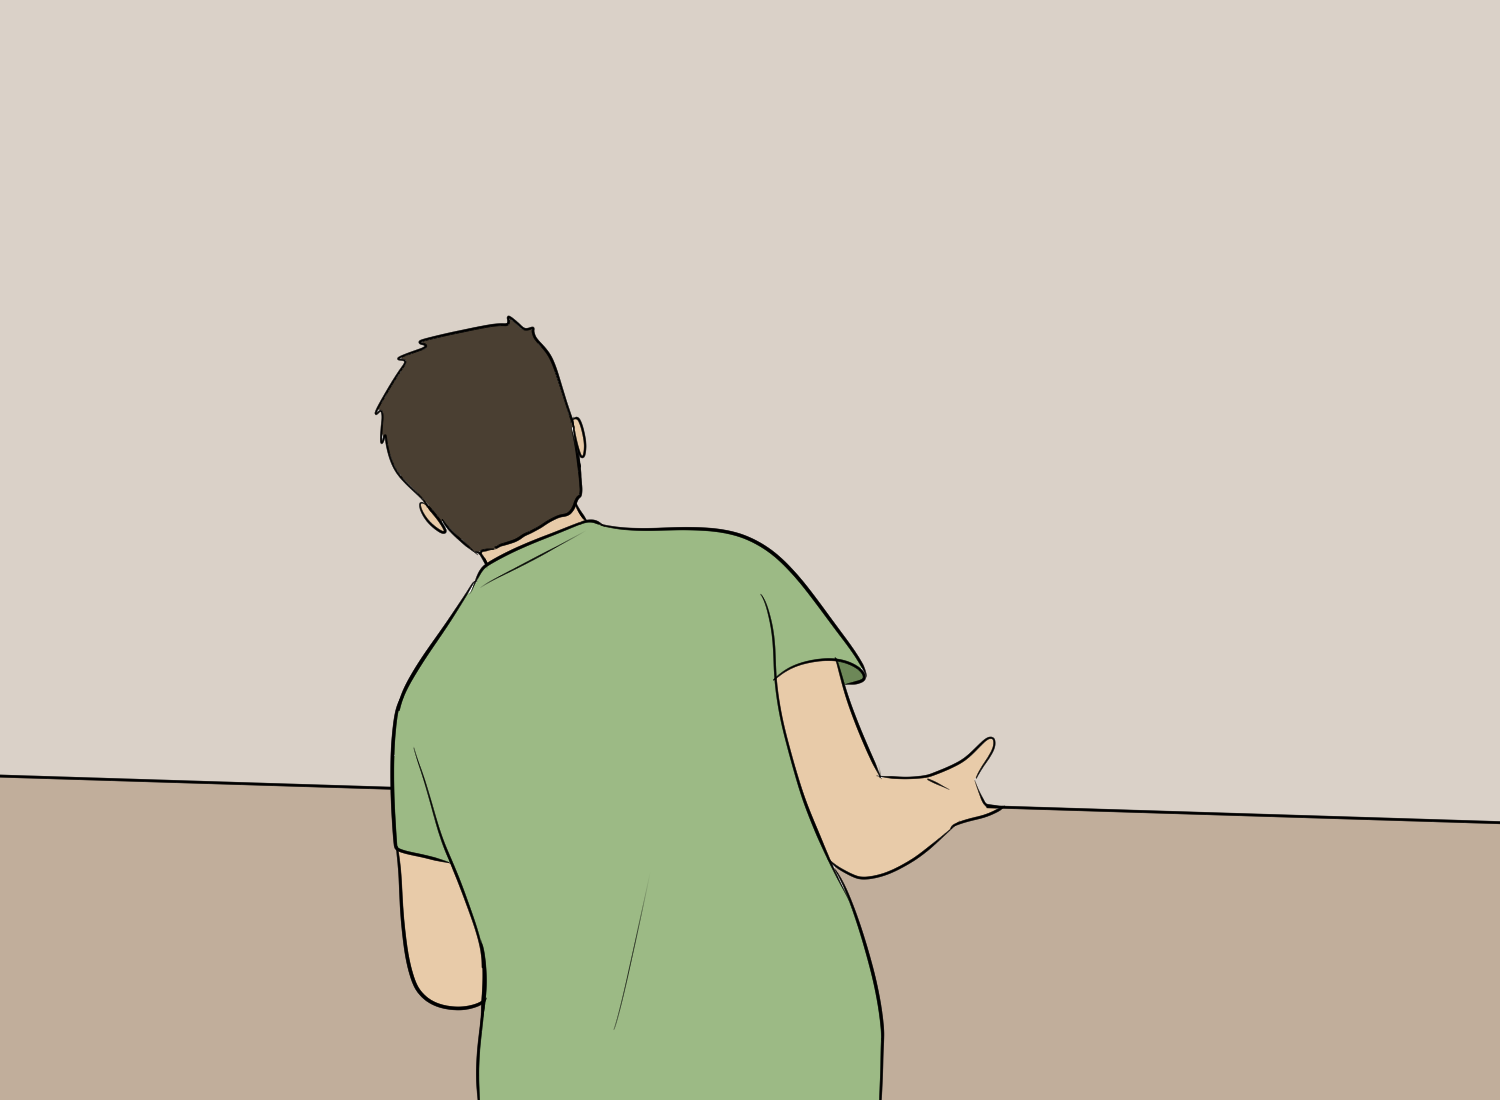
Before taping, ensure that the drywall is properly installed and secured to the wall studs. Inspect the drywall for any gaps or unevenness that may require additional mud to fill.
Step 2: Covering the butt joints
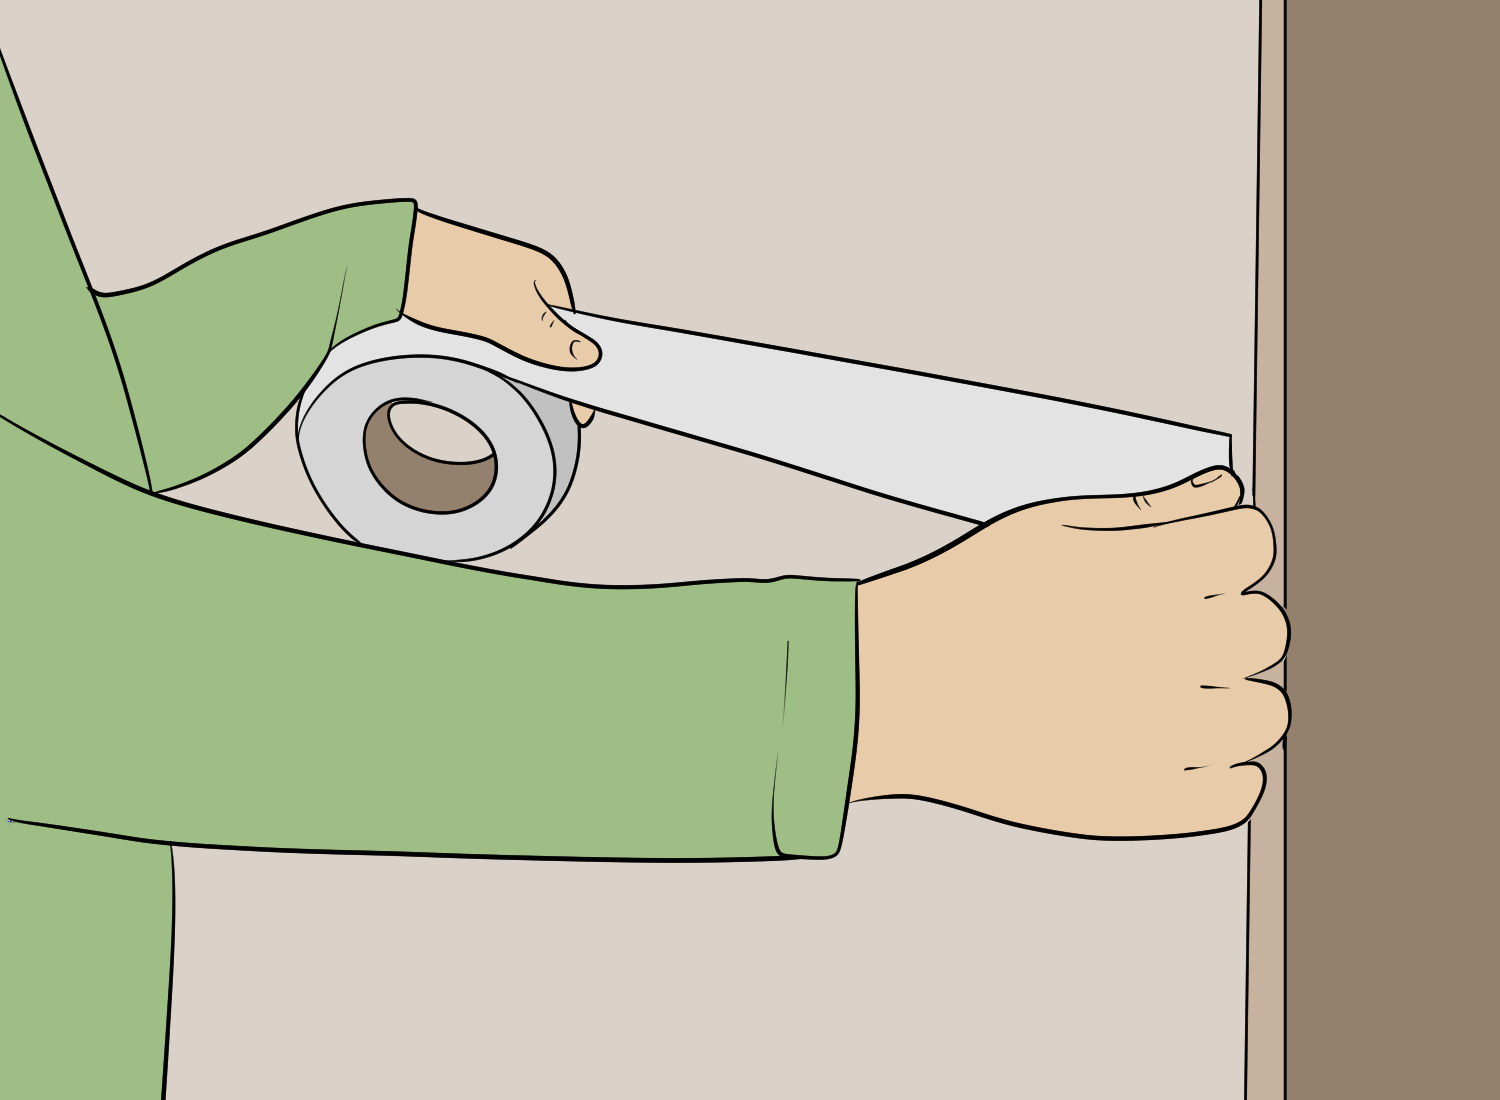
Butt joints are the seams where two pieces of drywall meet end-to-end. Cover the butt joints with a thin layer of mud using a 6-inch taping knife. Then, apply drywall tape over the mud and smooth it down with the knife.
Step 3: Covering the joints
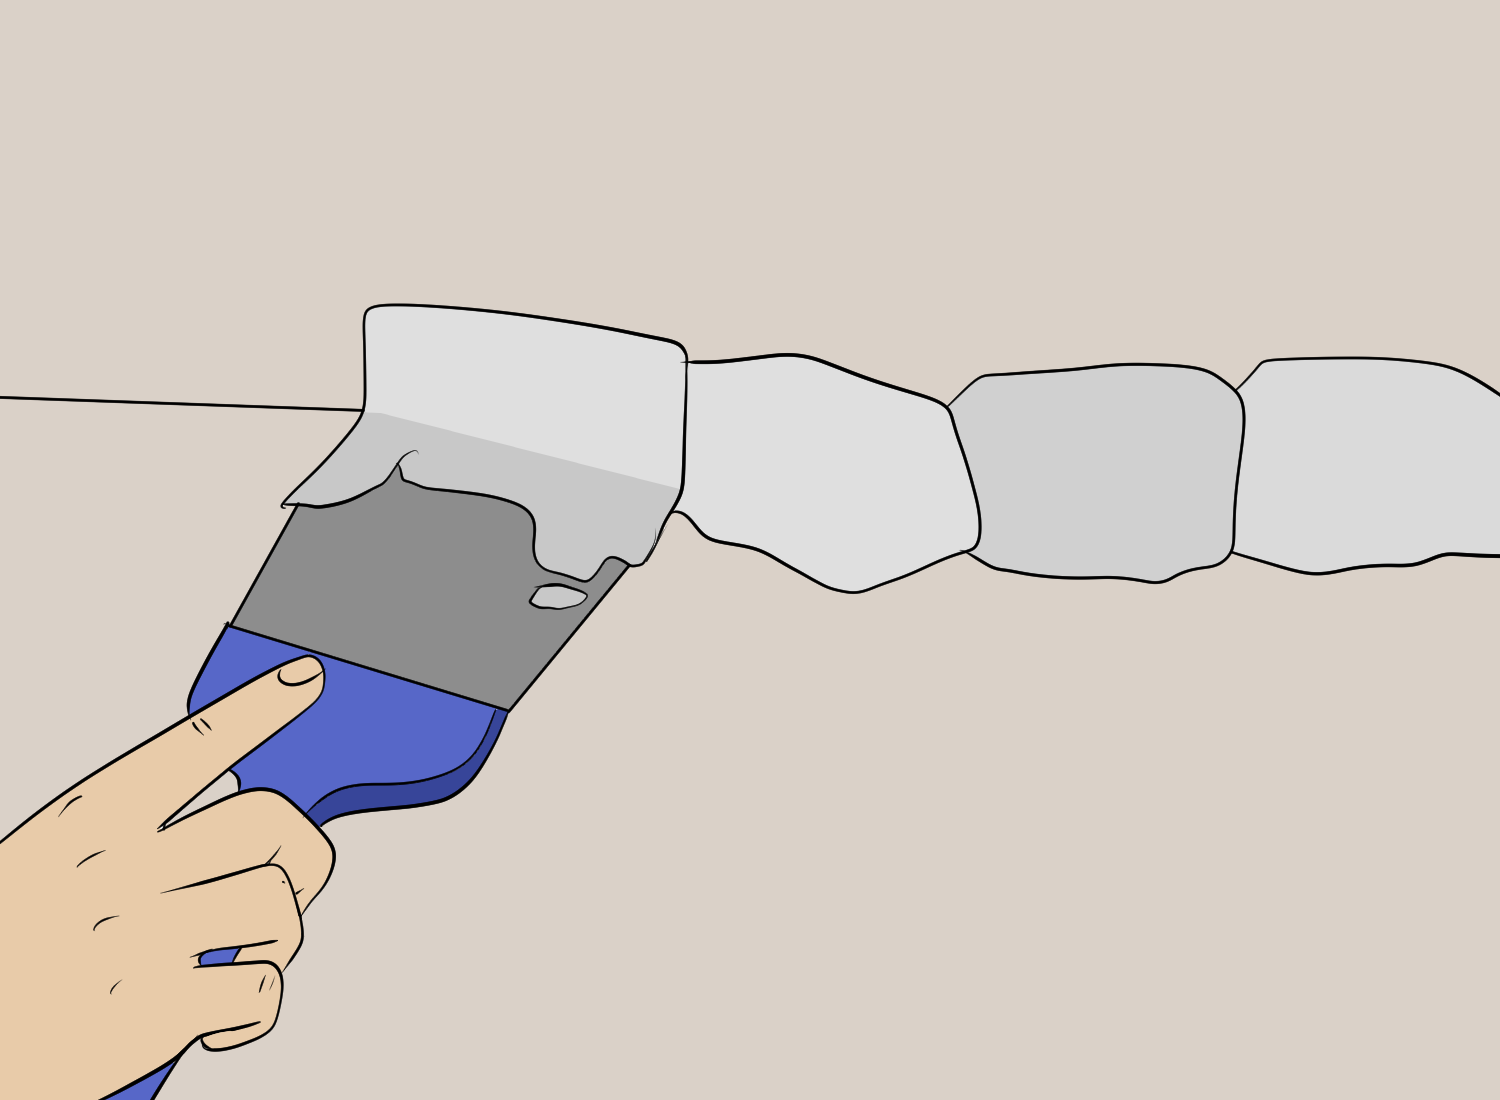
Cover the joints where the drywall meets the ceiling or other walls with a layer of mud. Then, apply the drywall tape and smooth it down with the knife.
Step 4: Covering the corner bead
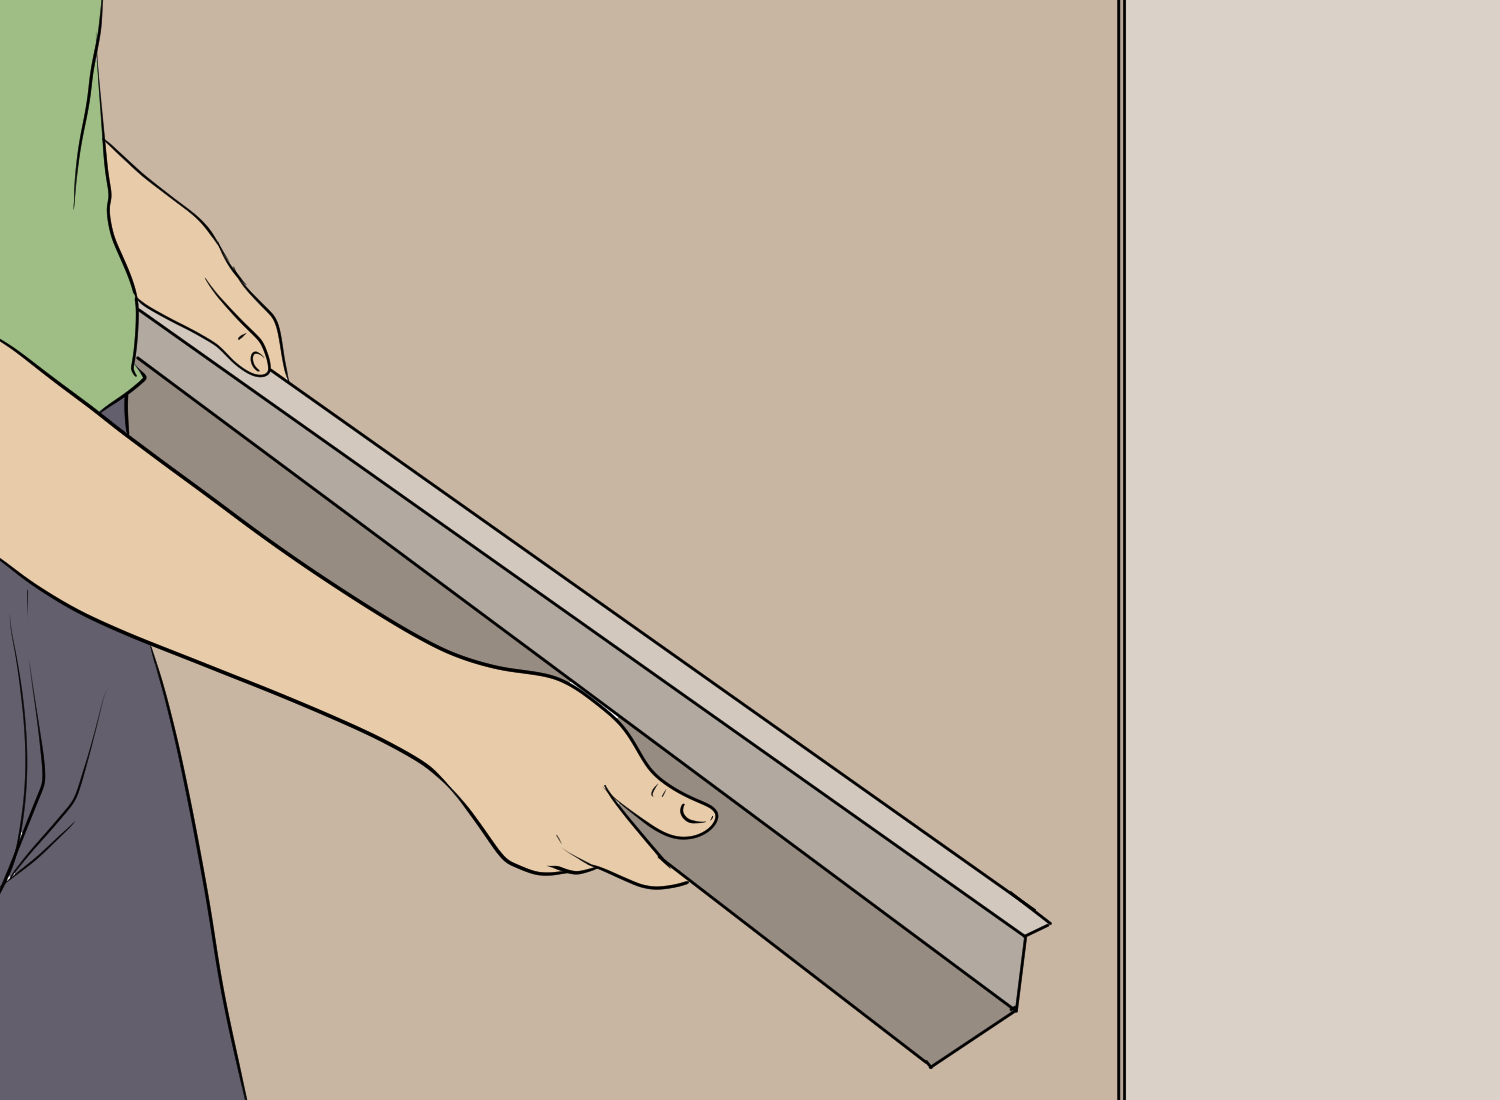
Corner bead is used to cover the outside corners of the drywall. Apply a layer of mud to the corner bead and smooth it down with the 6-inch taping knife. Then, apply the drywall tape and smooth it down with the knife.
Step 5: Applying additional coats
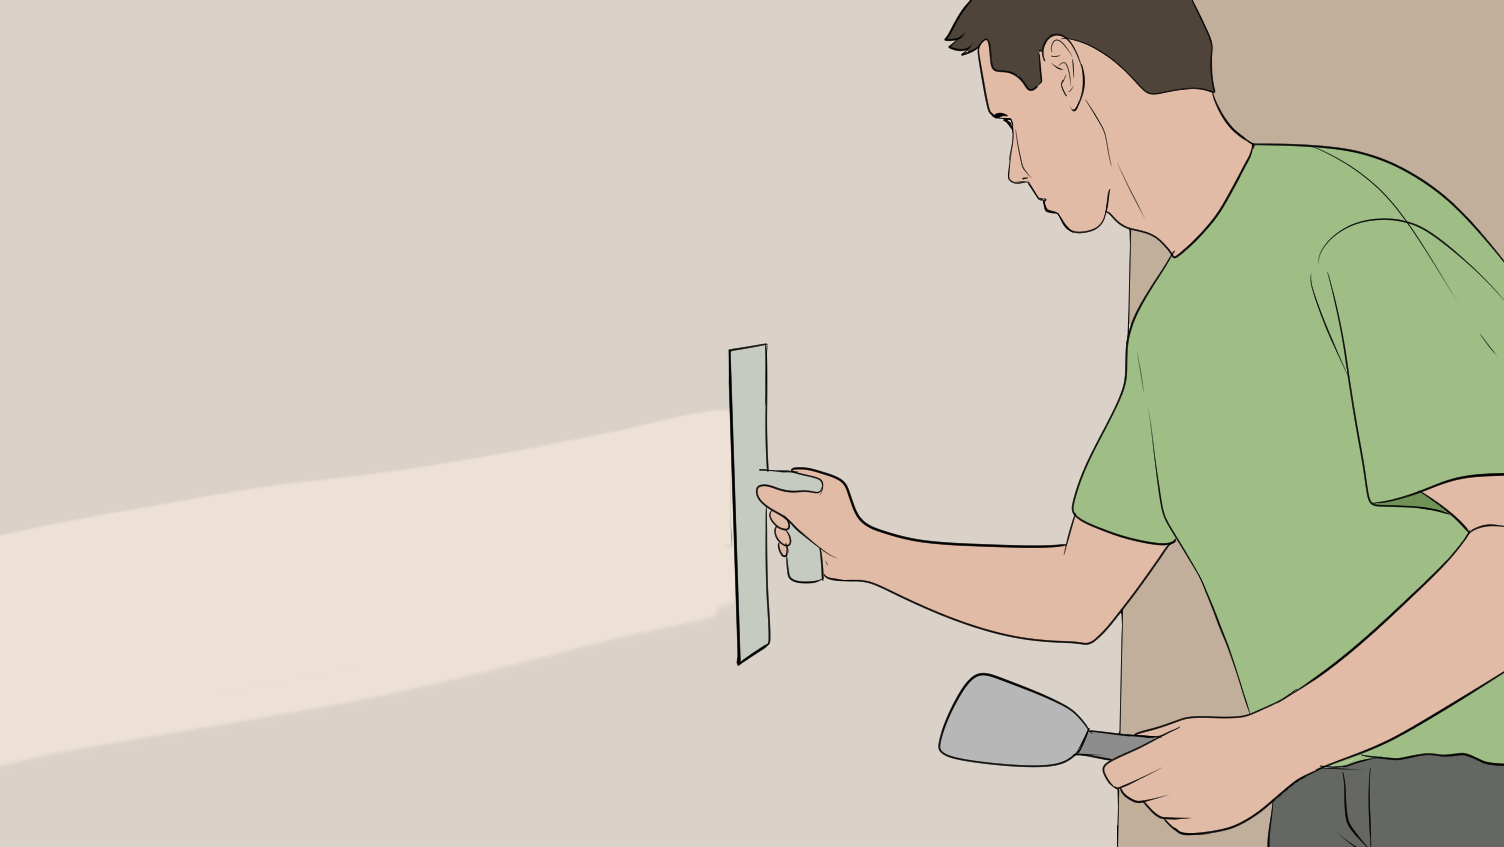
After the first coat of mud and tape has dried, apply additional coats of mud until the surface is smooth and even. Sand the surface lightly between coats to remove any bumps or ridges.
Mudding process
Mudding is the process of applying joint compound to the seams between sheets of drywall to create a smooth, seamless surface.
The joint compound fills in the gaps between the drywall sheets and helps to hide any imperfections in the drywall installation.
Step 1: Applying a thin layer of joint compound
To begin the mudding process, you will need to apply a thin layer of joint compound to the seams using a taping knife.
This first coat is known as the “bedding coat,” and it helps to secure the joint tape to the drywall surface.
After the bedding coat has dried, you will need to apply multiple thin coats of joint compound to the seams.
Each coat should be applied in a slightly wider band than the previous coat, with the final coat extending about 6-8 inches on either side of the seam.
Step 2: Drying the coat
It is important to allow each coat to dry completely before applying the next coat. Depending on the humidity and temperature of the room, this can take anywhere from a few hours to overnight.
Step 3: Sanding the coat
Once the final coat has dried, you will need to sand the surface of the joint compound to create a smooth, even finish. It is important to sand carefully and evenly to avoid creating low spots or ridges in the surface of the joint compound.
Step 4: Applying another layer of coat
If necessary, you can apply a second coat of joint compound to fill in any low spots or imperfections in the surface. However, it is important to avoid applying too much joint compound, as this can create a buildup that is difficult to sand down.
By applying multiple thin coats of joint compound and allowing each coat to dry completely before sanding, you can achieve a professional-looking finish that will last for years to come.
Sanding and finishing
Once you have applied the joint compound and let it dry, it’s time to sand the surface to make it smooth. Sanding is a crucial step in the drywall finishing process as it removes any bumps, ridges, or imperfections on the surface.
To sand drywall, you will need 120-grit sandpaper, a sanding pole, a dust mask, and a vacuum cleaner.
Step 1: Using a sandpaper and a sanding pole
Start by attaching the sandpaper to the sanding pole and then gently sand the surface in a circular motion. Be careful not to sand too hard as it can damage the drywall.
After sanding, wipe the surface with a damp cloth to remove any dust and debris. Then, inspect the surface for any rough spots or bumps and sand them again if necessary. Repeat this process until the surface is completely smooth.
Step 2: Applying a coat of joint compound
Once you have finished sanding, it’s time to finish the drywall. To finish the drywall, you will need to apply a coat of joint compound over the sanded surface.
Use a taping knife to spread the compound evenly over the surface, making sure to cover any imperfections or gaps.
Step 3: Sanding the coat again
After applying the joint compound, let it dry completely. Then, sand the surface again with 120-grit sandpaper to make it smooth. Repeat this process until the surface is completely smooth and free of imperfections.
FAQ's
For beginners, it is recommended to use pre-mixed joint compound. The consistency of pre-mixed joint compound is easier to work with than powdered joint compound.
It is also easier to get a smooth finish with pre-mixed joint compound. Some popular brands of pre-mixed joint compound for beginners include Sheetrock, USG, and DAP.
Typically, three coats of mud and tape are needed on drywall. The first coat is used to embed the tape, the second coat is used to fill in the gaps and smooth out the surface, and the third coat is used to create a smooth finish.
However, the number of coats may vary depending on the quality of the drywall and the desired finish.
Yes, it is recommended to wet paper drywall tape before applying mud. Wetting the tape helps it adhere better to the drywall and prevents air bubbles from forming under the tape.
To wet the tape, simply run it under water and squeeze out the excess water before applying it to the drywall.
Drywall tape is made of paper and is used to reinforce joints between drywall sheets. Mesh tape is made of fiberglass and is used to reinforce corners and curves. Mesh tape is stronger than paper tape and is less likely to crack or rip.
However, paper tape is easier to work with and is more forgiving when it comes to mistakes.
When using a mud gun, it is recommended to use a thinner joint compound that is specifically designed for use with a mud gun. Some popular brands of mud gun joint compound include Sheetrock and USG.
These joint compounds are designed to flow easily through the mud gun and provide a smooth finish.
You should always tape drywall before applying mud. Taping helps to reinforce the joints between drywall sheets and prevents cracks from forming in the future. After taping, you can apply mud to fill in the gaps and create a smooth finish.


