In the realm of home maintenance and aesthetics, patching up a drywall hole is merely one task among many. Whether it’s the aftermath of a doorknob rebellion, the consequence of installing art, or oh no—a minor mishap occurred, those wall blemishes are definitely unsightly and bothersome.
Fortunately, patching a hole in drywall is a relatively simple process that can be completed by anyone with a few basic tools and some patience.
Once the patch is in place, it can be covered with joint compound and sanded smoothly for a professional finish.

Tools and materials needed
Identifying the tools
Before starting the drywall patching process, it is important to have the necessary tools. Here are some tools that are commonly used for repairing drywall:
| Tools | Description |
|---|---|
| Putty Knife | Used for applying spackle or joint compound |
| Sandpaper | Used for smoothing the surface of the drywall |
| Drywall Saw | Used for cutting the drywall |
| Trowel | Used for spreading and smoothing joint compound |
| Drill | Used for installing drywall screws |
| Broad Knife | Used for applying a smooth layer of spackle or joint compound |
| Dust Mask | Used for protecting the lungs from dust and debris |
Choosing the right materials
Choosing the right materials is essential for a successful drywall patching job. Here are some materials that are commonly used for repairing drywall:
- Joint compound: This is a plaster-like substance that is used to fill the gaps in the drywall. It is available in premixed or powder form.
- Drywall tape: This is a self-adhesive tape that is used to reinforce the seams between the drywall sheets.
- Drywall screws: These are used to attach the drywall to the studs.
- Drywall patch kit: This is a kit that contains all the necessary materials for patching a small hole in the drywall.
- Furring strips: These are thin strips of wood that are used to provide support for the drywall patch.
When choosing the materials, it is important to consider the size of the hole and the type of damage.
For larger holes, it may be necessary to use a drywall patch kit or furring strips to provide support for the patch. For smaller holes, joint compound and drywall tape may be sufficient.
Inspecting the damage
Before beginning the process of patching a hole in drywall, it is important to inspect the damage to determine the best course of action. Here are some steps to follow when inspecting the damage:
Assess the size of the hole. The size of the hole will determine the type of repair needed.
Small holes, such as those caused by a nail or screw, can be easily patched with spackle or joint compound. Larger holes will require a patch made of drywall.
Check for any underlying damage. Sometimes a hole in drywall can be a sign of underlying damage, such as water damage or mold.
It is important to inspect the area around the hole to ensure that there is no further damage that needs to be addressed.
Determine the location of the hole. The location of the hole will also determine the type of repair needed. Holes in corners or near edges can be more difficult to repair and may require additional reinforcement.
Check for any electrical wiring or plumbing. Before beginning any repair work, it is important to check for any electrical wiring or plumbing that may be located behind the drywall.
If there is any doubt, it is best to consult a professional.
By carefully inspecting the damage before beginning any repair work, homeowners can ensure that they are taking the appropriate steps to fix the problem and prevent any further damage.
Preparation of the area
Before patching a hole in drywall, it’s important to properly prepare the area. This will help ensure a smooth and successful repair. This section will cover the safety measures and cleaning required to prepare the area.
Safety measures
Before starting any repair work, it’s important to take safety measures to protect yourself. Wear safety goggles to protect your eyes from dust and debris. Additionally, wear a dust mask to avoid breathing in dust particles.
If the hole is large, use a ladder or step stool to reach the area. Make sure the ladder or step stool is stable and secure before climbing up to avoid any accidents.
Cleaning the surface
Cleaning the surface is an essential step in preparing the area for patching. Remove any loose debris or dust from the hole and surrounding area with a brush or vacuum. This will ensure that the patch adheres properly to the surface.
Next, wipe the area with a damp cloth to remove any remaining dust or debris. Allow the area to dry completely before proceeding with the repair.
If there is any grease or oil on the surface, use a mild detergent to clean the area. Rinse the area thoroughly with clean water and allow it to dry completely before proceeding..
Cutting out the damaged area
Cutting out the damaged area is the first step in patching a hole in drywall. The following steps will help guide you through the process:
Step 1: Assess the damage
Before cutting out the damaged area, it’s important to assess the extent of the damage.

If the hole is small (less than 6 inches), it can be repaired with a patch. If the hole is larger, it may require cutting out the damaged area and replacing it with a new piece of drywall.
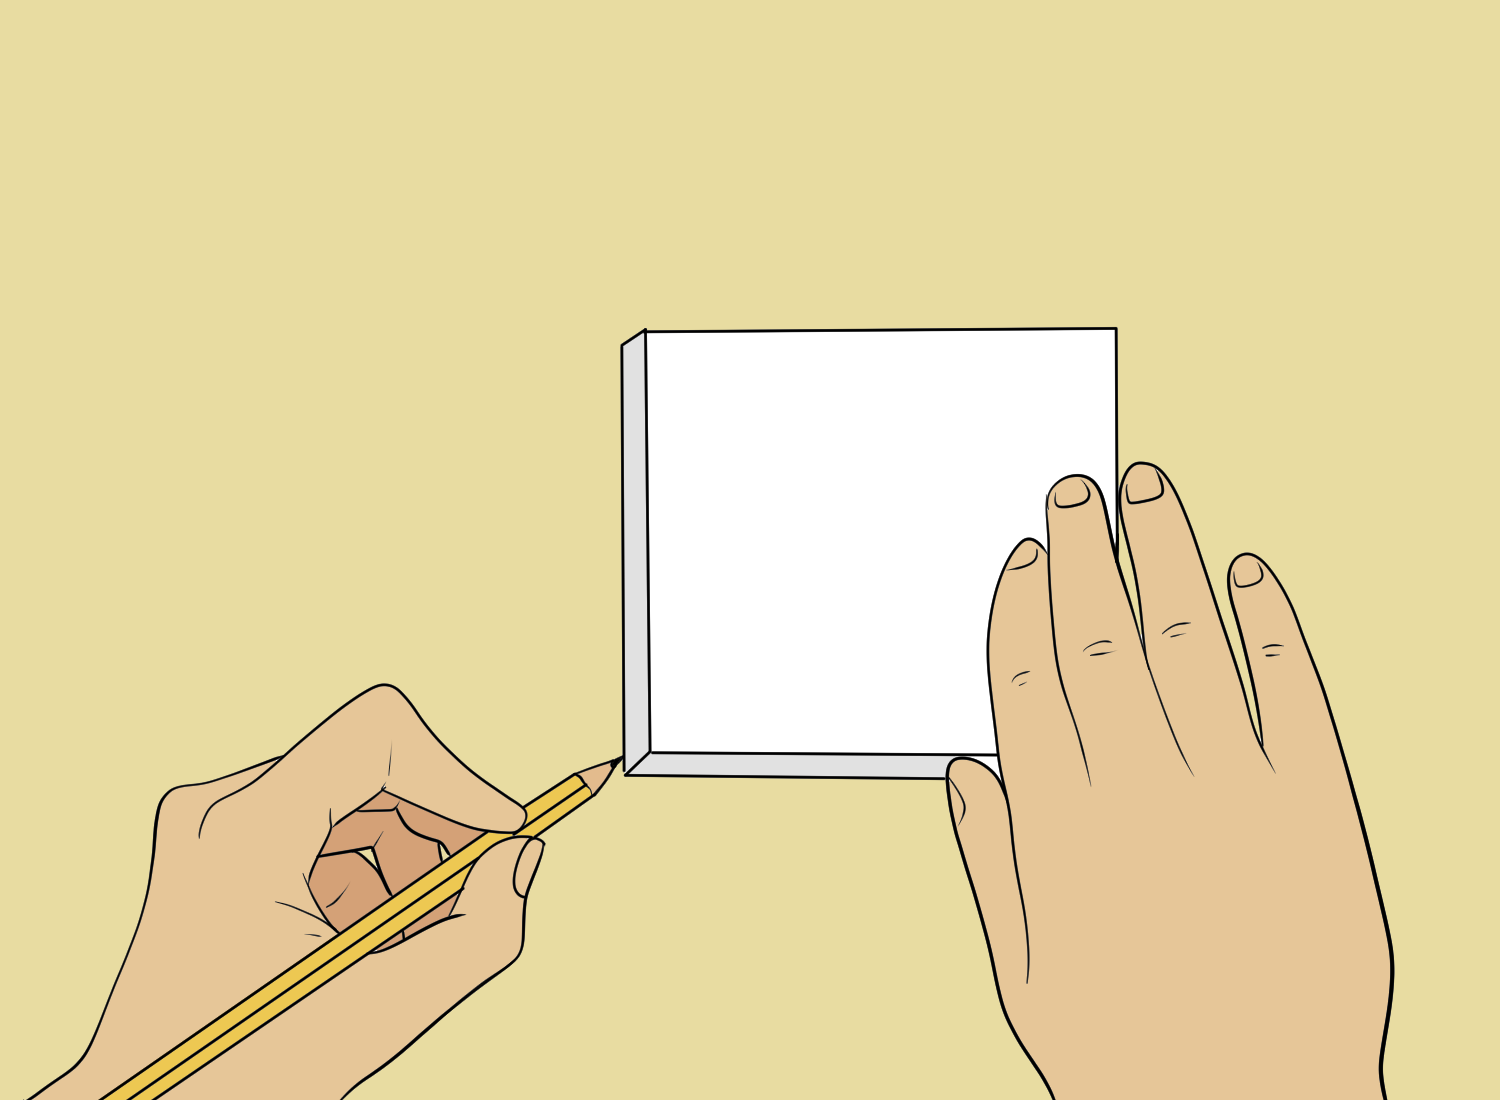
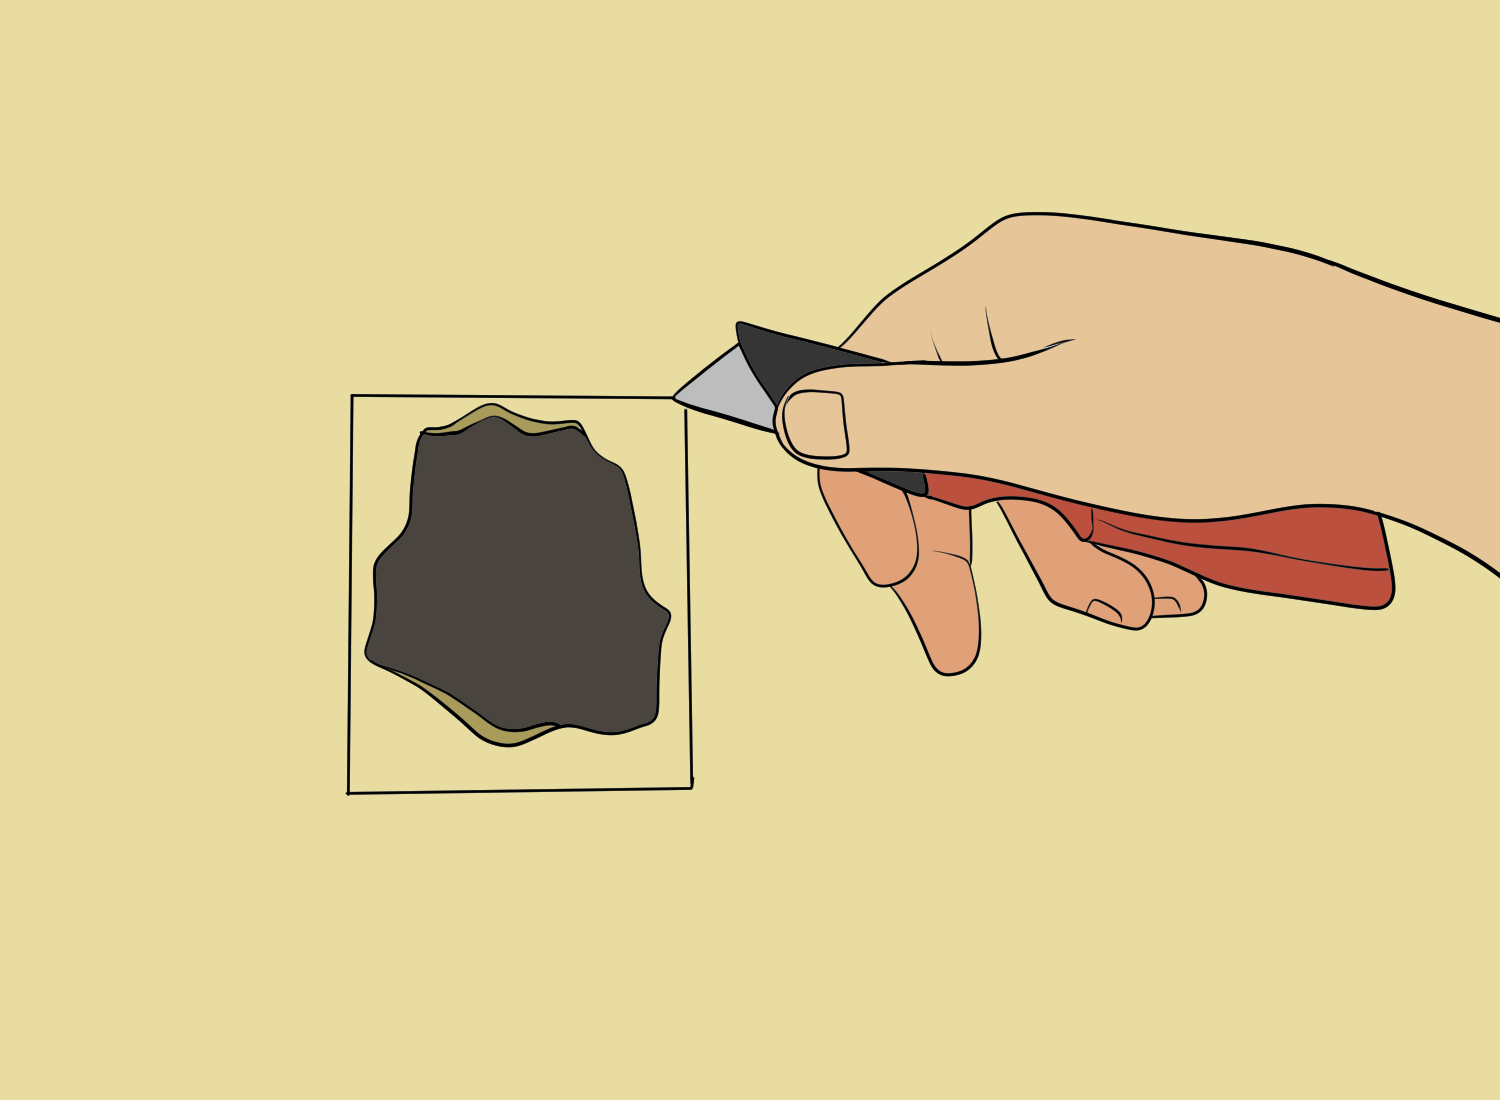
Step 2: Mark the area to be cut
Use a straight edge to mark the area to be cut out. Be sure to make the edges of the hole straight and square.
Step 3: Cut out the damaged area
Use a drywall saw or utility knife to cut out the damaged area. Cut along the lines you marked in step 2. Be sure to cut all the way through the drywall.
Step 4: Remove any loose debris
Use a drywall knife to remove any loose debris from the hole. Be sure to clean up any dust or debris from the surrounding area.
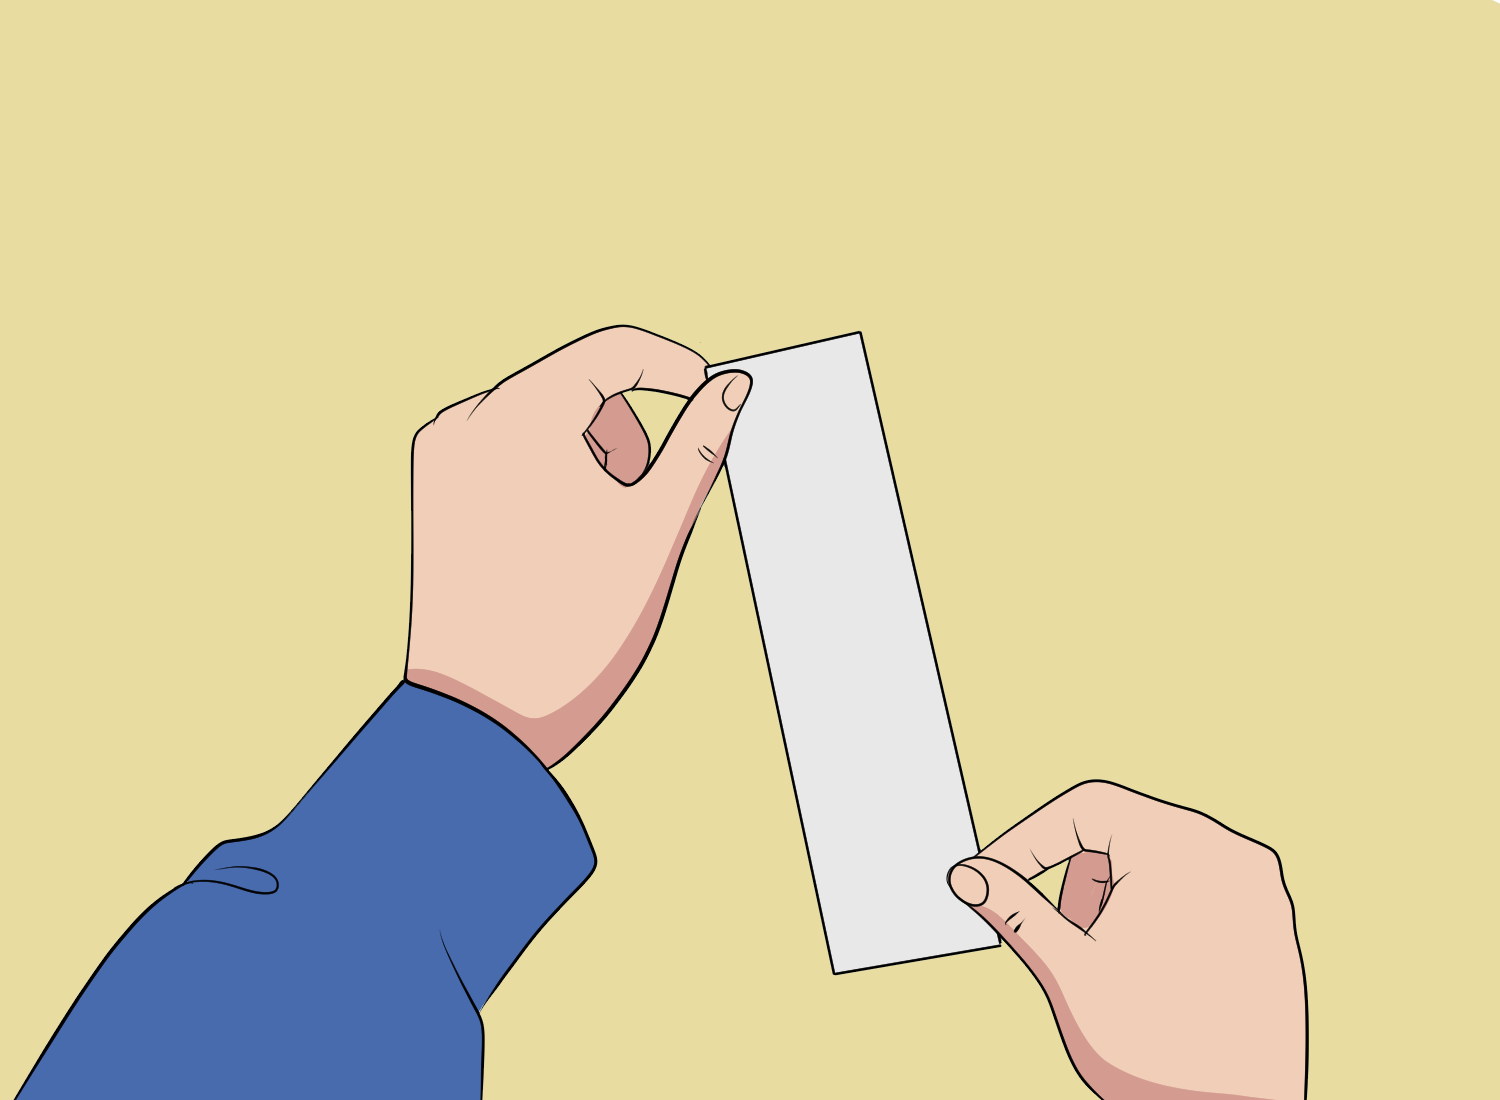
Step 5: Cut a patch
Cut a patch from a piece of drywall that is slightly larger than the hole. Use a straightedge to make the edges of the patch straight and square.
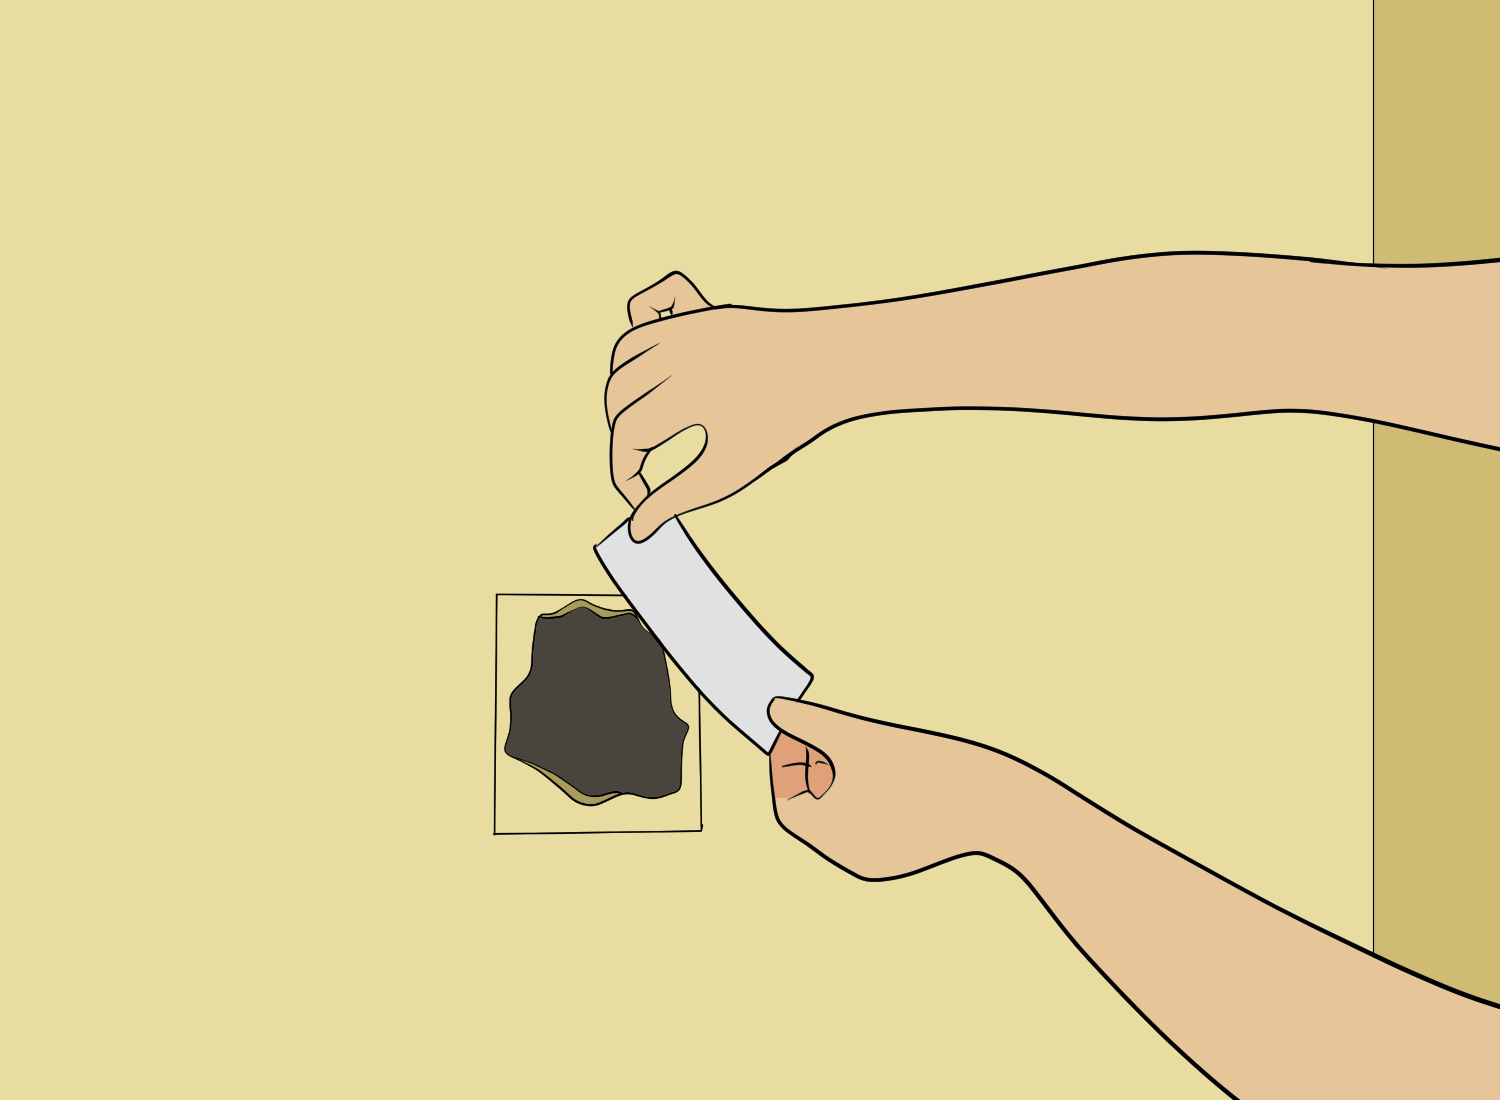
Step 6: Attach the patch
Apply a thin layer of joint compound to the back of the patch. Place the patch over the hole and press it firmly into place. Use a drywall knife to smooth out any excess joint compound.
By following these steps, cutting out the damaged area can be done quickly and easily. With a little practice, even a novice DIYer can patch a hole in drywall like a pro.
Applying the patch
Once the hole has been prepared and the backing material has been installed, it’s time to apply the patch. Here’s how to do it:
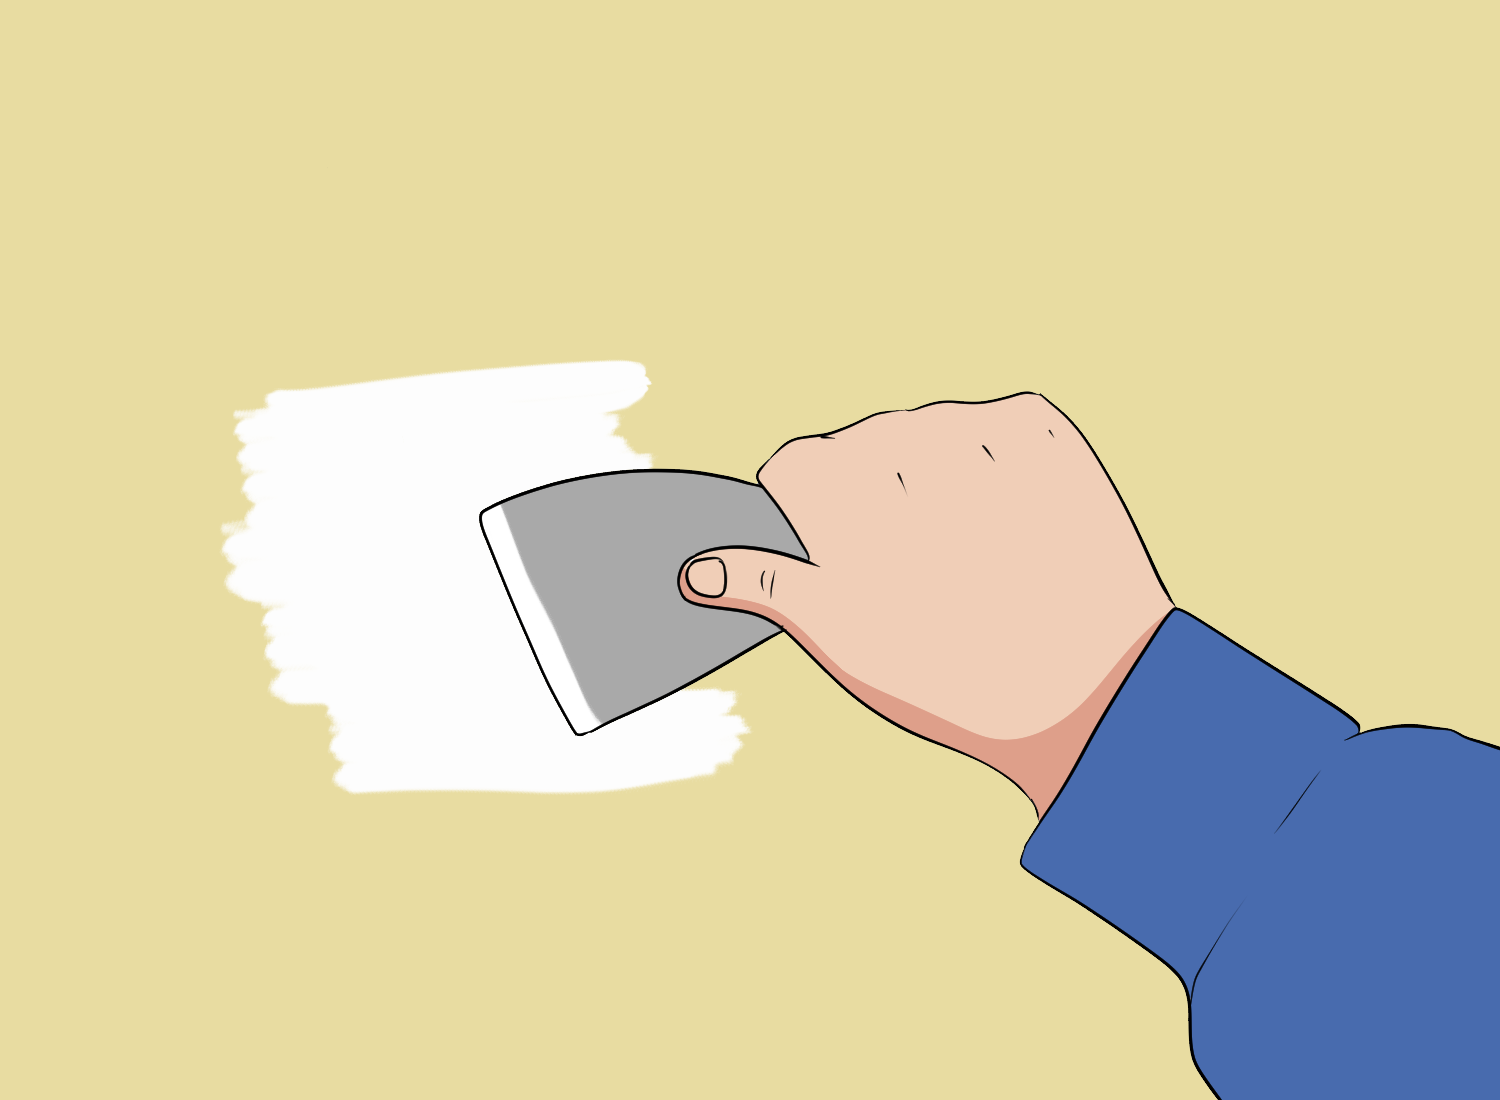
1. Apply Joint Compound
Apply a thin layer of joint compound to the patch and the surrounding area, using a putty knife.
Make sure the layer is smooth and even, and extends slightly beyond the edges of the patch. Allow the compound to dry completely.
2. Sand the Surface
Once the compound is dry, sand the surface with a fine-grit sandpaper to make it smooth and level with the surrounding wall. Be careful not to sand too much or you may damage the patch.
3. Apply a Second Coat
Apply a second coat of joint compound, using a wider putty knife.
This coat should be slightly wider than the first, and should feather out smoothly into the surrounding wall. Allow the compound to dry completely.
4. Sand Again
Once the second coat is dry, sand the surface again with a fine-grit sandpaper. This will help to smooth out any imperfections and ensure that the surface is level.
5. Paint
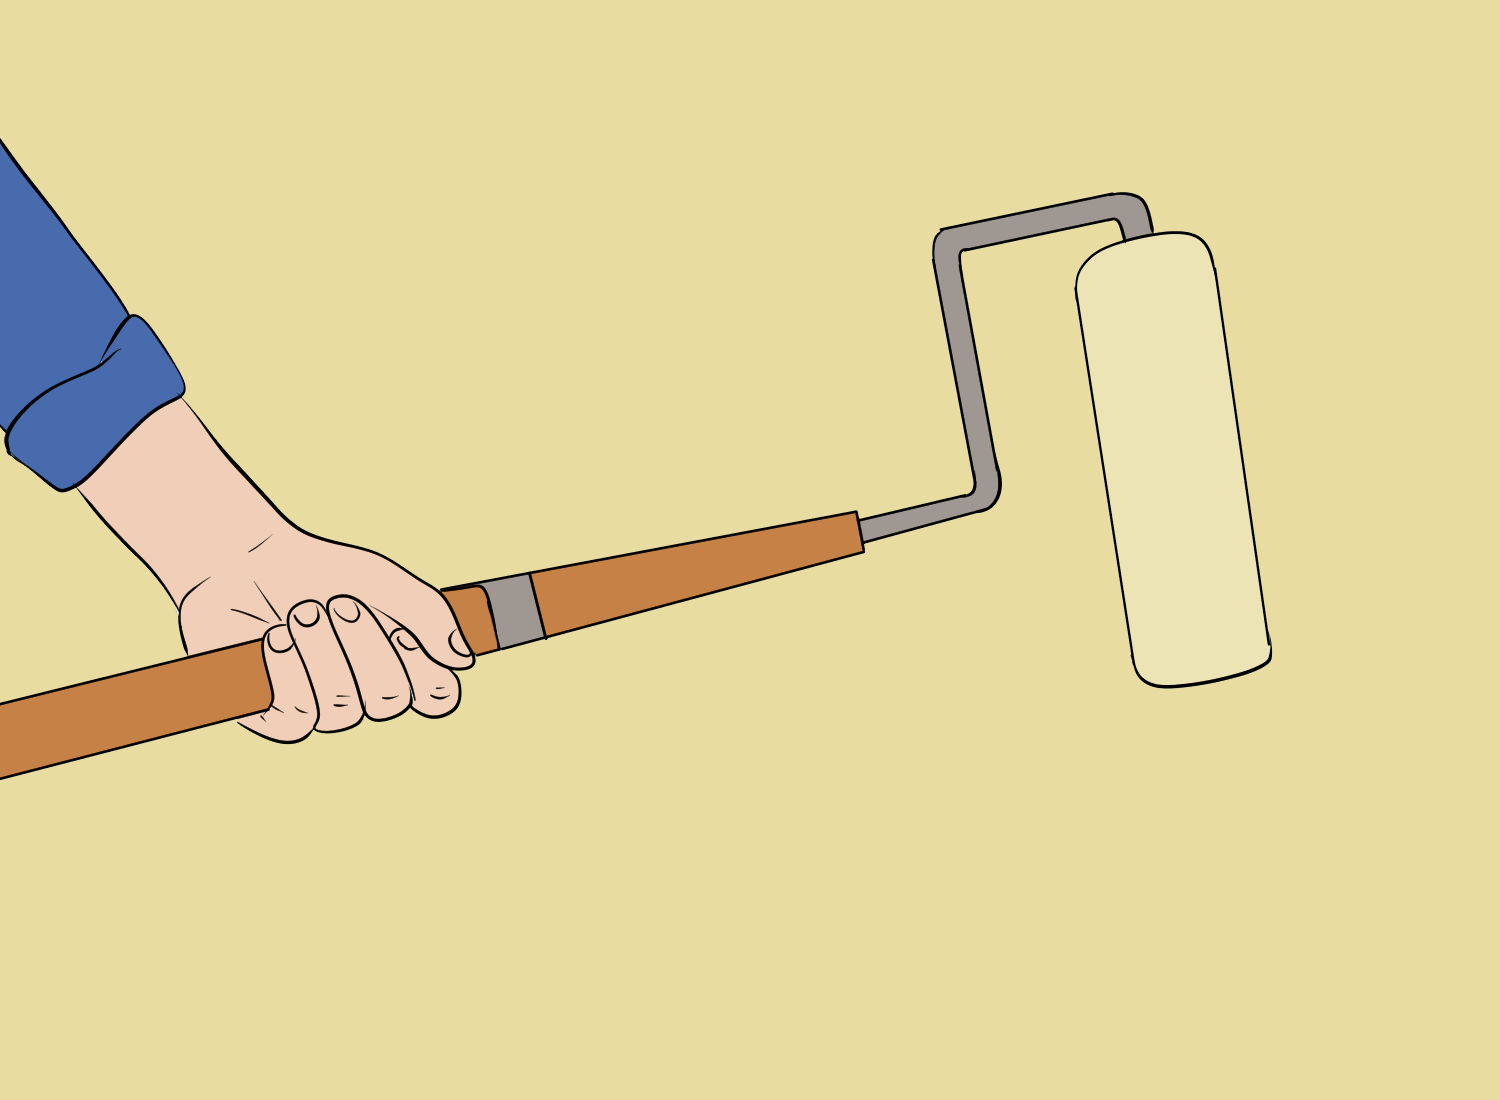
Finally, paint the patch to match the surrounding wall. Use a paint brush or roller, and apply the paint in thin, even coats. Allow the paint to dry completely between coats.
Overall, patching a hole in drywall is a relatively simple process that can be completed in just a few steps. With the right tools and techniques, anyone can achieve professional-looking results.
Applying joint compound
After the drywall tape has been applied, the next step is to apply joint compound to the wall. Joint compound is a thick paste that is used to cover the tape and create a smooth surface on the wall. Here are the steps to apply joint compound:
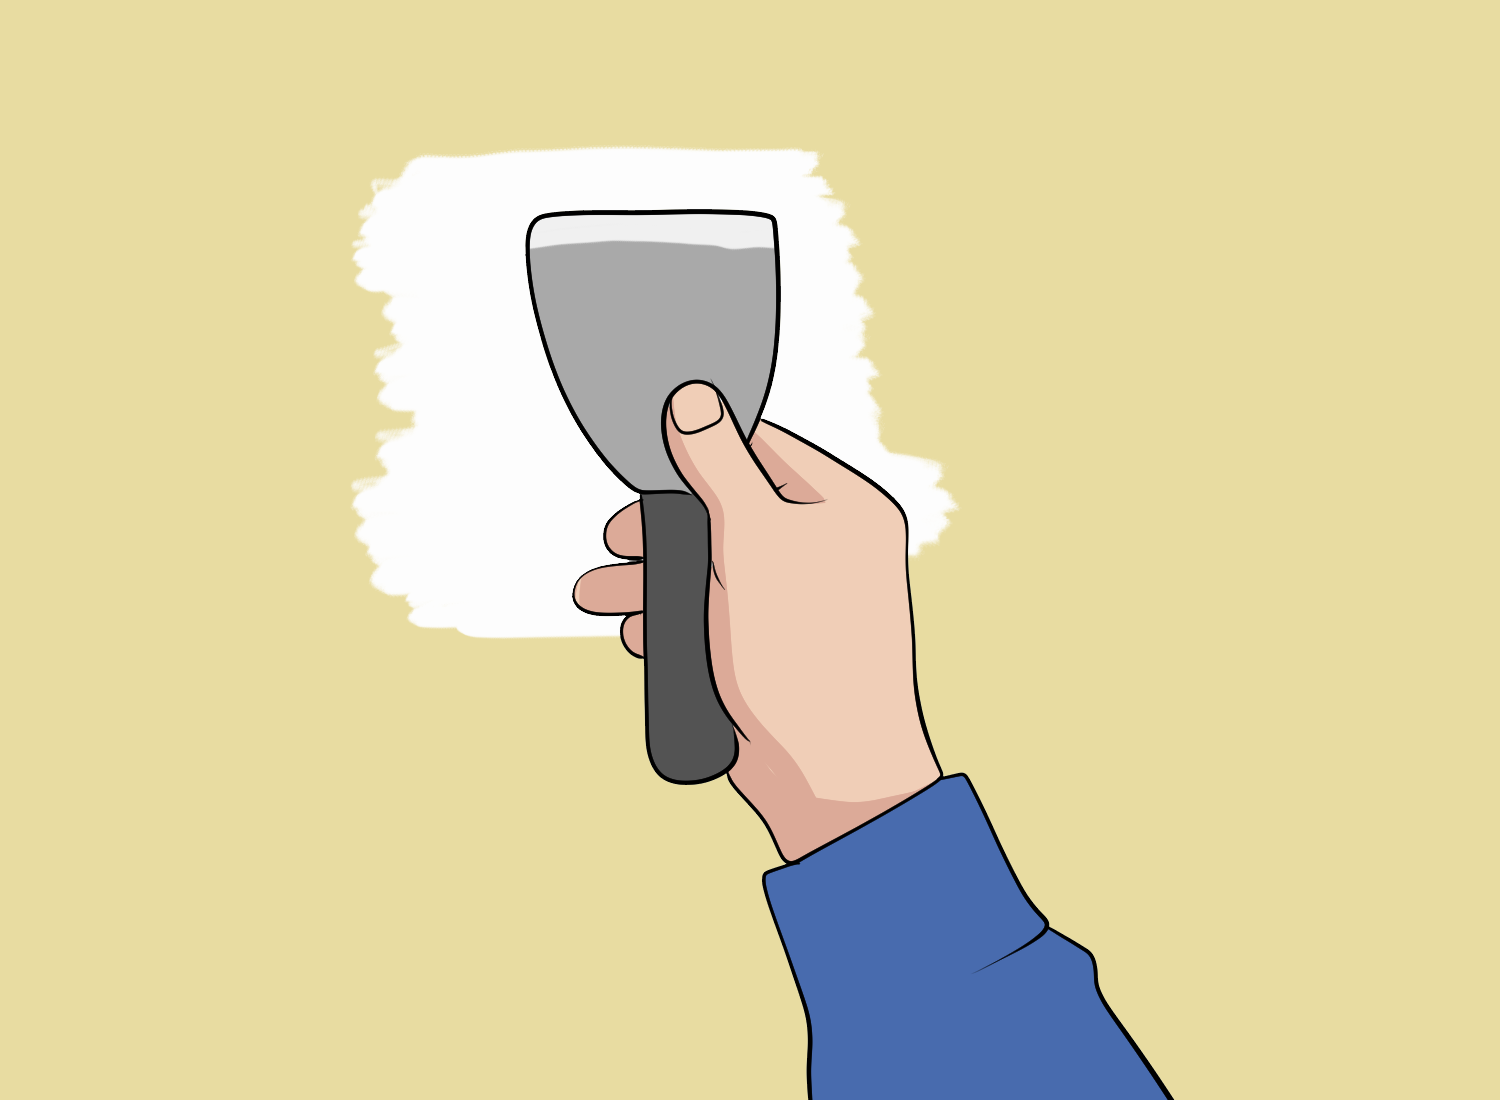
- Use a putty knife to spread joint compound over the drywall tape. Make sure to cover the tape completely with a thin layer of joint compound.
- Allow the joint compound to dry thoroughly as recommended by the manufacturer. This usually takes about 24 hours.
- Once the joint compound is dry, use a sanding block or sandpaper to smooth out any bumps or rough spots.
- If needed, apply another thin layer of joint compound and sand it again when dry.
- Repeat this process until the wall is smooth and the patch is completely covered.
It’s important to note that the joint compound shrinks as it dries, so it’s normal to see some small cracks or gaps after the first layer has dried. Simply apply another layer of joint compound to fill in these gaps and repeat the sanding process.
For larger holes, it may be necessary to use a patch kit. These kits typically include a self-adhesive mesh patch and joint compound. Simply apply the patch over the hole and cover it with joint compound, following the same steps as above.
Sanding the surface
Once the patch has dried, it’s time to sand the surface to achieve a smooth finish. Sanding is an essential step that can make a big difference in the final look of the repair.
Using a sanding block
The first step is to use a sanding block or sandpaper to sand the edges of the patch until they are flush with the surrounding wall.
It’s important to be careful not to sand too much, as this can damage the surrounding drywall and create a new problem.
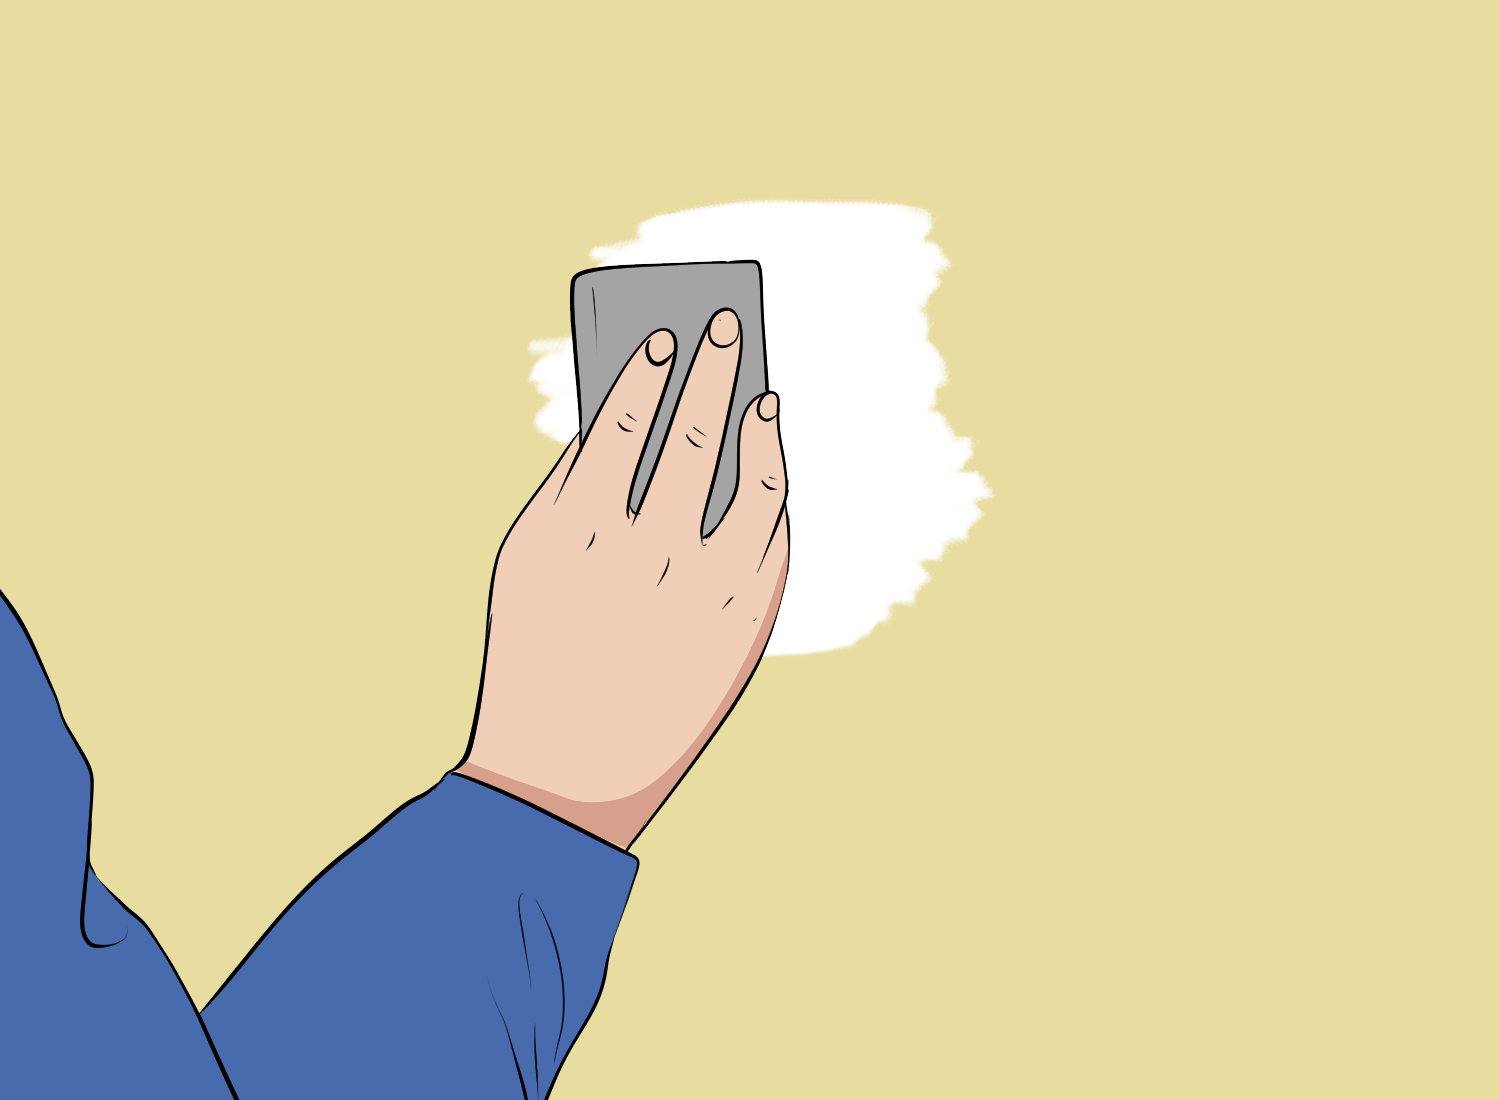
Using a fine-grit sandpaper
Next, use a fine-grit sandpaper to sand the entire patch, including the edges, until it’s smooth and even. It’s important to use a light touch and to sand in a circular motion to avoid creating scratches or gouges in the surface.
Wiping the surface
After sanding, wipe the surface with a damp cloth to remove any dust or debris. This will help ensure that the surface is clean and ready for painting.
Finally, inspect the surface to make sure it’s smooth and even. If there are any rough spots or imperfections, repeat the sanding process until the surface is perfect.
Painting and finishing
Once the drywall compound has dried completely, it’s time to paint and finish the repaired area. Here are a few steps to follow:
- Sand the area: Use a fine-grit sandpaper to sand the repaired area until it’s smooth and level with the surrounding wall.
- Clean the area: Use a clean, damp cloth to wipe away any dust or debris from the sanded area.
- Prime the area: Apply a coat of primer to the repaired area to ensure that the paint adheres properly.
- Paint the area: Once the primer has dried, use a paint brush or roller to apply paint that matches the color of the surrounding wall. Apply two or more coats of paint as needed, allowing each coat to dry completely before applying the next.
- Blend the area: To ensure that the repaired area blends in seamlessly with the surrounding wall, feather the edges of the painted area by lightly brushing over them with a dry paintbrush.
It’s important to note that the type of paint you use will affect the final finish of the repaired area. For example, a gloss or semi-gloss paint will reflect light differently than a flat or eggshell finish.
If you’re unsure which type of paint to use, consult with a paint expert or the manufacturer’s instructions.
Overall, with a little bit of patience and attention to detail, patching a hole in drywall can be a simple and straightforward DIY project.