If you aim to rejuvenate a room by getting rid of outdated wallpaper, many dependable methods exist for effortlessly peeling wallpaper off drywall. Ensuring that you are equipped with the proper tools and techniques will simplify this job.
No matter which method you choose, it’s important to take the necessary precautions to protect your walls and ensure a successful removal process.
Here we’ll explore some of the best tips and tricks for removing wallpaper from drywall, including the tools and supplies, the pros and cons of different removal methods, and how to repair any damage that may occur during the process.

Understanding wallpaper types
Removing wallpaper from drywall can be a daunting task, but understanding the type of wallpaper you are dealing with can make the process much easier. Here are some common types of wallpaper and how to identify them:
- Traditional wallpaper: This type of wallpaper is applied with an adhesive and is not designed to be easily removed. It is often made of paper or vinyl and can be difficult to remove without damaging the drywall underneath.
- Strippable wallpaper: This type of wallpaper is designed to be easily removed by pulling it off in large strips. It is often made of paper or vinyl and can be identified by a label that says “strippable” or “peelable.”
- Peelable wallpaper: This type of wallpaper is similar to strippable wallpaper but is designed to be removed in smaller pieces. It is often made of vinyl and can be identified by a label that says “peelable.”
- Old wallpaper: If you are dealing with wallpaper that has been on the wall for a long time, it may be more difficult to remove. Old wallpaper can become brittle and may not come off in large pieces.
- Wall coverings: Some wall coverings, such as grasscloth or fabric, may be mistaken for wallpaper. These types of coverings may require a different removal process than traditional wallpaper.
It is important to identify the type of wallpaper you are dealing with before attempting to remove it. This will help you choose the right tools and techniques for the job.
If you are unsure about the type of wallpaper you have, consult a professional for advice.
Planning your project

Removing wallpaper from drywall can be a challenging task, but with proper planning and preparation, it can be done with ease. Before starting the project, it is important to plan ahead and gather all the necessary tools and materials.
DIY or hire a professional
Firstly, you need to decide whether you want to do it yourself or hire a professional. Removing wallpaper can be a time-consuming process, so if you have a busy schedule, it might be best to hire a professional.
However, if you have the time and patience, doing it yourself can save you money and give you a sense of accomplishment.
Time
Removing wallpaper is a time-consuming process and can take anywhere from a few hours to a few days, depending on the size of the room and the amount of wallpaper.
It is important to set aside enough time to complete the project without rushing.
Tools and materials
To remove wallpaper, you will need the following tools and materials:
- Wallpaper stripping solution
- Scoring tool
- Chemical wallpaper stripper
- Wallpaper removing fabric sheets
- Steamer (optional)
- Putty knife
- Protective eyewear
- Drop cloth
Protective eyewear and drop cloth
Safety should always be a priority when removing wallpaper. Protective eyewear should be worn to protect your eyes from any debris that may fall.
A drop cloth should be laid down on the floor to protect it from any spills or debris that may fall during the process.
In summary, planning ahead and gathering all the necessary tools and materials is essential when removing wallpaper from drywall.
Whether you decide to do it yourself or hire a professional, make sure to set aside enough time and prioritize safety by wearing protective eyewear and using a drop cloth.
Preparing the work area
Before you start removing wallpaper from drywall, it’s important to prepare the work area properly. This will help protect your floors, baseboards, and other surfaces from damage, as well as keep the room clean and safe.
Protect your floors and baseboards
Start by covering your floors with a drop cloth or plastic sheeting. This will help protect them from any wallpaper paste or chemicals that may drip or spill during the removal process.
You can also use painter’s tape to secure the edges of the drop cloth to the baseboards, ensuring that it stays in place.
If you’re worried about damaging your baseboards, you can also use masking tape or painter’s tape to cover them. This will help protect them from any scratches or scuffs that may occur during the wallpaper removal process.
Remove anything hanging on the walls

Before you start removing wallpaper, it’s important to remove anything hanging on the walls, including picture frames, lamps, light switch or outlet covers, and vent covers. Make sure, as well, to take out any nails and screws.
Tape nails and screws to the appropriate items so that you don’t get confused later.
Wear protective eyewear
When removing wallpaper, it’s important to wear protective eyewear to prevent any wallpaper paste or chemicals from getting into your eyes. This is especially important if you’re using a wallpaper steamer or chemical stripper.
Use wallpaper removal sheets
To make the wallpaper removal process easier, you can use wallpaper removal sheets. These are specially designed fabric sheets that you can wet and apply to the wallpaper.
They help to soften the wallpaper paste, making it easier to remove the wallpaper.
In summary, preparing the work area is an important step in removing wallpaper from drywall.
By protecting your floors and baseboards, removing anything hanging on the walls, wearing protective eyewear, and using wallpaper removal sheets, you can make the process easier and safer.
Choosing your wallpaper removal method
Removing wallpaper from drywall can be a daunting task, but choosing the right method can make the process much easier.
There are several options available, each with its own pros and cons.
Steaming
One of the most effective ways to remove wallpaper is by using a steamer. This method involves using a machine that heats water and produces steam, which is then applied to the wallpaper.
The steam penetrates the paper and softens the adhesive, making it easier to remove. Steaming is especially useful for removing multiple layers of wallpaper or wallpaper that has been painted over.
Chemicals
Another option for removing wallpaper is to use a chemical wallpaper stripper. These products contain chemicals that dissolve the adhesive, making it easier to remove the wallpaper.
However, they can be harsh and may damage the drywall if not used properly. It is important to follow the instructions carefully and to wear protective gear, such as gloves and goggles, when using these products.
Soaking
Soaking is a popular DIY method for removing wallpaper. It involves using a spray bottle or sponge to apply hot water to the wallpaper. The water penetrates the paper and softens the adhesive, making it easier to remove.
Soaking is a good option for removing wallpaper that is not heavily textured or has not been painted over.
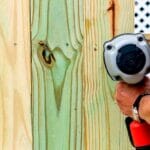
Scoring tool
A scoring tool is a handheld tool that is used to create small holes in the wallpaper. This allows water or steam to penetrate the paper and soften the adhesive, making it easier to remove.
Scoring is a good option for removing wallpaper that is heavily textured or has been painted over.
Wallpaper removal methods comparison table
| Method | Pros | Cons |
|---|---|---|
| Steaming | Effective for multiple layers and painted wallpaper | Expensive, requires special equipment |
| Chemicals | Dissolves adhesive for easy removal | Harsh chemicals can damage drywall if not used properly |
| Soaking | Easy DIY method | Not effective for heavily textured or painted wallpaper |
| Scoring Tool | Effective for heavily textured or painted wallpaper | Can be time-consuming |
Overall, choosing the right wallpaper removal method depends on your specific situation.
Consider the texture of the wallpaper, whether it has been painted over, and your budget before deciding which method to use. It is also important to follow safety guidelines and to wear protective gear when using chemicals or steamers.
Method 1: using a wallpaper steamer
One of the most effective ways to remove wallpaper from drywall is by using a wallpaper steamer.
A wallpaper steamer is a machine that uses hot water to create steam, which is then applied to the wallpaper to loosen the adhesive. Here’s how to use a wallpaper steamer:
- Step 1: Fill the wallpaper steamer with hot water according to the manufacturer’s instructions. Most steamers have a hose that attaches to a water source, such as a sink or bucket.
- Step 2: Attach the steamer plate to the end of the hose. The steamer plate is the part of the steamer that applies the steam to the wallpaper.
- Step 3: Turn on the steamer and wait for it to heat up. This usually takes a few minutes.
- Step 4: Hold the steamer plate against the wallpaper for about 30 seconds. The steam will loosen the adhesive, making it easier to remove the wallpaper.
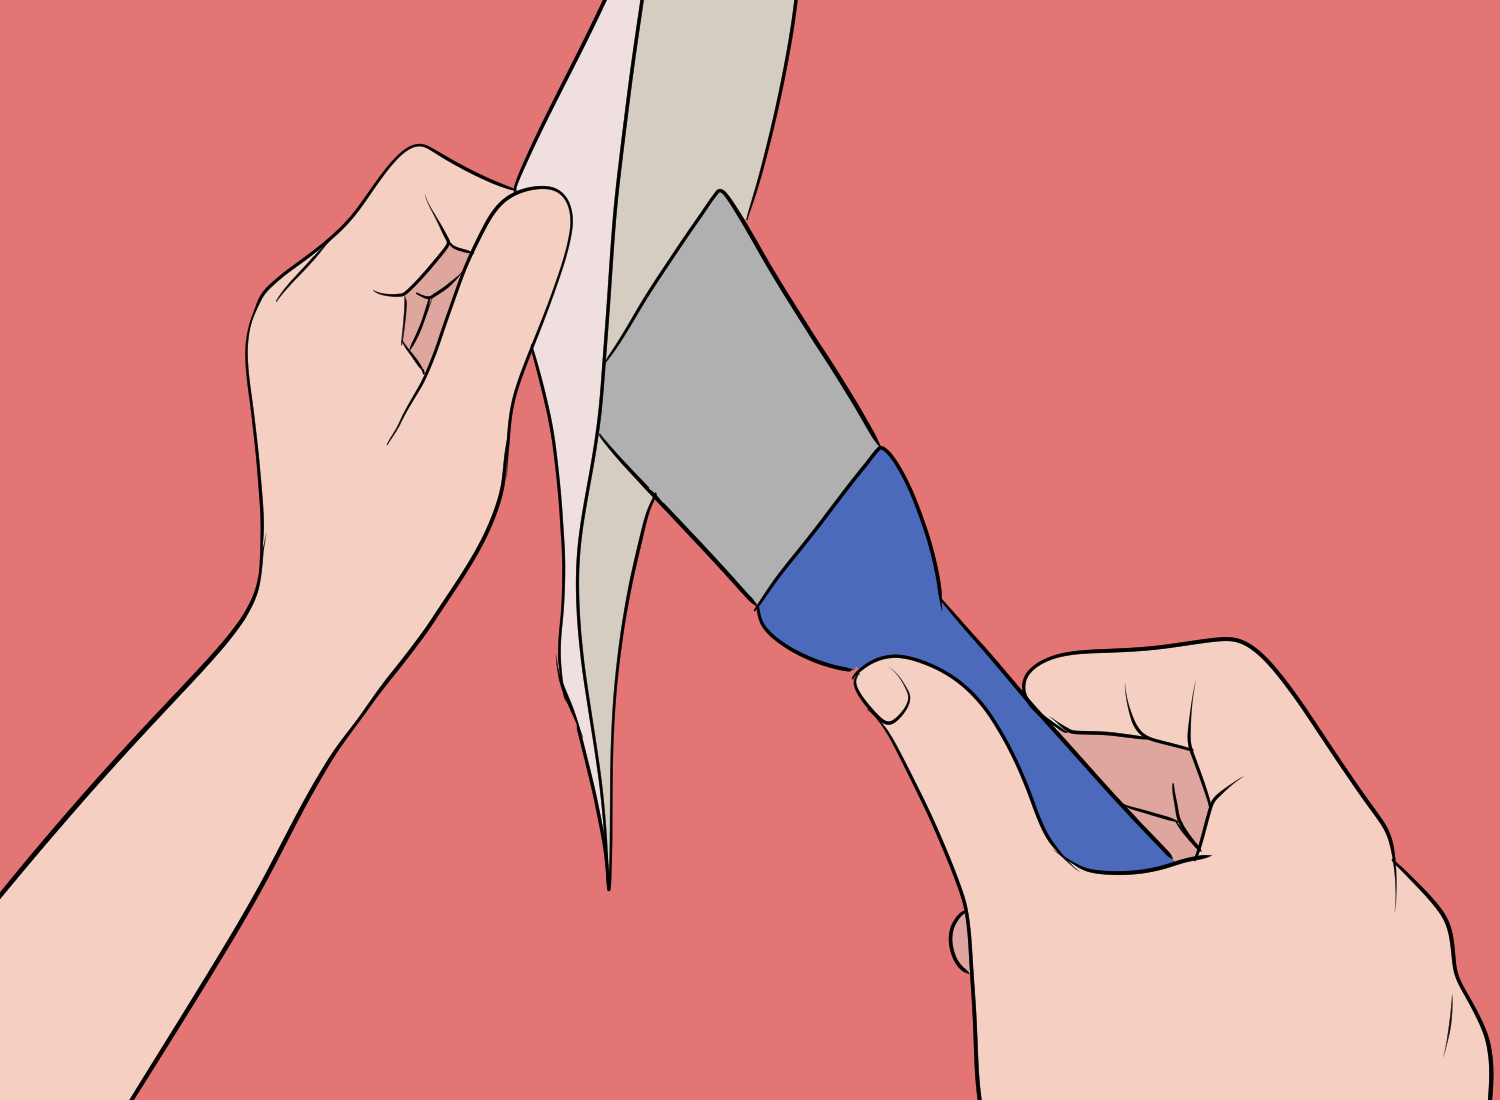
- Step 5: Use a scraper or putty knife to gently remove the wallpaper. Be careful not to damage the drywall underneath.
- Step 6: Repeat steps 4 and 5 until all the wallpaper is removed.
- Step 7: Once all the wallpaper is removed, use warm water and a sponge to clean the walls of any remaining adhesive.
Using a wallpaper steamer can make the process of removing wallpaper from drywall much easier and faster.
However, it’s important to follow the manufacturer’s instructions carefully to ensure that you use the steamer safely and effectively.
Method 2: Using a wallpaper stripper
Removing wallpaper from drywall can be a daunting task, but using a wallpaper stripper can make the process much easier. A wallpaper stripper is a machine that uses steam to loosen the adhesive that holds the wallpaper to the wall.
Here are some tips for using a wallpaper stripper effectively:
Step 1: Preparation: Before using a wallpaper stripper, make sure to remove any furniture or decorations from the room, and cover the floors and any remaining fixtures with plastic or drop cloths.
This will help protect them from moisture and damage.
Step 2: Fill the tank: Fill the wallpaper stripper’s tank with water, and turn it on to heat up. Once the water has reached boiling point, the machine will produce steam that can be used to loosen the wallpaper.
Step 3: Use the sprayer: Some wallpaper strippers come with a sprayer attachment that can be used to apply a stripping solution to the wallpaper before steaming.
This can help break down the adhesive and make the wallpaper easier to remove. You can use a compression sprayer to apply the stripping solution.
Start from the top: Begin steaming the wallpaper at the top of the wall, and work your way down. Hold the steamer against the wallpaper for several seconds, then move it to the next section.
Be careful not to hold the steamer in one place for too long, as this can damage the drywall underneath.
Repeat as necessary: Depending on the age and type of wallpaper, you may need to repeat the steaming process several times to fully loosen the adhesive.
Be patient and take your time, as rushing the process can lead to damage to the drywall.
Cleaning up: Once you have removed all the wallpaper, you will need to clean the walls thoroughly to remove any remaining adhesive.
You can use a cleaning solution made from vinegar, white vinegar, dish soap, baking soda, tsp, or liquid fabric softener to remove any residue. Be sure to rinse the walls thoroughly with water afterwards.
Using a wallpaper stripper can make the process of removing wallpaper from drywall much easier and more efficient. With the right preparation and technique, you can have your walls looking fresh and new in no time.
Method 3: Scoring and soaking wallpaper
Scoring and soaking wallpaper is a popular method for removing wallpaper from drywall.
This method involves using a scoring tool to create small holes in the wallpaper, which allows the wallpaper stripper to penetrate the adhesive and loosen the wallpaper.
After scoring the wallpaper, it is then soaked or saturated with a wallpaper stripper solution or warm water to help dissolve the adhesive.
Step 1: Using a scoring tool
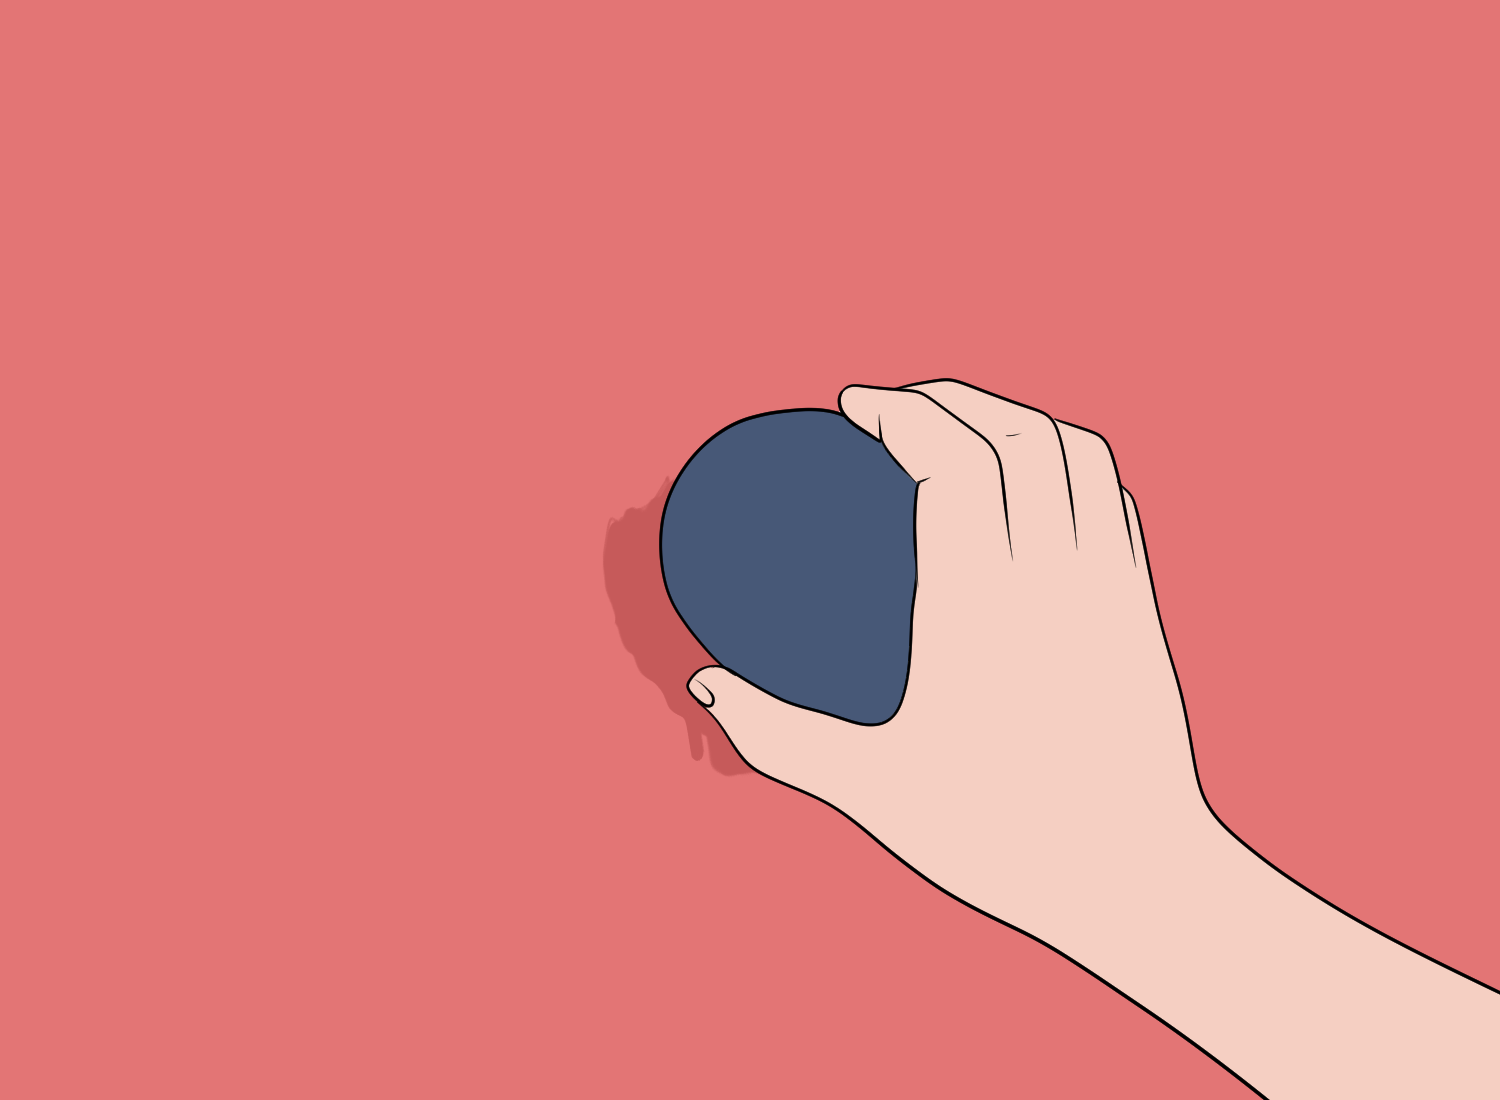
A scoring tool, also known as a wallpaper scoring tool, is a tool that is used to create small holes in the wallpaper. The tool has a series of small blades that are designed to puncture the wallpaper without damaging the drywall underneath.
To use the scoring tool, simply run it over the surface of the wallpaper, applying enough pressure to create small holes. Be careful not to press too hard, as this can damage the drywall underneath.
Step 2: Soaking the wallpaper
After scoring the wallpaper, it is time to soak or saturate it with a wallpaper stripper solution or warm water. A wallpaper stripper solution is a chemical that is designed to dissolve the wallpaper adhesive, making it easier to remove the wallpaper.
If you prefer a more natural approach, you can use warm water instead.
To soak the wallpaper, use a spray bottle or a water spray to apply the wallpaper stripper solution or warm water to the scored wallpaper.
Be sure to saturate the wallpaper thoroughly, but be careful not to oversaturate it, as this can damage the drywall underneath. Allow the solution or water to sit for 10-15 minutes to allow it to penetrate the adhesive.
Step 3: Removing the wallpaper
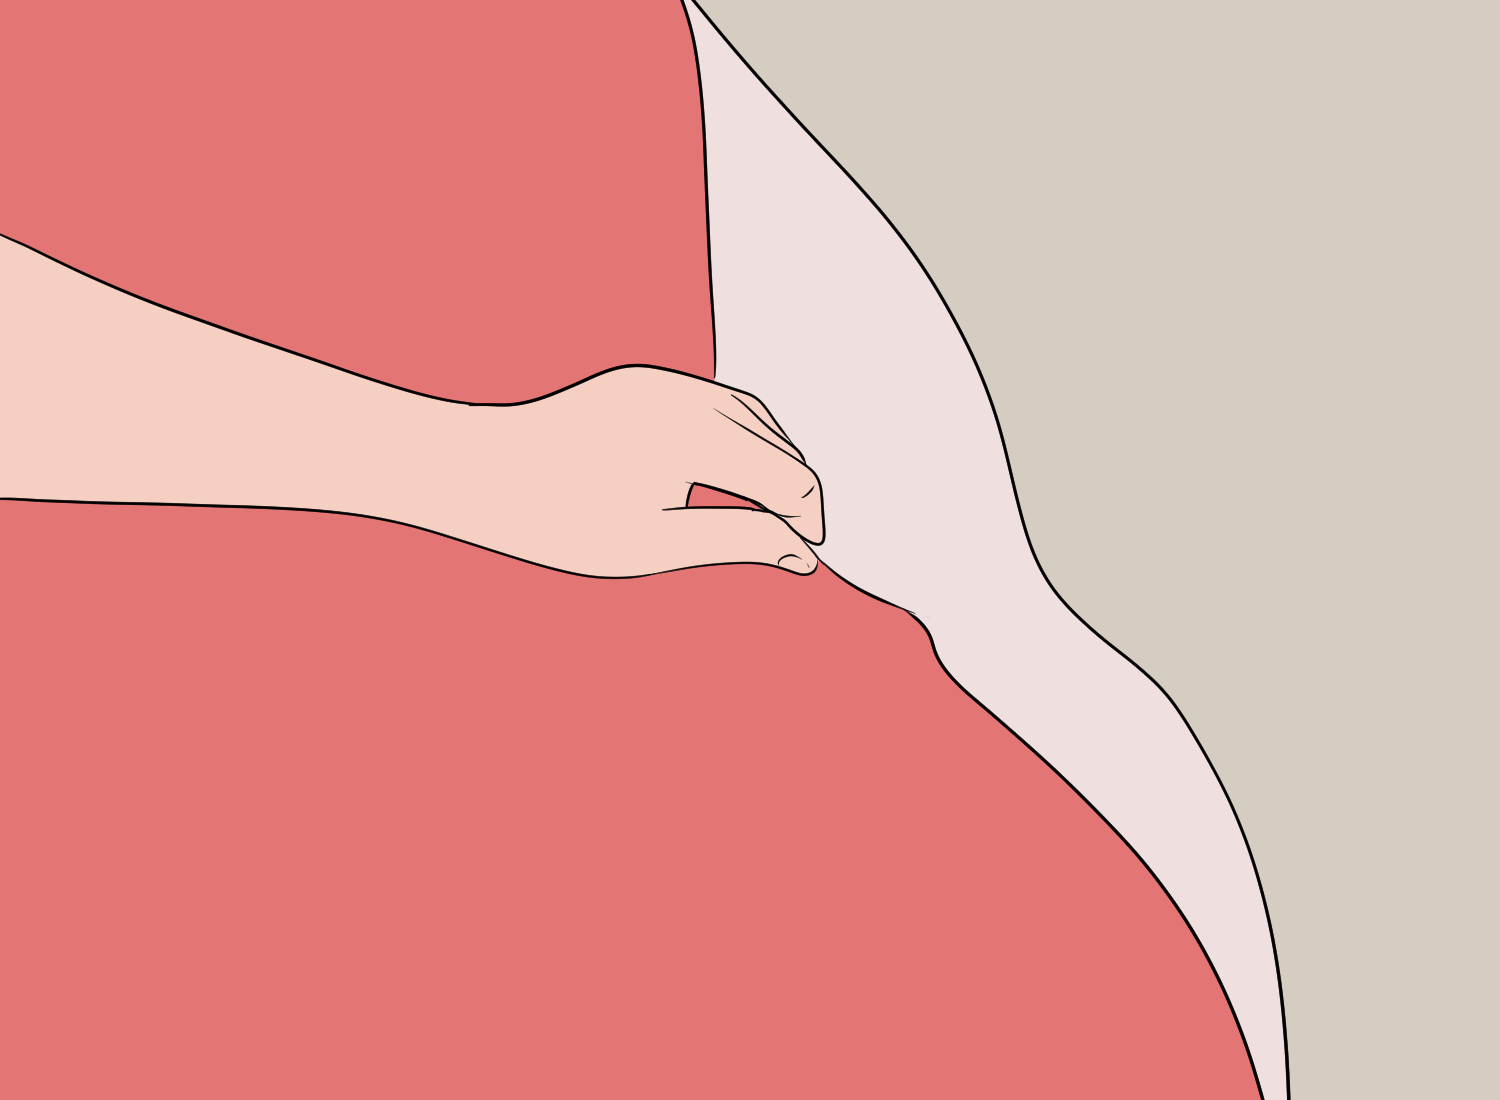
After the wallpaper has been scored and soaked, it should be easier to remove. Start at a corner or edge of the wallpaper and gently pull it away from the wall. Use a putty knife or scraper to help loosen the wallpaper if necessary.
Be sure to work slowly and carefully to avoid damaging the drywall underneath.
In conclusion, scoring and soaking wallpaper is an effective method for removing wallpaper from drywall.
By using a scoring tool to create small holes in the wallpaper and saturating it with a wallpaper stripper solution or warm water, the adhesive can be dissolved, making it easier to remove the wallpaper.
Method 4: Peeling and removing wallpaper
Removing wallpaper can be a tedious and time-consuming task, but with the right tools and a bit of patience, it can be done easily. Here are some steps to help you peel and remove wallpaper from drywall:
- Step 1: Start by removing any loose wallpaper. Use a putty knife or a scraper to gently peel off any loose pieces of wallpaper. Be careful not to damage the drywall underneath.
- Step 2: Once you have removed the loose pieces, use a wallpaper scorer to perforate the remaining wallpaper. This will allow the wallpaper remover to penetrate the backing and loosen the adhesive.
- Step 3: Apply the wallpaper remover to the wallpaper backing. You can use a spray bottle or a roller to apply the remover. Be sure to wear gloves to protect your hands.
- Step 4: Let the wallpaper remover sit for the recommended time. The time will vary depending on the type of wallpaper remover you are using. Check the label for instructions.
- Step 5: Use a putty knife or a scraper to gently peel off the wallpaper backing. Start at the top and work your way down. Be careful not to damage the drywall underneath.
- Step 6: If there is any remaining adhesive on the drywall, use a wallpaper remover to loosen it. Apply the remover to the adhesive and let it sit for the recommended time. Then use a putty knife or a scraper to gently remove the adhesive.
By following these steps, you can remove wallpaper from drywall without damaging the surface. Remember to take your time and be patient. With a little effort, you can have a clean and smooth surface ready for a fresh coat of paint or new wallpaper.
Repairing damaged drywall
Removing wallpaper from drywall can cause damage to the wall. The damage can be in the form of cracks, gouges, or tears. It is important to repair the damaged drywall before applying a new coat of paint or wallpaper.
Here are some steps to repair damaged drywall:
Assess the damage: Before starting the repair process, assess the damage to determine the extent of the repair needed.
If the damage is minor, it can be repaired with a patch. If the damage is extensive, it may require replacing the entire section of drywall.
Prepare the area: Clean the damaged area by removing any loose debris or wallpaper. If the drywall is behind plaster walls, remove the plaster to expose the damaged area.
If the drywall is unprimed, apply a coat of primer to the area before proceeding.
Patching: For small cracks or gouges, apply a spackling compound to the damaged area using a putty knife. Smooth out the compound and let it dry completely.
Once dry, sand the area with fine-grit sandpaper until it is smooth and even with the surrounding area.
Replacing drywall: If the damage is extensive, it may require replacing the entire section of drywall. Cut out the damaged section of drywall using a drywall saw.
Cut a new piece of drywall to fit the hole and secure it in place using drywall screws. Apply joint compound to the seams and let it dry completely. Sand the area until it is smooth and even with the surrounding area.
Priming and painting: Once the repair is complete, apply a coat of primer to the repaired area. Let the primer dry completely before applying a coat of paint or wallpaper.
With these steps, you can repair damaged drywall and make your walls look brand new again.
Cleaning and finishing up
Now that you have successfully removed the wallpaper from your drywall walls, it’s time to clean up and finish up the job. Here are some tips to help you get the job done:
Cleaning up the residue
After removing the wallpaper, you may notice some residue left behind on the walls. To get rid of this residue, you can use a wet rag or cloth to wipe it away.
If the residue is particularly stubborn, you can use a wallpaper stripping solution or a chemical wallpaper stripper to help dissolve it. Be sure to follow the manufacturer’s instructions carefully when using these products.
Removing the glue or adhesive
In addition to residue, you may also notice some glue or adhesive left behind on the walls. To remove this, you can use a scraper or putty knife to gently scrape it away. Be careful not to damage the drywall in the process.
Once you have removed as much of the glue or adhesive as possible, you can use a wet rag or cloth to wipe away any remaining residue.
Finishing up the job
Once you have cleaned up all the residue and removed any remaining glue or adhesive, it’s time to finish up the job. If you plan on painting the walls, be sure to prime them first before applying the paint.
This will help ensure that the paint adheres properly to the walls.
To apply the primer, you can use a paint roller or a brush. Be sure to apply the primer evenly and allow it to dry completely before applying the paint. Once the primer is dry, you can apply the paint in the same manner.
Be sure to allow the paint to dry completely before moving any furniture back into the room.
Overall, removing wallpaper from drywall can be a time-consuming and messy process, but with the right tools and techniques, it can be done successfully.
By following these tips for cleaning up and finishing up the job, you can ensure that your walls look clean and beautiful once again.
FAQ's
The best wallpaper removal solution depends on the type of wallpaper you are removing. For traditional wallpaper, a chemical wallpaper stripper is often the most effective solution.
However, for newer, non-porous wallpapers, a steamer may be a better option. Always follow the manufacturer’s instructions and wear protective gear when using any chemical solutions.
To remove wallpaper from drywall with a steamer, start by filling the steamer with water and allowing it to heat up. Hold the steamer against the wallpaper for several seconds until the adhesive begins to soften.
Use a scraper to gently remove the wallpaper, being careful not to damage the drywall. Repeat the process until all the wallpaper is removed.
Removing 40-year-old wallpaper can be challenging, as the adhesive may have hardened over time. Start by scoring the wallpaper with a scoring tool to allow the removal solution to penetrate the adhesive.
Apply a wallpaper removal solution and allow it to sit for several minutes. Use a scraper to gently remove the wallpaper, taking care not to damage the drywall.
Removing old wallpaper from plaster walls requires a delicate touch to avoid damaging the plaster. Start by scoring the wallpaper with a scoring tool to allow the removal solution to penetrate the adhesive.
Apply a wallpaper removal solution and allow it to sit for several minutes. Use a scraper to gently remove the wallpaper, taking care not to damage the plaster.
There are several wallpaper removal hacks that can make the process easier. One popular hack is to mix fabric softener with hot water and use it as a wallpaper removal solution.
Another hack is to use a mixture of vinegar and hot water to soften the wallpaper adhesive. Always test any hack on a small area first to avoid damaging the walls.
Yes, it is possible to remove wallpaper without destroying drywall. Start by scoring the wallpaper with a scoring tool to allow the removal solution to penetrate the adhesive.
Apply a wallpaper removal solution and allow it to sit for several minutes. Use a scraper to gently remove the wallpaper, taking care not to damage the drywall. If the drywall is damaged, it can be repaired with joint compound and sandpaper.