One of the main advantages of putting up a fence is related to how deep its foundation goes. The deeper the fence posts are embedded into the ground, the more stable the fence will be. Additionally, the total height of the fence, together with the particular types of posts used, are also very important factors.
As a rule, the depth of fence post holes should be half the height of the finished posts. For example, if the height of the fence is four feet above the ground, the depth of the holes should be two feet. It means two feet of fence posts go into the ground. In a few cases, you can dig holes that are one-third of the above-ground fence height, but it is not ideal.
However, the climate in your locality, the strength and weight of the fence, and the conditions of the soil in that area can determine how deep to dig fence post holes. Nevertheless, you must have post holes deep enough to hold any fence, especially if it is not merely decorative.
| Fence height (ft.) | Post hole depth |
|---|---|
| 3’ | 1.5 ft. |
| 4’ | 2 ft. |
| 5’ | 2.5 ft. |
| 6’ | 3 ft. |
| 7’ | 3.5 ft |
| 8’ | 4 ft. |
| 9’ | 4.5 ft |
| 10’ | 5 ft. |

Post hole width
Another consideration you might not have thought of is the minimum width of post holes. This is so the volume of cement in the hole is heavy enough to anchor the fence in place during strong winds.
The fence post hole needs to be 3 x the diameter of the fence post. This is a good rule of thumb for all fence types.
Fence hole width by fence type
| Fence type | Post diameter | Post hole diameter |
|---|---|---|
| Aluminum | 2” x 2” | 6” |
| Chain link | 2” x 2” | 6” |
| Metal | 2.5” x 2.5” | 7.5” |
| Hog wire | 2 ⅜ -inch x 2 ⅜ -inch | 7.2” |
| Game | 4” x 4” | 12” |
| Electric | 3/8" | Star pickets are forced into the ground. No digging required |
| Wood Shadow box | 4” x 4” | 12” (1 foot) |
| Wood Stockade | 4” x 4” | 12” (1 foot) |
| Wood Post and rail | 6” x 6” | 18” (1.5 feet) |
| Composite | 4” x 4” | 12” (1 foot) |
Digging fence post holes - considerations
A few factors determine how deep to dig holes for fence posts. The location, prevailing soil conditions, fence use, and weight are some to consider.
Location
Some areas see more wind than others. If you are digging fence post holes in an area with a lot of wind, it is crucial to dig them deep enough to hold the posts. You may want to erect the fence when there are high winds so you can test the strength of what you have built.
Someone digging fence post holes in a calmer area may not need to go so deep. Fences in areas with a lot of wind may go as deep as half the height of the visible posts above the ground. But other areas may not need such a depth; one-third of the visible height may suffice.
Soil condition
Another vital factor is the soil condition. Soft soil cannot hold shallow fence posts against the elements and other stimuli. Therefore, digging deep post holes becomes crucial. You must first check the soil where you want the fence and determine its strength and compaction.
The information you get informs you of the depth of the holes and afterward, you can begin working on the site. Furthermore, the amount of concrete used for the fence posts should be more in the case of soft soil or an area with high winds.
Weight
The larger the fence posts, the heavier they may be. And if the posts are heavy, the holes must be deep enough to accommodate them. Digging shallow holes for heavy fence posts is counterproductive; they may fall over or even break, depending on the force pushing them.
Any contractor knows the right type of post for a property and how deep a hole to dig for it. But if you are building the fence yourself, it is crucial to find out the role that the post type plays in the depth of the holes. Then, you can determine how deep to dig the holes.
Purpose
A fourth and important consideration is the purpose of the fence. If it is merely decorative or is not used much, the fence post holes may not be much to consider, although the factors mentioned above still play a role. However, if the fence surrounds a farm or is for privacy and security, it needs to be strong. And part of its strength is in how deep it goes.
Diameter
Consider the diameter of the holes while checking the depth. If you get the depth right but miss the diameter, the fence may not last. The post hole diameter for any fence must be about three times the size of the post diameter.
Suppose you opt to use three-inch round posts for the fence? The post holes must each have a diameter of nine inches. So, if we go with a four-foot-high fence, the post holes must be two feet deep and nine inches wide.
Installing the fence posts
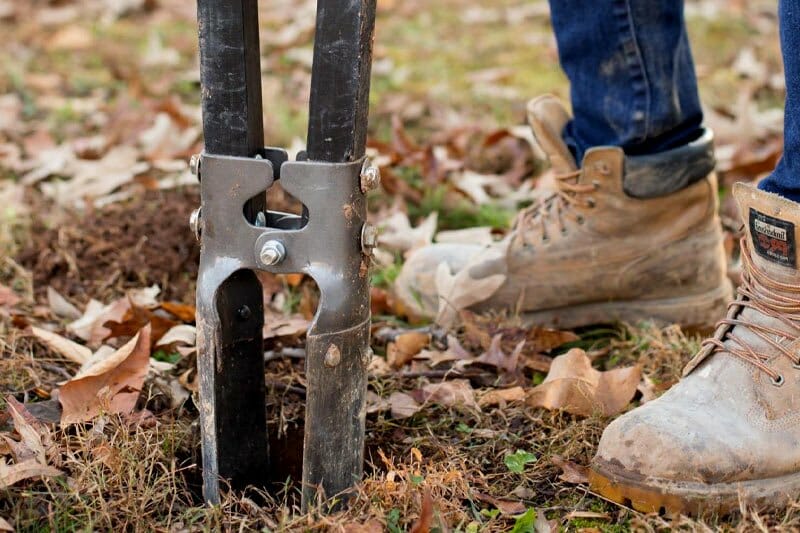
Digging fence post holes may seem easy, but it may be difficult if you have to dig multiple holes. The same is true if the soil is hard; digging two or three-foot deep holes for each post will take energy and time. This is particularly true if you plan to do the job manually.
Therefore, consider using a post hole auger. If you already have one or can borrow without cost, your job is half done. But you can also rent an auger to dig the holes, especially on hard and compacted soil. And if the fence needs a lot of posts, the auger saves you time and energy.

Using the right concrete
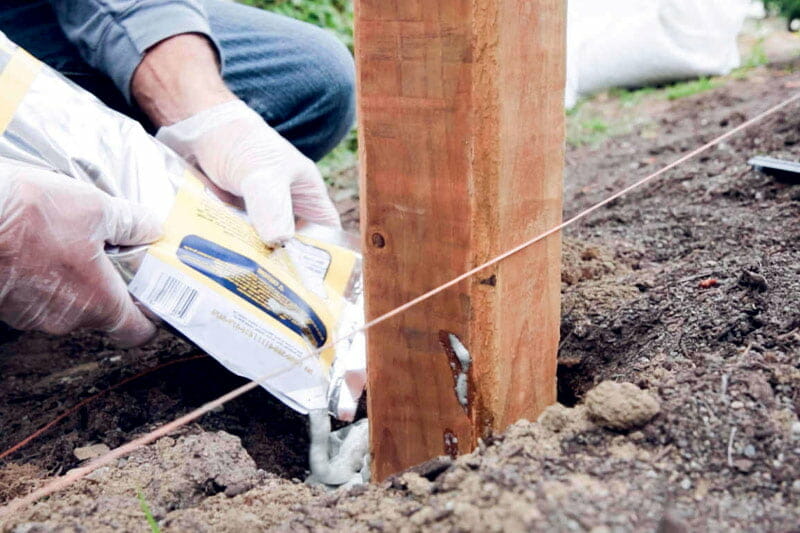
Another consideration when installing the posts is the type of concrete. Some concrete types need days and weeks to set, and using them may delay the purpose of the fence. However, using fast-setting concrete significantly cuts the waiting time down. The amount you use will depend on how deep the holes are. The good news is that you can mix the concrete in the post holes.
Dig the holes according to the specifications of the fence posts in use. Once done, pour a few inches of gravel into the holes, compacting them with the fence posts. Position the posts, going one after another, and ensure each one is fully vertical; a level helps determine this.
Pouring concrete
Keep each post in place using braces so you can pour dry concrete into the holes, ensuring to surround the posts. Stop pouring when you have about three inches of concrete in the holes and add tepid water. Keep pouring water until all the concrete is entirely saturated.
This type of concrete needs about an hour or less to set, depending on the weather and temperature. Within five hours, it typically cures to begin working. The best results depend on the current temperature, and the ideal temperature is between 50 degrees and 90 degrees Fahrenheit. You can pour in other weather conditions, but you may need professional assistance to execute a perfect job.


