Mold spores present in the air of residential areas can be hazardous to both people and animals. Certain people might have immediate responses, like coughing or continuous sneezing, when they enter a space contaminated with mold in the air.
Mold air testing involves collecting and analyzing air samples to test for the presence and concentration of mold spores in the air. The test can help you tell if you have mold in your house that needs to be removed. In most cases, the presence of mold in the air is a sign that you have a significant mold problem.
What we cover
ToggleHow to Test the Air for Mold Spores
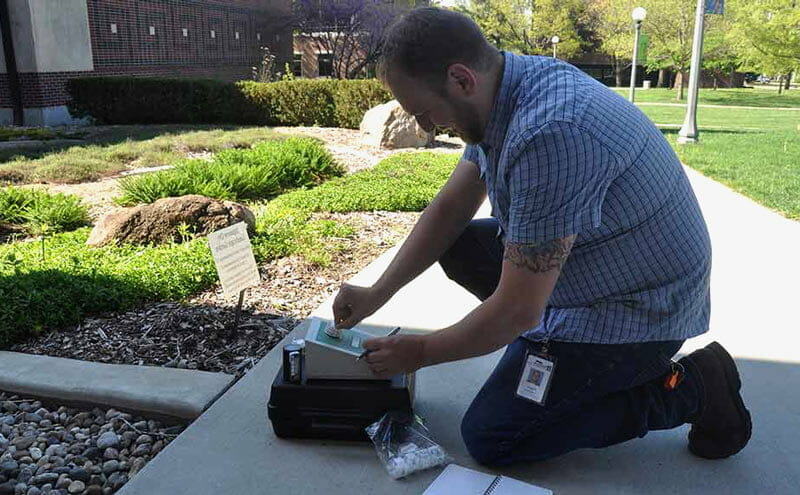
There are several ways to test for mold spores in the air, most involving the use of an air sampler or mold testing devices. You can purchase mold testing devices and air samplers and do the tests on your own. However, it’s always advisable to have a trained mold inspector do the testing for more accurate results.
Here is how to test for mold spores before you order for a comprehensive mold inspection and remediation.
Requirements
- Mold testing kit- Look for a mold testing kit in your local home improvement store or online that includes an air sampler. You can purchase a simple mold testing kit for as little as $20 although you need to be sure that the device is working as advertised and has good reviews.
- Protective gloves and face-coverings- You need these if you will be going into a disused house, basement, or attic where you are certain that there is significant mold in the air.
Mold air testing should be done over a number of days and in different rooms for more conclusive results. If possible, send the kit to a certified mold expert for further analysis to check for the type of mold or for the presence of microscopic mold.
Step 1- Preparing your room
You will have more accurate and faster results if you can seal off the room where you suspect that there is mold in the air. Small spaces such as bathrooms, attics, or basements should be sealed before the air test. You can also do the same for larger spaces such as living rooms if possible.
Close all the windows and doors in the area where the test will be done at least twenty-four hours in advance to prevent mold particles from escaping. Also ensure that any air purifiers, fans, and AC systems that may disturb the air are turned off during the sampling/collection phase. This will allow for any floating mold particles to remain in the air.
Step 2- Prepare your Testing kit
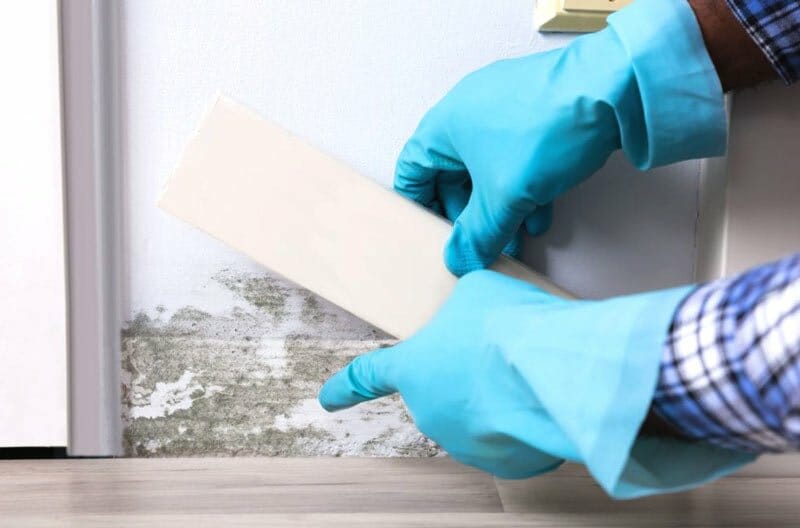
There are different types of mold testing kits available in the market. Each of them comes with specific instructions on how they should be used. However, standard air testing kits have what looks like a petri dish with an airtight lid. The petri contains laboratory-prepared mold food (microbial culture) that is important for mold growth.
To prepare your test kit, unpack it as per the instruction manual accompanying it and open the petri dish ensuring that you do not touch or disturb its contents. Use a pair of gloves when handling the testing kit if possible, to prevent contamination.
Step 3- Positioning your air sampler
The open petri dish with “mold food” will be used to collect any floating mold particles or spores in your living areas. Find a place where there is the least disturbance and place the petri dish there to begin collecting the samples. Be sure to wear your protective face covering if you are placing the sampling dish in an area where there is significant mold presence.
Step 4- Collection phase
Most mold air sampling kits are designed to collect samples over a forty-eight-hour period so leave the petri dish intact for as long as required. During this period, some of the mold spores floating in the air will settle into the open petri dish and start feeding on the microbial cultures for growth. Ensure that the conditions in the room remain the same throughout this phase by keeping windows and doors closed.
Step 5- The Growth Phase
After the forty-eight-hour sampling period has lapsed, carefully remove the open petri dish from its position and replace the lid. Depending on the model and type of lid on your testing kit, you may need to seal it further using removable tape. This will ensure that there is no air going into the petri dish in the growth phase.
Now transfer the sealed petri dish into a dark space such as inside a drawer or sealed box. By keeping the petri dish in a dark space, any mold spores that had settled into the Petri will start feeding on the microbial cultures and grow. Keep the Petri there for at least two days before you check if there is any growth. If there is no mold after two days, put it back and check again after every two days.
Step 6- Testing Results
You will know there is mold in the air if there is mold growth in the petri dish after the growth period.
Here is how to determine the concentration of mold in the air from this DIY test:
- After two days- Significant mold presence in the dish means you have a high concentration of mold in your house. Find a mold remediation service immediately.
- After two days- Mild mold presence (few spots)- You have a mild mold problem but still need to have it dealt with before it gets worse.
- More than two days- mold presence- Some mold varieties may take longer to grow hence the reason why you should extend the testing period over several days.
- No mold presence after several days- This could be a sign that you do not have mold in your house. However, you can mail the sealed testing kit to a professional mold inspector for more comprehensive tests. Keep in mind that some toxigenic mold varieties may not be visible to the naked eye.
Note that DIY mold testing kits will only help when you want to check for mold presence. For more analysis, you will still need to work with a licensed mold inspector or mycologist to know what type of mold you have and how to proceed after a positive mold test.
Places Mold Might Be Hiding
Finding the right spot to place your air testing kit is important for more accurate results. Sometimes, you may have a serious mold problem but cannot detect it with a test, especially at the early stage. If you suspect that there is mold floating in the air, then you might want to check the following places:
- Behind refrigerators- Due to conditions behind refrigerators, it is possible to have mold growing there unnoticed.
- Underneath sinks- Dampness under sinks might attract mold over long periods especially if you have a leak.
- In air vents and ducts- Mold tends to favor dark, damp areas such as air vents and ducts. You may need a professional inspection done to check for the presence of mold in these hard-to-access areas of your home.
- In your air conditioning unit- Air conditioning units tend to attract mold due to moisture and other conditions that are ideal for growth.
- Under carpets- Conditions under heavy carpets are ideal for mold formation. Ensure that your carpets are regularly cleaned or swapped out.
Do I Need A Professional Mold Inspection?
As mentioned earlier, DIY mold testing can only help detect significant mold presence in the air. For more comprehensive tests, you may need a professional mold inspection. Professional inspectors do more scientific tests using professional equipment such as infrared cameras to test for mold presence. They will also help you analyze the type of mold you have and advice on how to proceed.
HomeGardenGuides.com is a free service that quickly matches you with top-voted local mold inspection specialists.
Here is what you need to do now to get 3 estimates by real certified experts in your area:
- Scroll to the top of the page and enter your Zip code.
- Answer questions about your mold job
- Your roof painting details are forwarded to three local experts. They will send you a price estimate for the job and some friendly advice.
IMPORTANT: There is no obligation to hire. This is a free tool and service to be used at your pleasure.

Do DIY Home Air Testing Kits Really Work?
Most DIY home air testing kits will help you detect significant mold presence in the air. However, trace amounts of mold may not be detectable using a simple DIY test kit. If you still suspect the presence of mold in your home, it’s advisable to order for a professional inspection. Also, ensure that the DIY air testing kit you purchase is of high quality and recommended by professionals.
DIY Mold Testing Vs Pro Inspection
While DIY mold testing can help test for mold presence, there are instances where you are advised to go for a pro inspection. Here is a comparison of both approaches and where you may choose one over the other.
- DIY mold testing is a cheap option to test for the presence of mold. In contrast, pro inspection may cost more and is recommended if you want more conclusive tests.
- Pro inspection gives accurate and reliable results while some DIY home testing kits may not be reliable or may not detect trace amounts of toxic mold in the air.
- Professional inspectors use more than one test and have access to sophisticated equipment for faster, more accurate results. In contrast, you may have to wait for several days to get your results even when you mail your sealed testing kit to a testing lab.
- Pro inspectors can certify your home as being free of mold and provide documentation for the same if you want to sell.
What Is Mold Air Sampling?
Mold air sampling is the process of collecting particles from the air to test for the presence of mold spores. Mold air sampling can be done using a mold air testing kit, sampling devices, or a more comprehensive air-quality test.
What Are the Dangers of Mold Exposure?
Medical research has linked exposure to toxic mold to mild and serious health conditions such as lung disease, mold poisoning, bronchitis, etc. Those with preexisting conditions such as asthma can have life-threatening reactions if exposed to toxic mold even for a short period.
What Are the Early Warning Signs of Mold Toxicity?
If exposed to toxic mold, you may experience mild to serious symptoms such as uncontrolled sneezing, coughing, and breathing difficulties. According to the CDC, exposure to toxic black mold may also cause unspecific health symptoms and should be removed as soon as it is discovered.
