Putting up drywall is typically an easy job. However, it’s susceptible to getting damaged. Fortunately, using spackle provides a convenient and efficient way to fix small flaws and restore your walls to their initial state.
Spackling is the process of filling in holes and cracks in drywall with a special paste called spackle. Spackle is a type of putty that is made from gypsum powder and glue. It is easy to work with and dries quickly, making it an ideal material for repairing small holes and cracks in drywall. Spackling can repair a wide range of damage, from small nail holes to larger cracks and dents.
Follow the steps in this article to find out more about how to spackle drywall.
Identifying drywall damage
Drywall damage can be caused by a variety of factors such as accidental impact, moisture, or even normal wear and tear. It is important to identify the type of damage before attempting to repair it.
Holes

The holes in drywall can be caused by a variety of things such as furniture, doorknobs, or even accidental impact. Small holes can be easily repaired with a spackle, while larger holes may require a patch.
Cracks

The cracks in drywall can be caused by settling or changes in temperature and humidity. Small cracks can be repaired with spackle, while larger cracks may require joint compound and tape.
Dents and gouges
Dents and gouges in drywall can be caused by accidental impact or furniture. Small dents and gouges can be repaired with spackle, while larger ones may require a patch.
Blemishes

The blemishes on drywall can be caused by a variety of factors such as water damage or improper painting techniques. These can be repaired with spackle or joint compound depending on the severity of the damage.
Overall, identifying the type of drywall damage is crucial before attempting to repair it. Small holes, cracks, dents, gouges, and blemishes can be easily repaired with spackle, while larger damage may require a patch or joint compound and tape.
Tools required for spackling and their cost
To properly spackle drywall, you will need a few essential tools. These tools will help you achieve a smooth and professional-looking finish. The following is a list of tools required for spackling:
| Tool | Average cost |
|---|---|
| Putty knife | $4 - $13 |
| Spackle knife | $10 - $15 |
| Sandpaper | $12 |
| Sanding sponge | $1.35 - $1.95/piece |
| Sanding block | $4 - $12 |
| Drill | $85+ |
| Drywall saw | $10 - $20 |
| Drywall screws | starting from $7.5/pack |
| Glue | $3.5 - $12 |
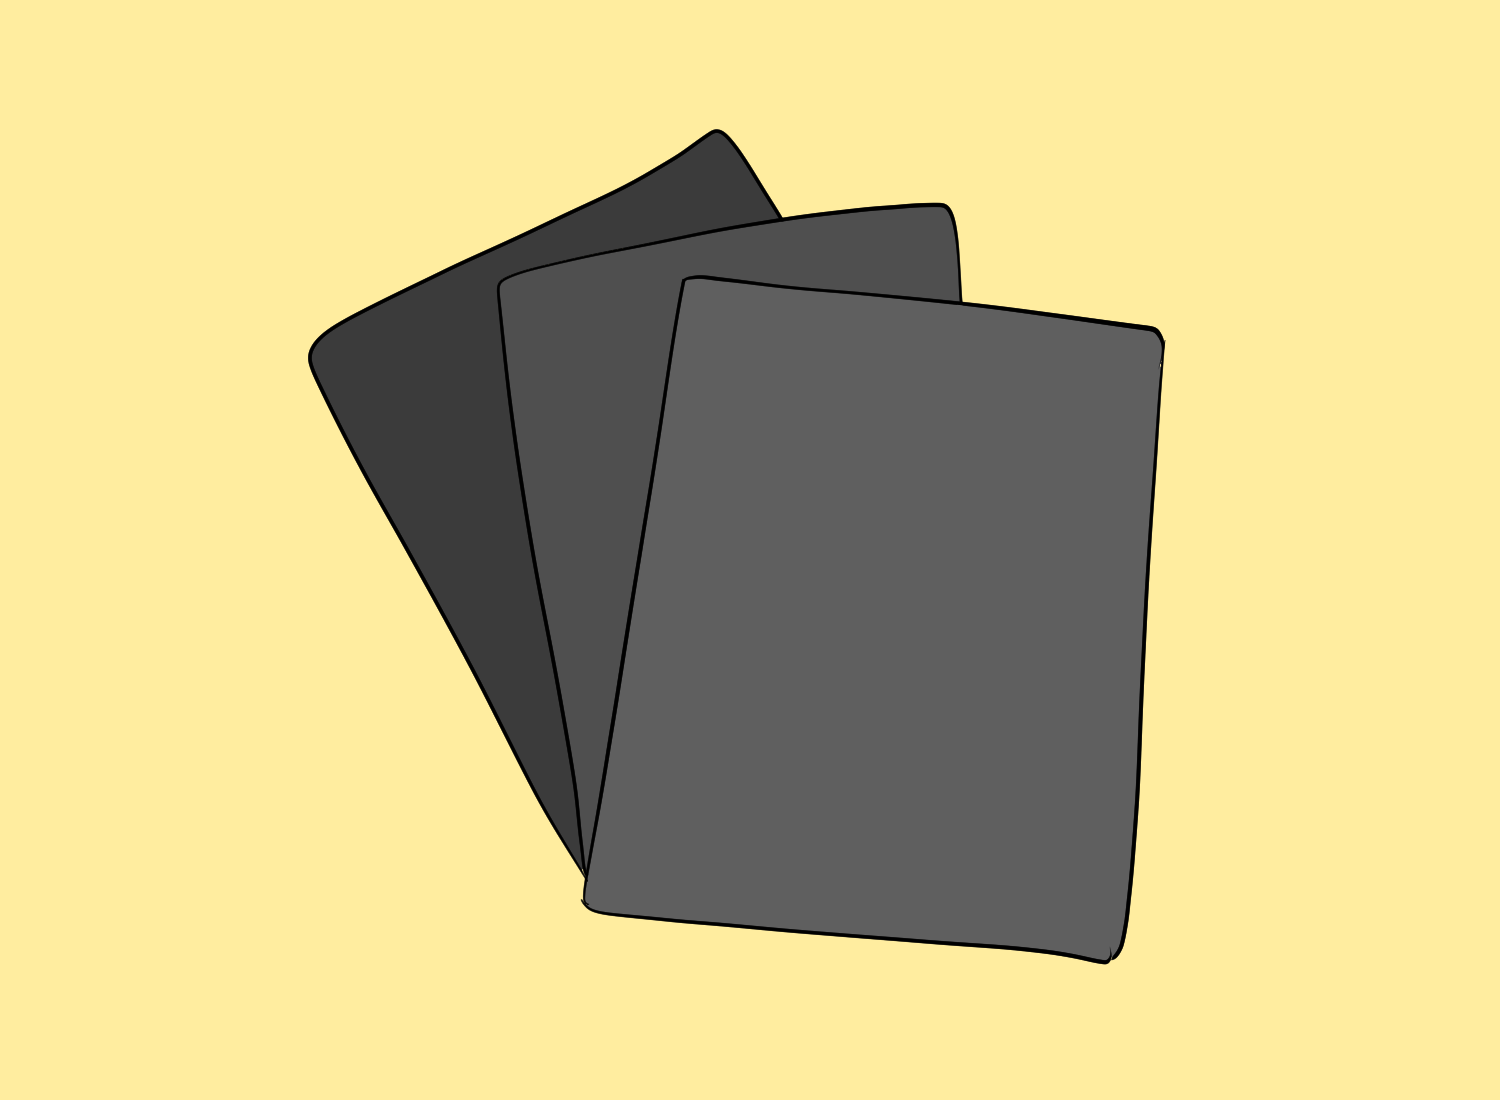
| Painter's tape | $5+ |
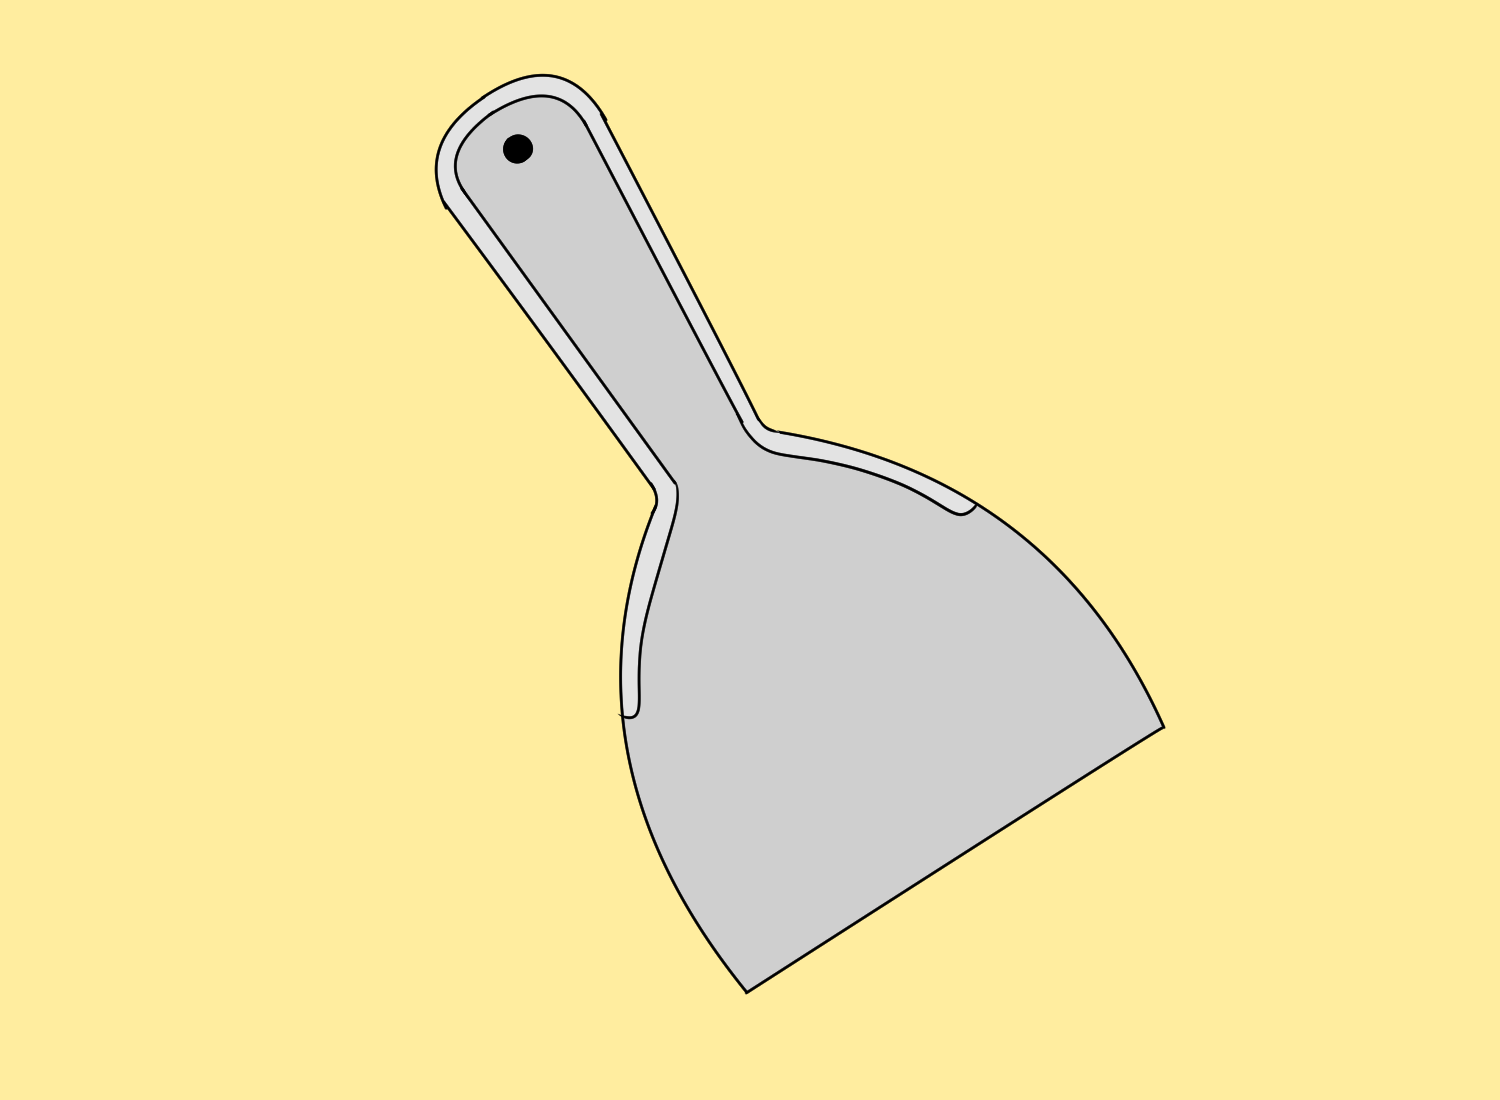
Putty knife
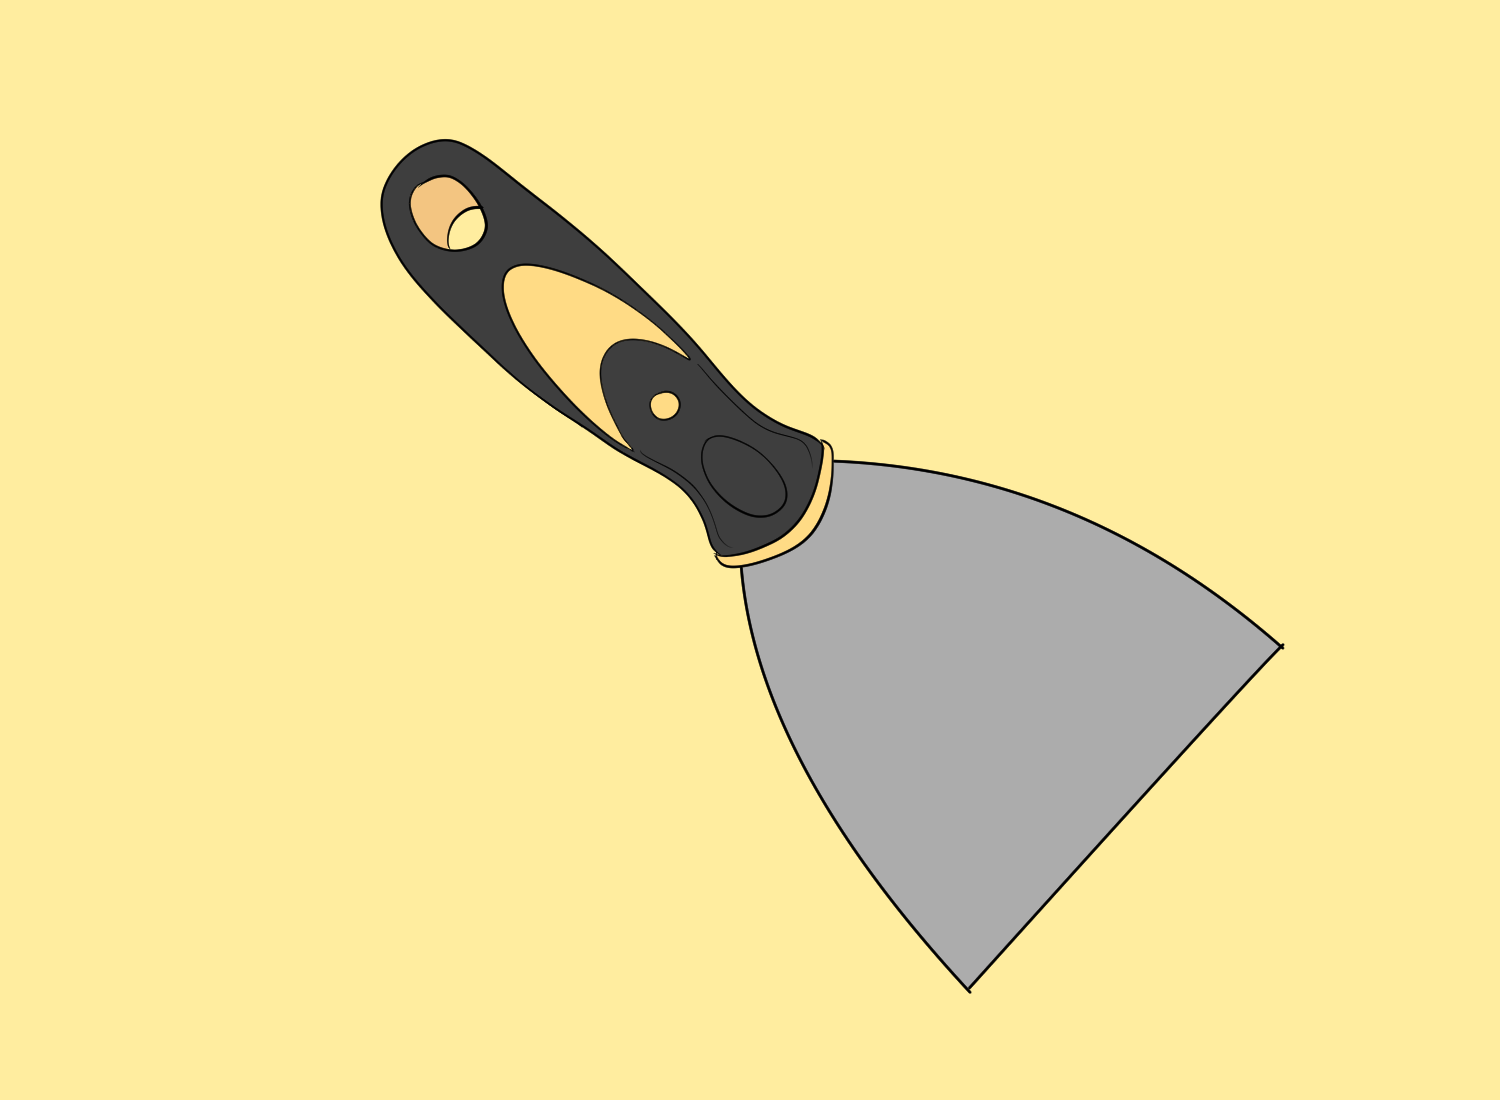
A putty knife is a flat, flexible tool used for scraping and spreading spackle. It is available in various sizes, and the size you choose will depend on the size of the area you are spackling. A smaller putty knife is ideal for small holes and cracks, while a larger putty knife is best for larger areas.
Spackle knife
A spackle knife is another essential tool for spackling drywall. It is designed specifically for applying spackle to the wall. Spackle knives come in various sizes, and you should choose the size that is appropriate for the size of the area you are spackling.
Sandpaper
A sandpaper is used to smooth out the spackle after it has dried. Fine-grit sandpaper is ideal for sanding down the spackle, and it is essential to achieve a smooth and even finish. Grit sandpaper can also be used for sanding the spackle, but it is more abrasive and can leave scratches on the surface.
Sanding sponge
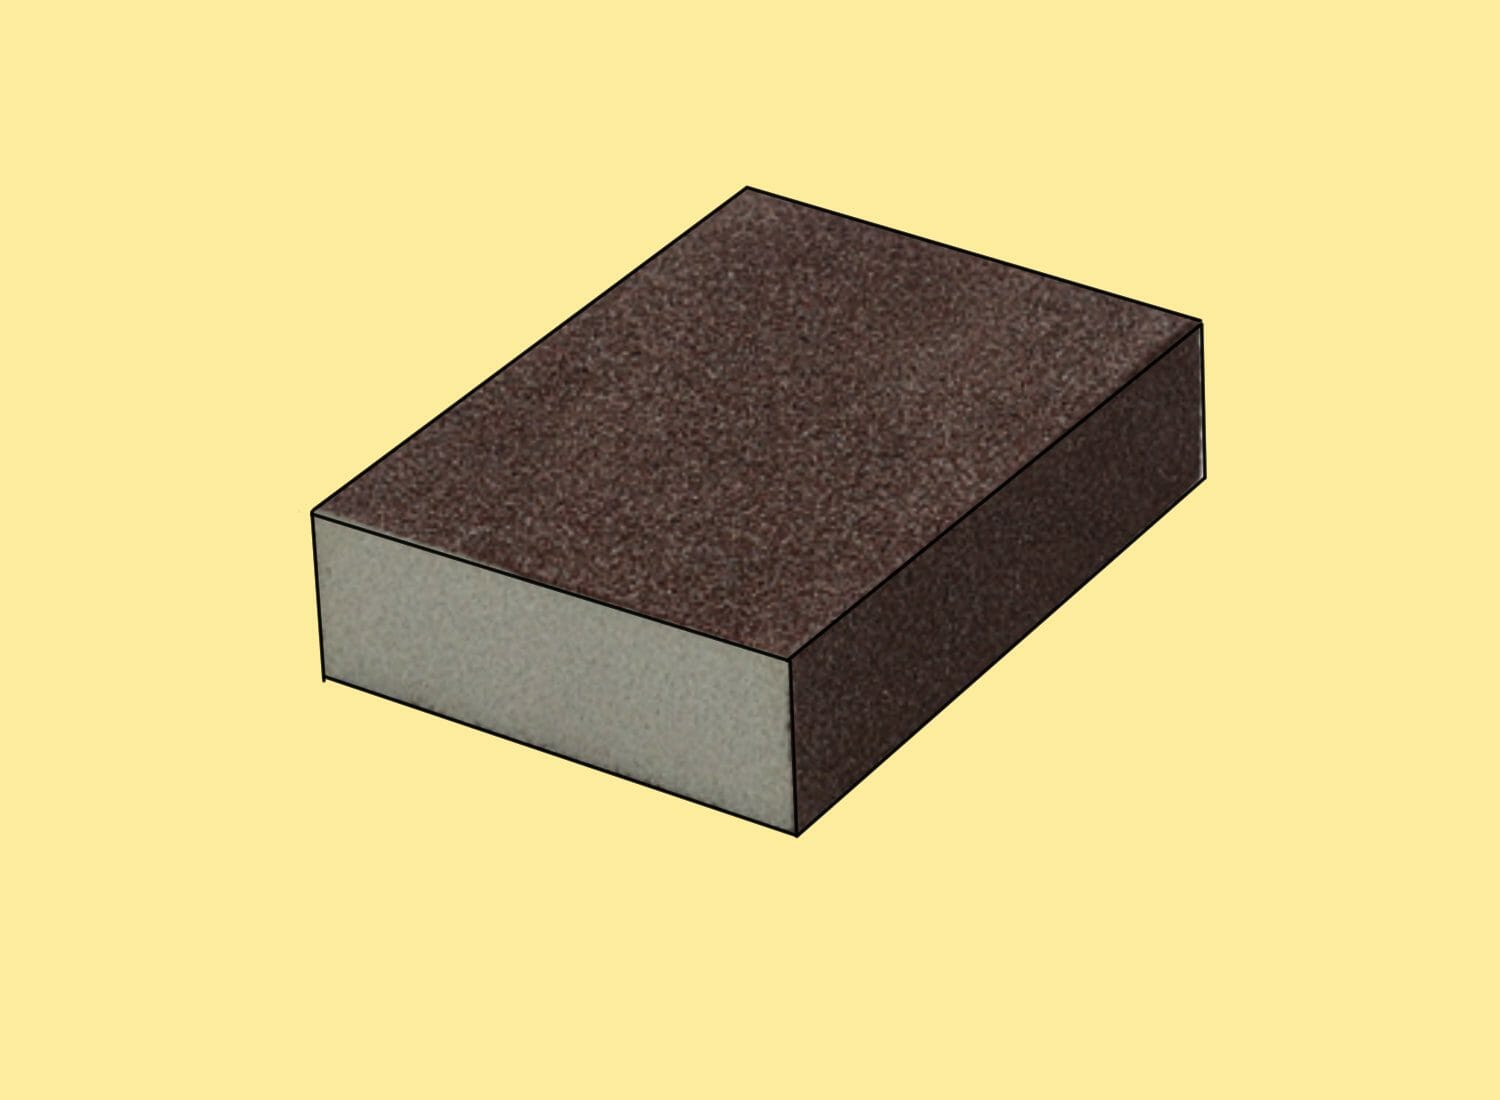
A sanding sponge is a block of foam with abrasive material on one side. It is used for sanding drywall and spackle. Sanding sponges are available in various grits, and you should choose the grit that is appropriate for the job.
Sanding block
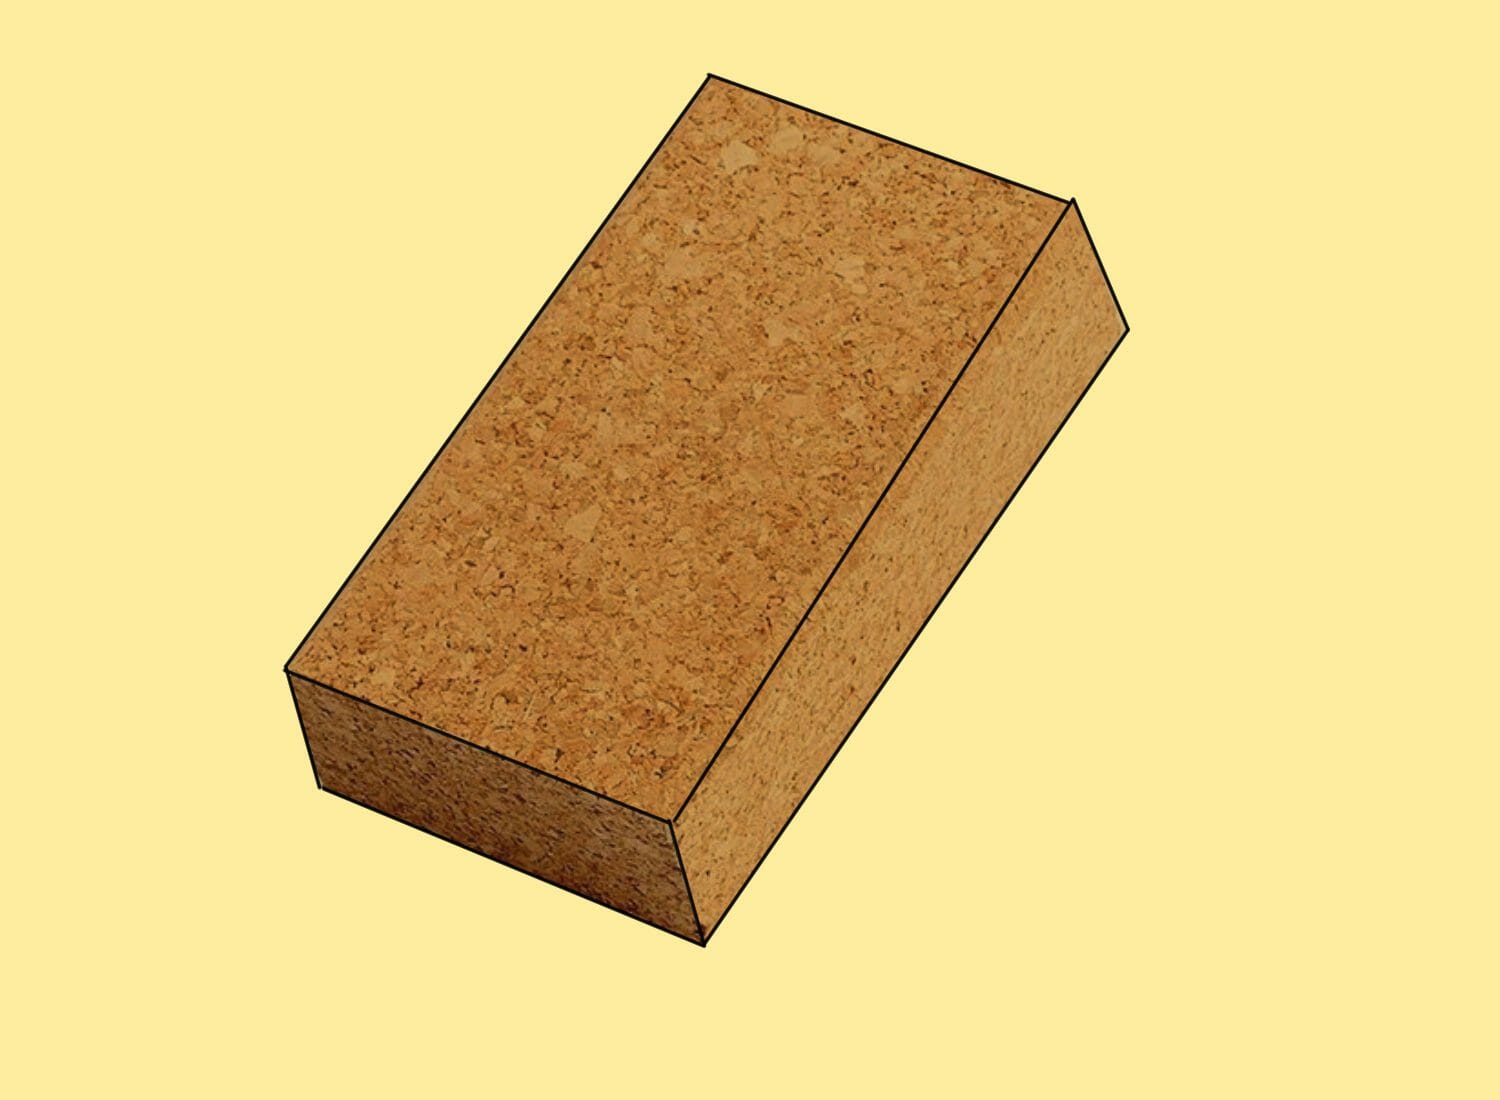
A sanding block is a block of wood or plastic with abrasive material on one side. It is used for sanding drywall and spackle. Sanding blocks are available in various grits, and you should choose the grit that is appropriate for the job.
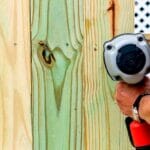
Drill
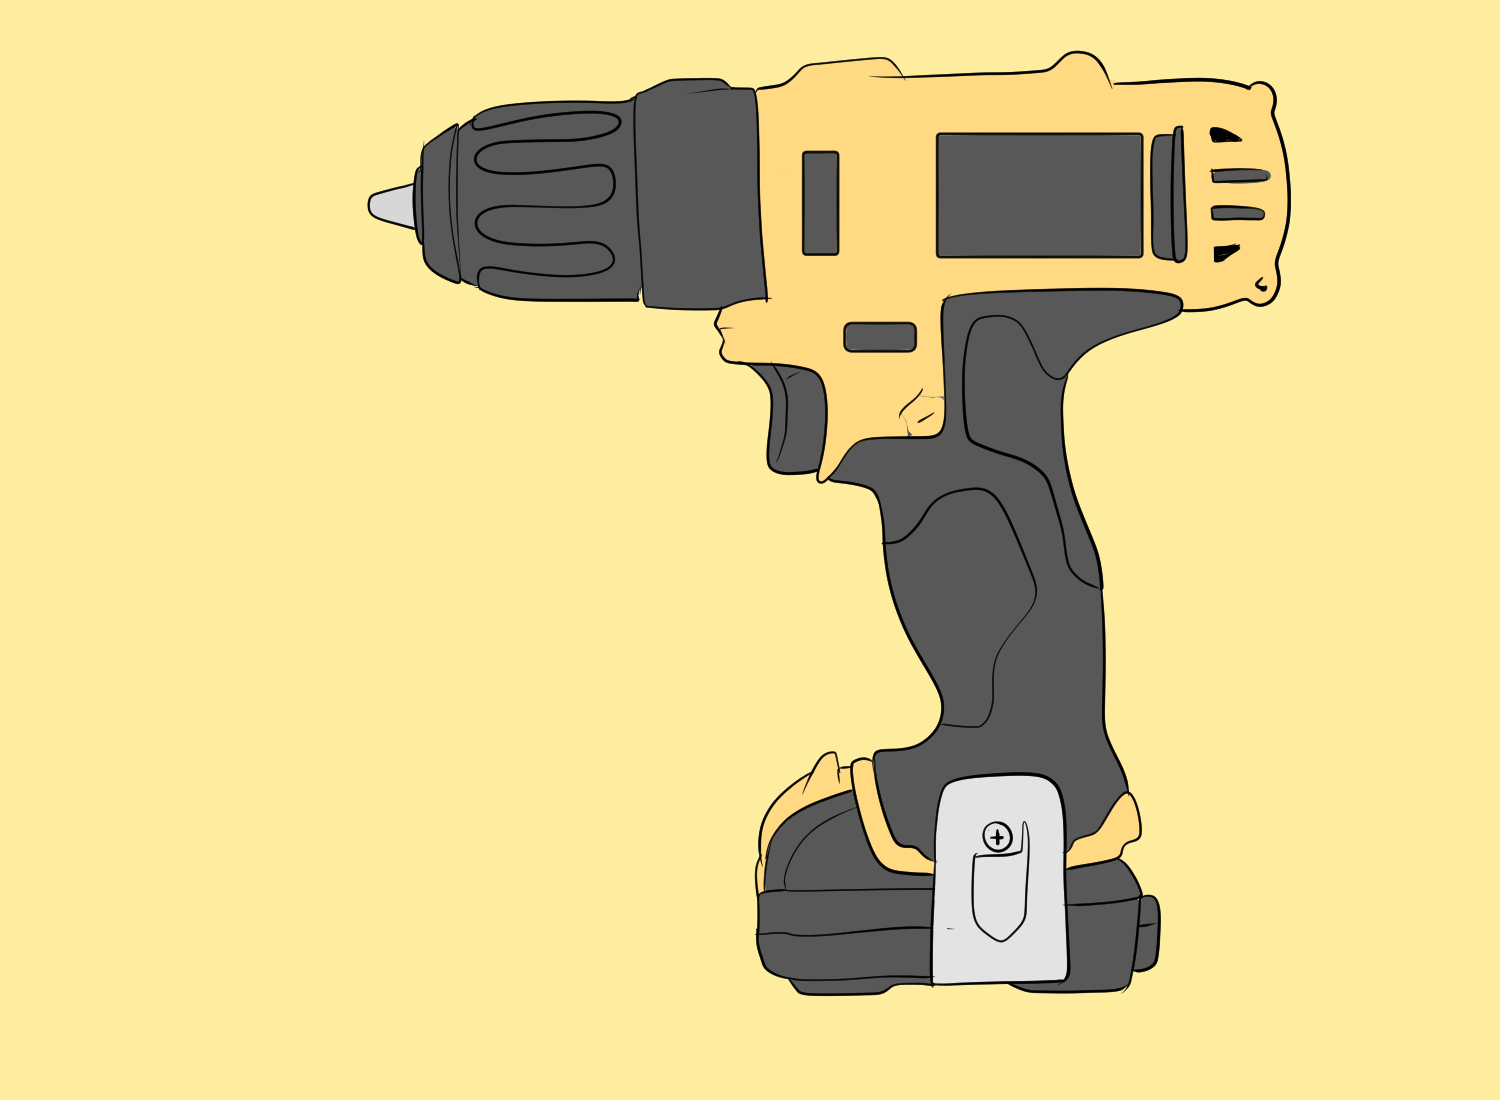
A drill is used to make holes in the drywall. It is also used to drive drywall screws into the wall.
Drywall saw
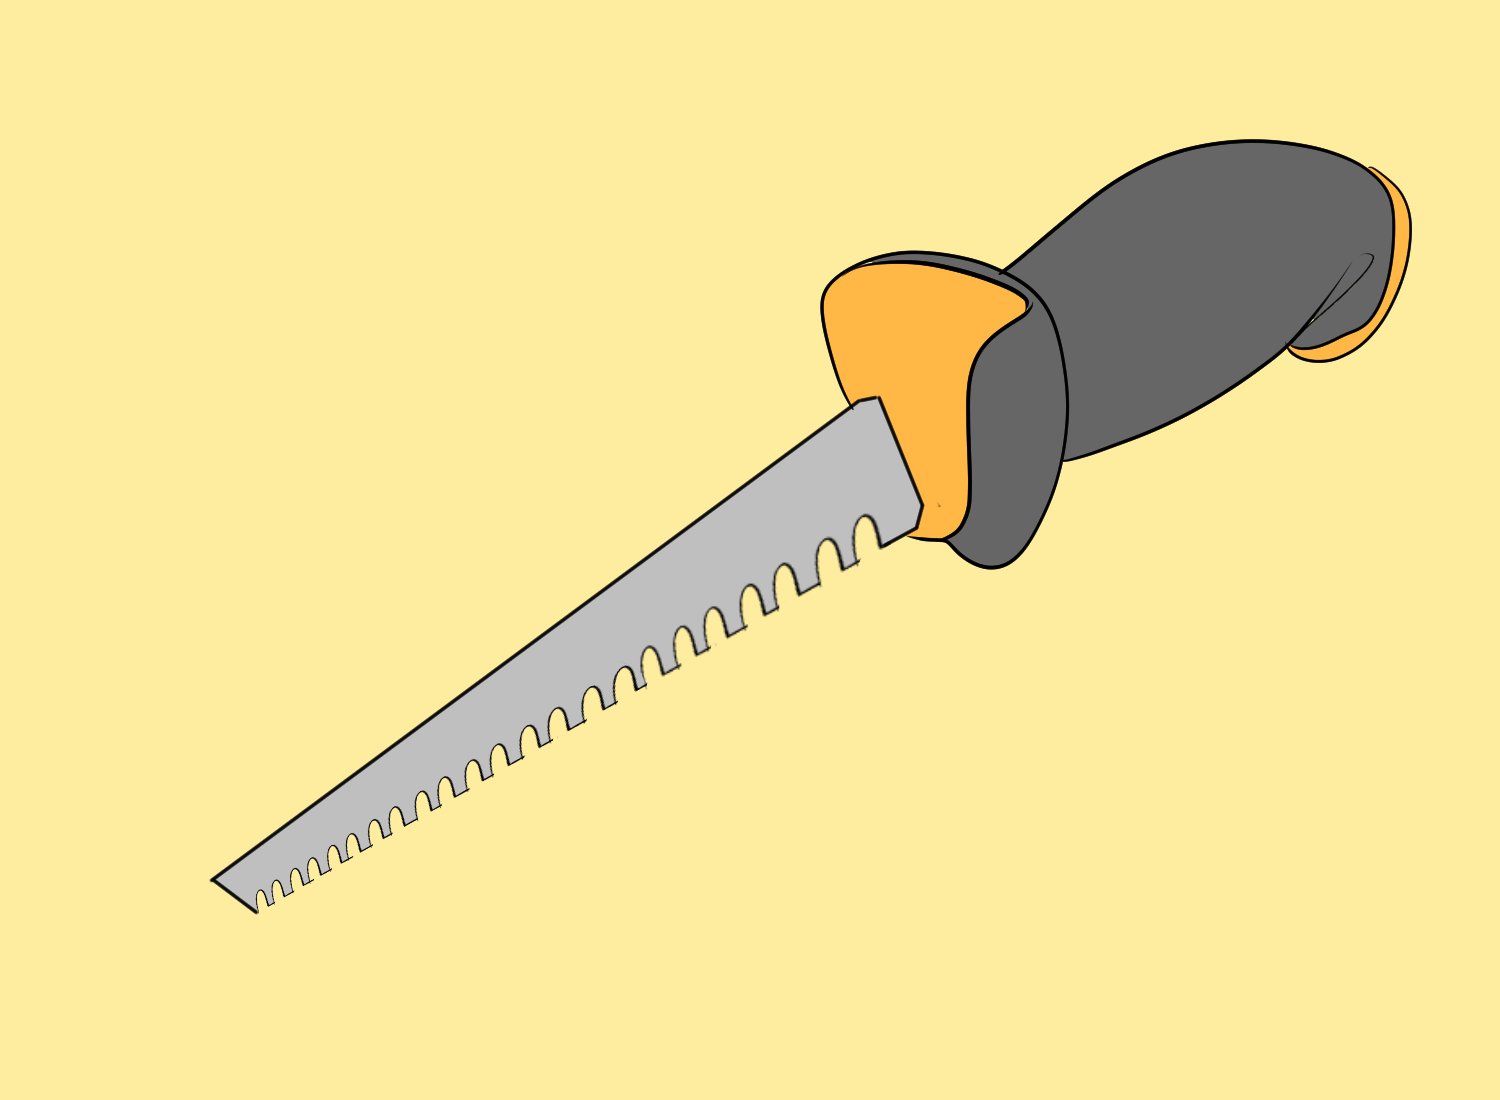
A drywall saw is used to cut holes in the drywall. It is a small, handheld saw with a pointed blade.
Drywall screws
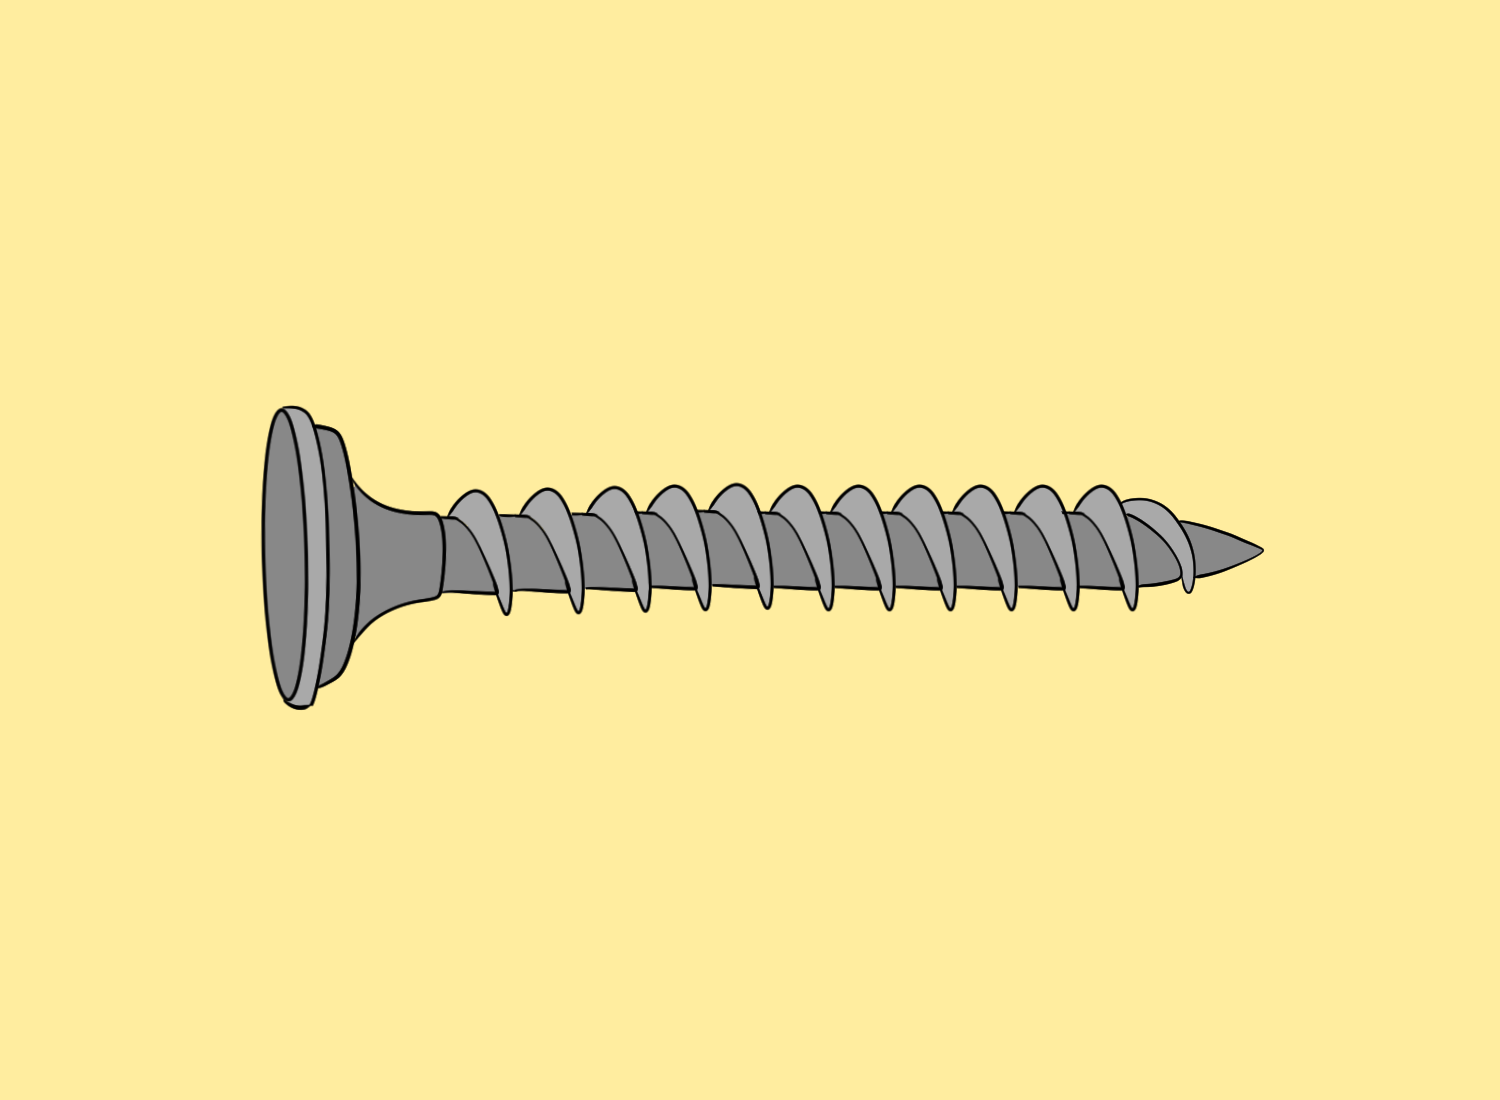
Drywall screws are used to attach the drywall to the wall studs. They are also used to attach drywall patches to the wall.
Glue
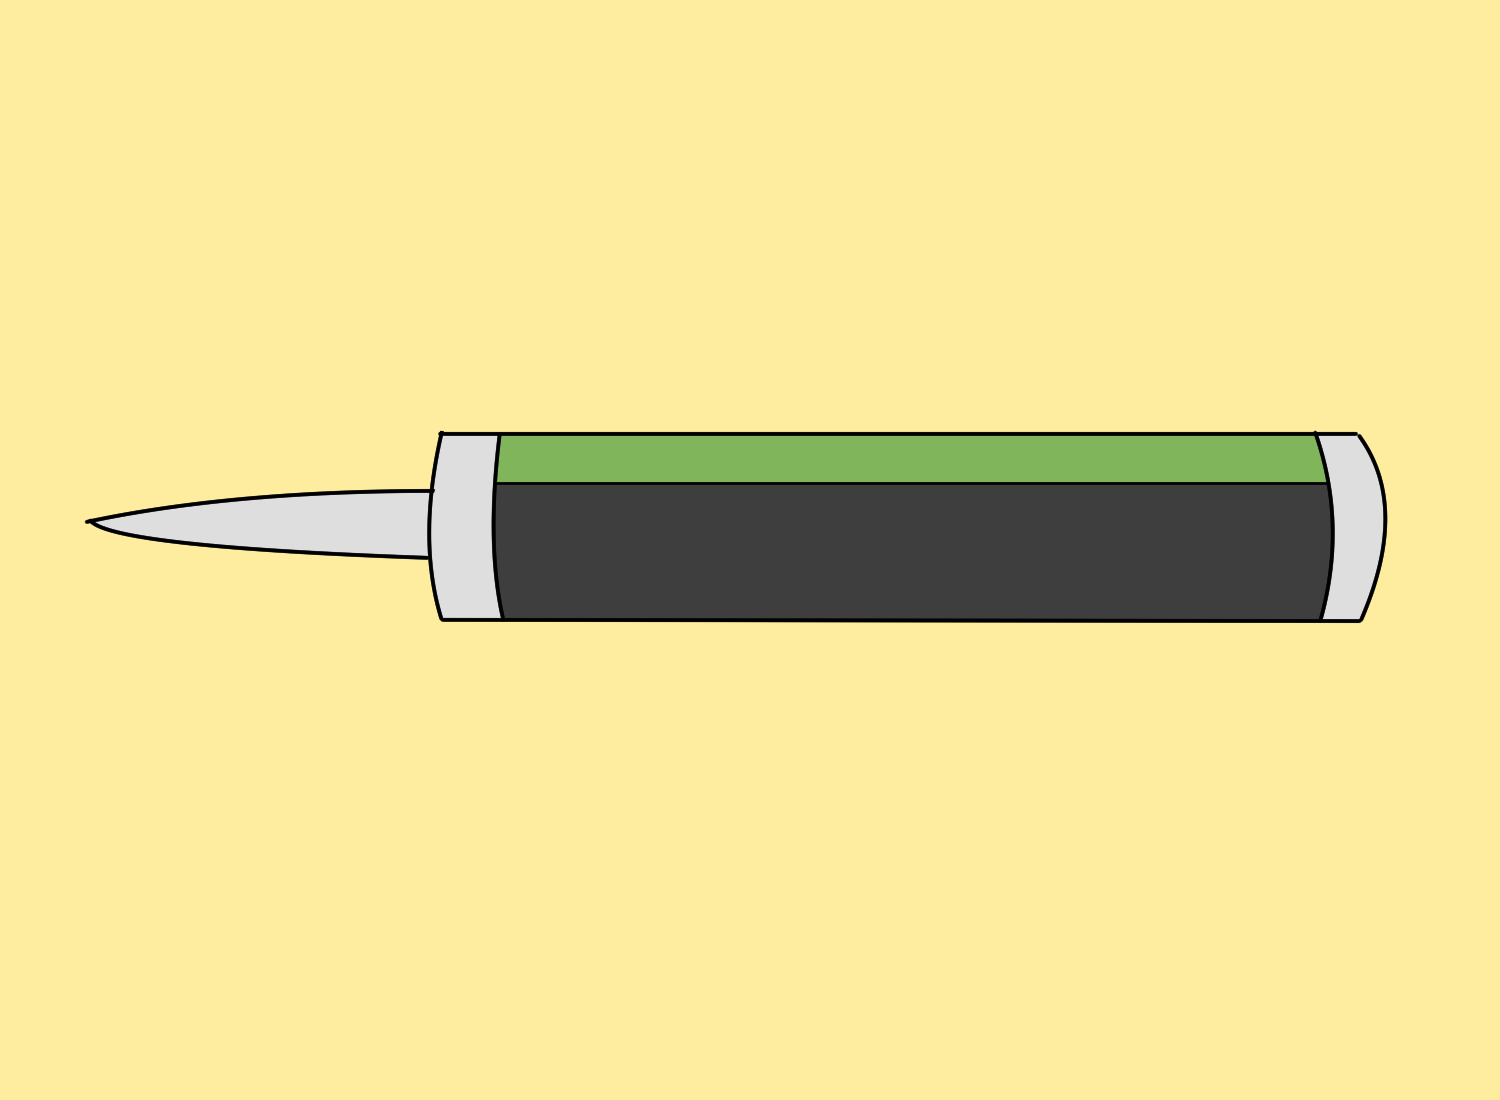
Glue is used to attach drywall patches to the wall. It is also used to attach drywall corner beads to the wall.
Painter's tape
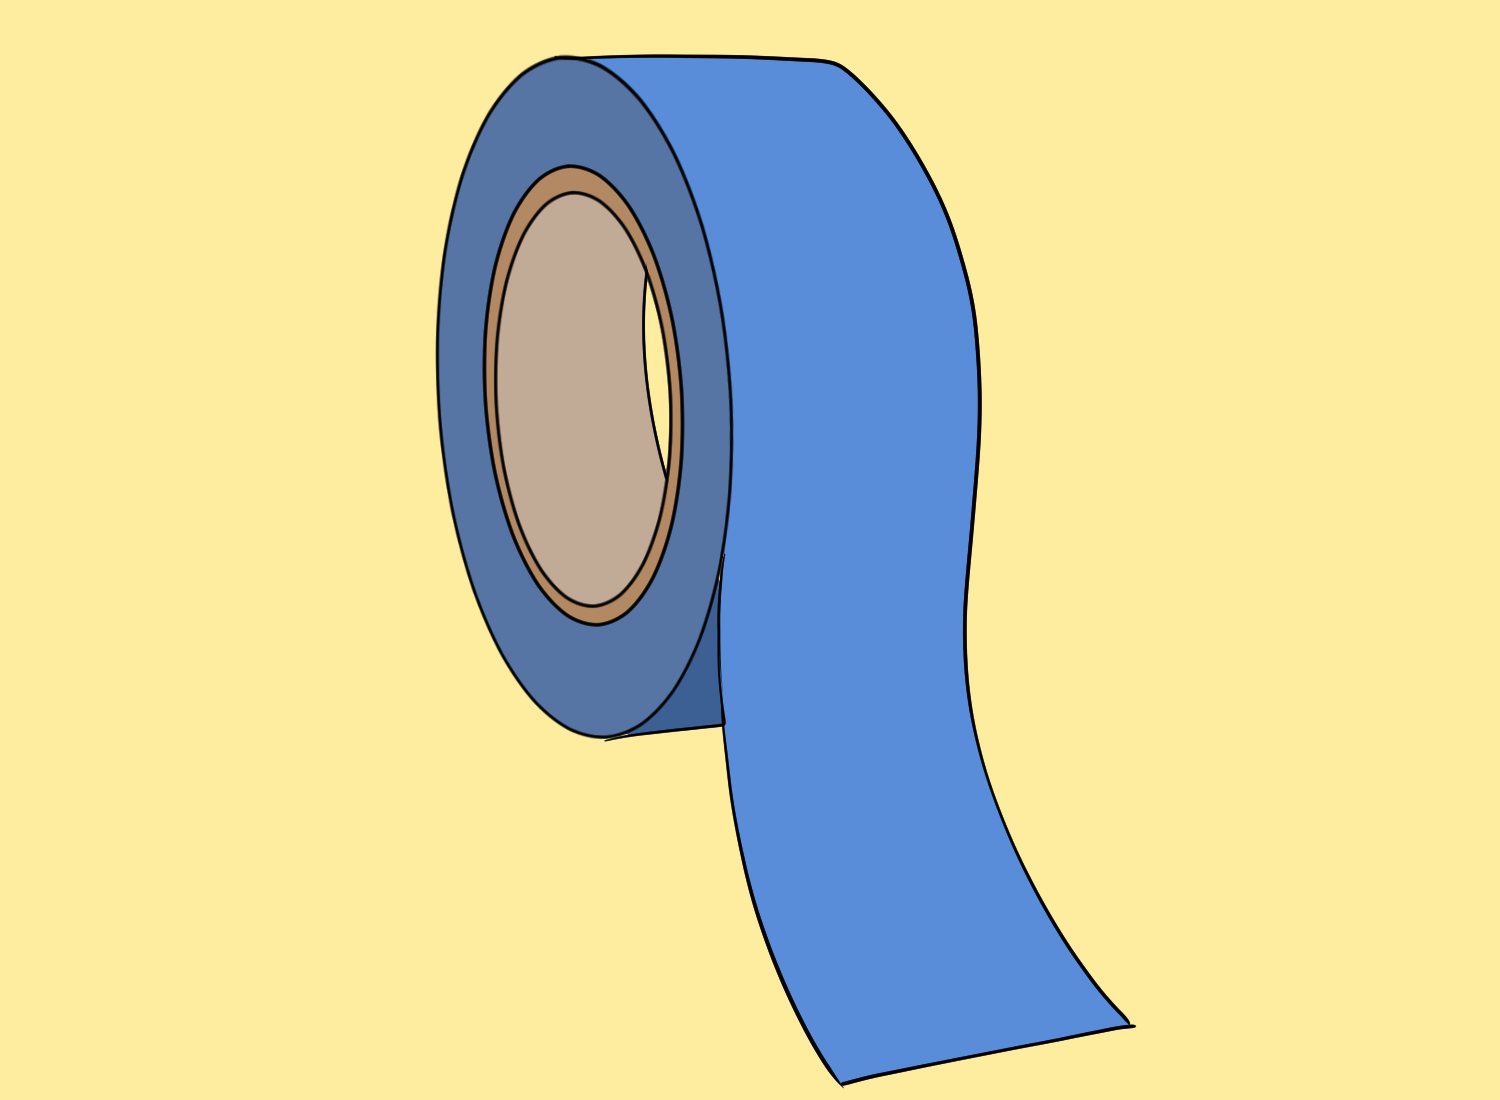
Painter’s tape is used to protect areas of the wall that you do not want to spackle. It is also used to create clean, straight lines when painting.
In conclusion, the tools required for spackling drywall are relatively simple and easy to use. With the right tools and a little bit of practice, anyone can achieve a smooth and professional-looking finish.
Preparation before spackling
Before spackling drywall, it’s important to ensure that the surface is properly prepared. This will help to ensure that the spackle adheres properly and that the finished surface looks smooth and even.
Step 1
The first step in preparing the surface is to remove any loose or flaking material. This can be done by using a scraper or sandpaper. Care should be taken not to damage the drywall surface while doing this.
Step 2
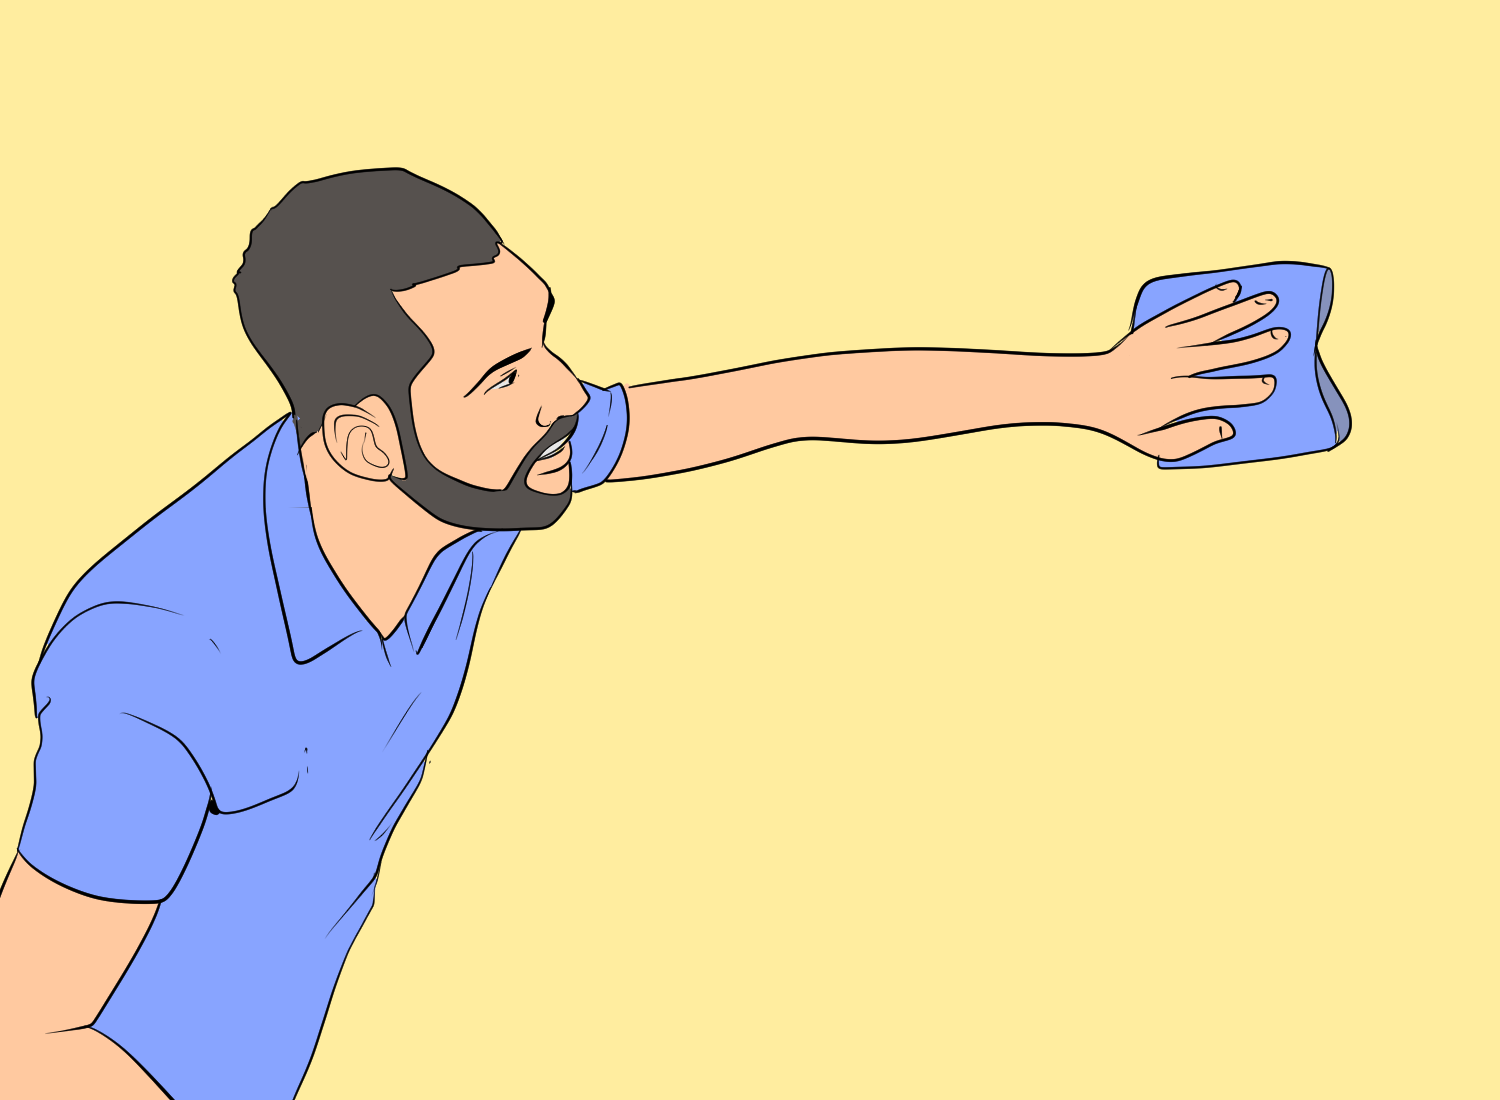
Next, the surface should be cleaned to remove any dust or debris. This can be done by using a damp sponge or cloth. It’s important to ensure that the surface is completely dry before proceeding to the next step.
Step 3
If the surface has any stains or discoloration, it may be necessary to prime the surface before spackling. This will help to ensure that the finished surface looks even and uniform. A primer can be applied using a brush or roller, following the manufacturer’s instructions.
Once the primer has dried, the surface is ready to be spackled. It’s important to choose the right type of spackle for the job. For small holes or cracks, a lightweight spackle can be used. For larger holes or damaged areas, a heavier spackle may be necessary.
How to spackle small holes
Spackling small holes in drywall is a quick and easy DIY project that can give your walls a smooth and polished look. Whether you are repairing nail holes, screw holes, or other small imperfections, spackling is a simple process that requires only a few tools and materials.
Tools needed
To spackle small holes you will need a spackle, a putty knife, sandpaper, and a clean cloth. If you are repairing nail or screw holes, make sure to remove any loose debris or old spackle from the hole before proceeding.
Steps to spackle small holes
Step 1
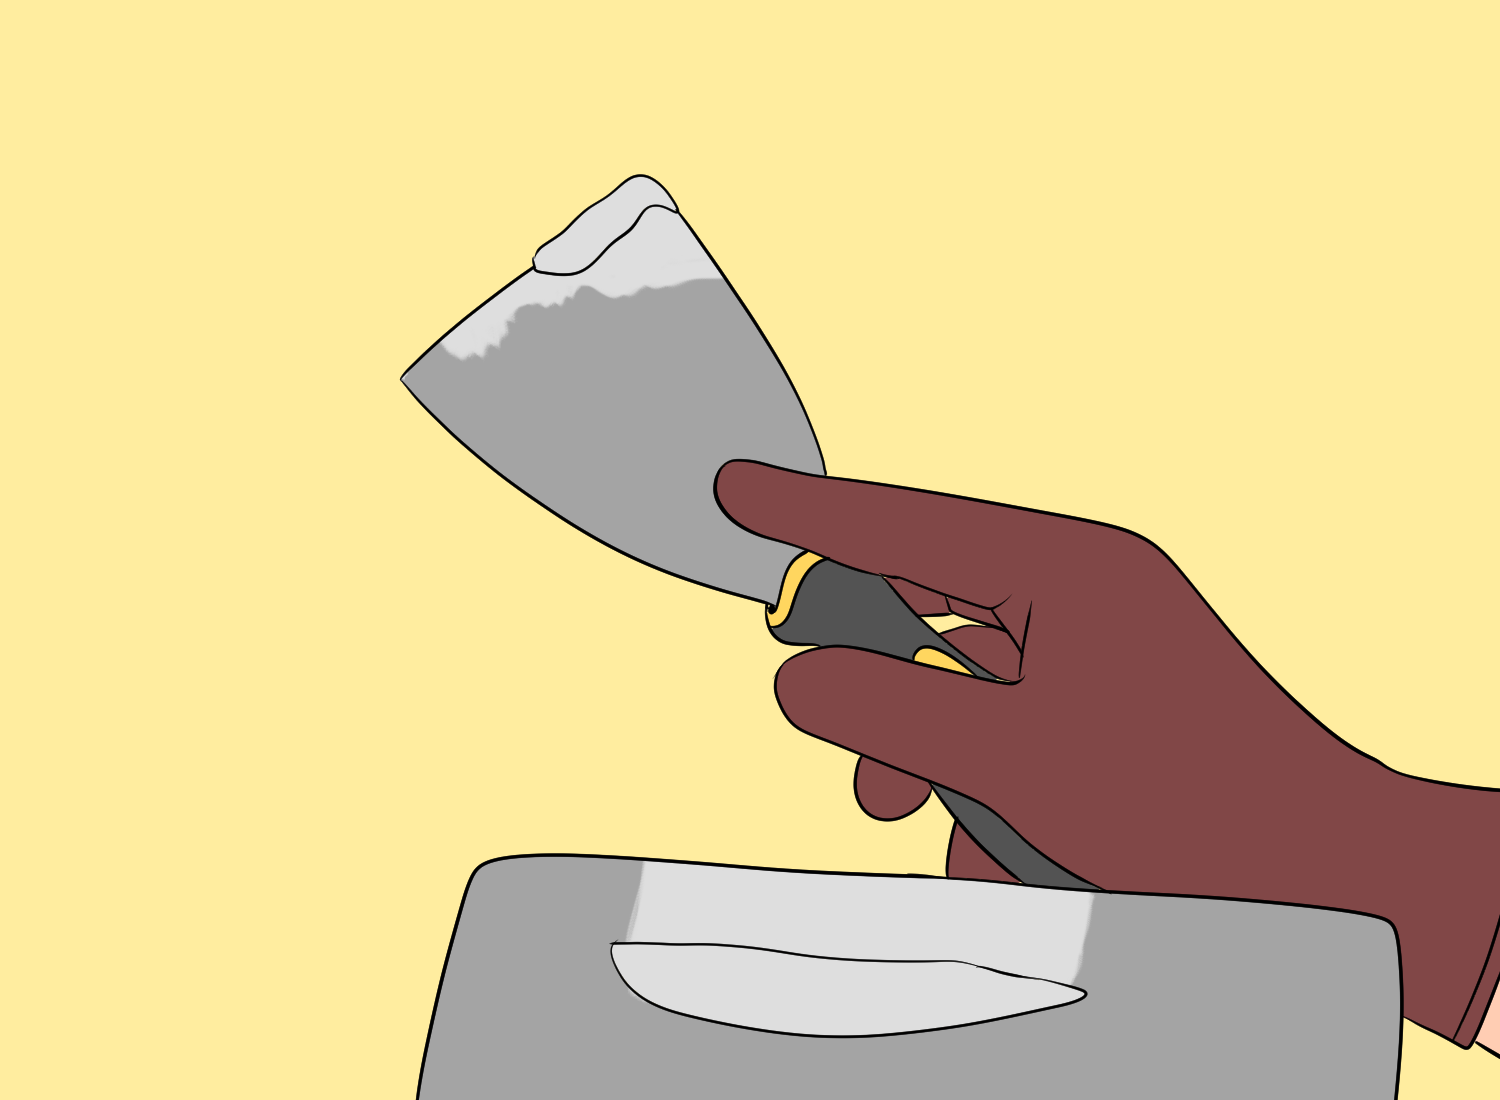
Fill the hole with a spackle using a putty knife. For small holes, a lightweight spackle is usually sufficient. Apply the spackle in a thin layer, making sure to fill the hole. If necessary, apply a second coat of spackle after the first coat has dried.
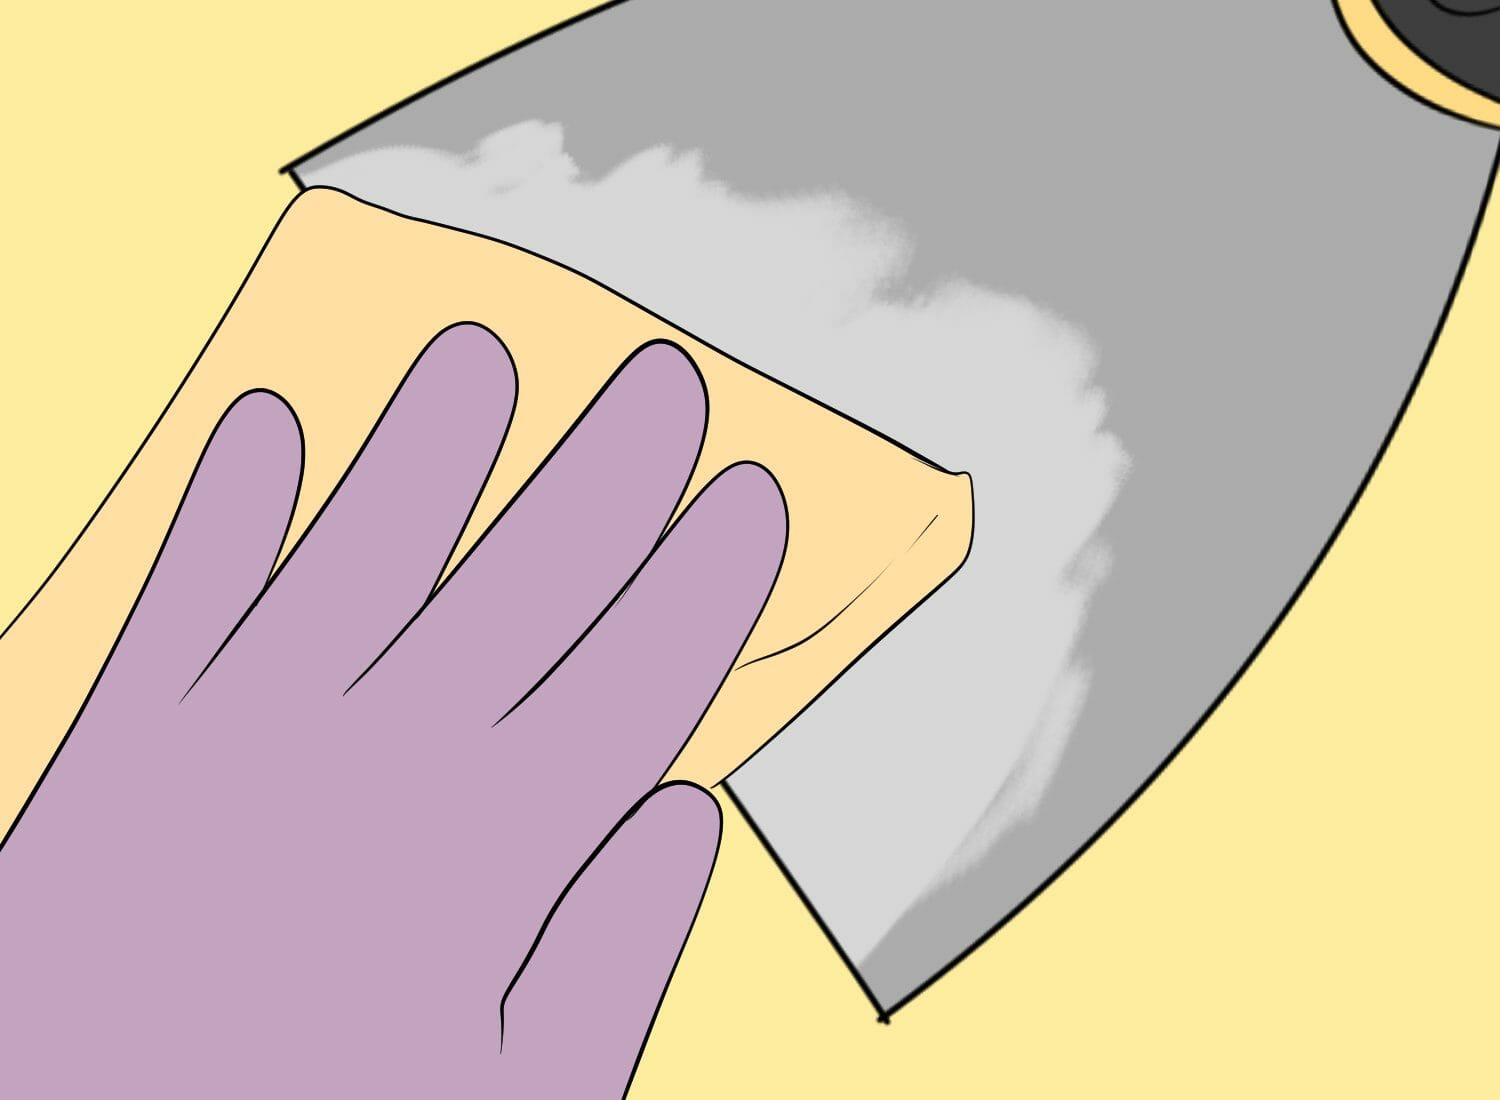
Step 2

Once the spackle has dried, use sandpaper to smooth the surface of the spackle. Sand the spackle in a circular motion, feathering the edges of the spackle to blend it into the surrounding wall. Be careful not to sand too aggressively, as this can damage the drywall.
Step 3
Finally, wipe the surface of the spackle with a clean cloth to remove any dust or debris. If necessary, repaint the area to match the surrounding wall.
How to spackle larger holes
When it comes to spackling larger holes in drywall, a different approach is required than with smaller holes. The key is to use a drywall patch that is larger than the hole so that it can be secured to the surrounding drywall with screws or nails. Here are the steps to follow:
1.Cut the drywall patch to fit the hole’s size, ensuring it is at least an inch larger on all sides.
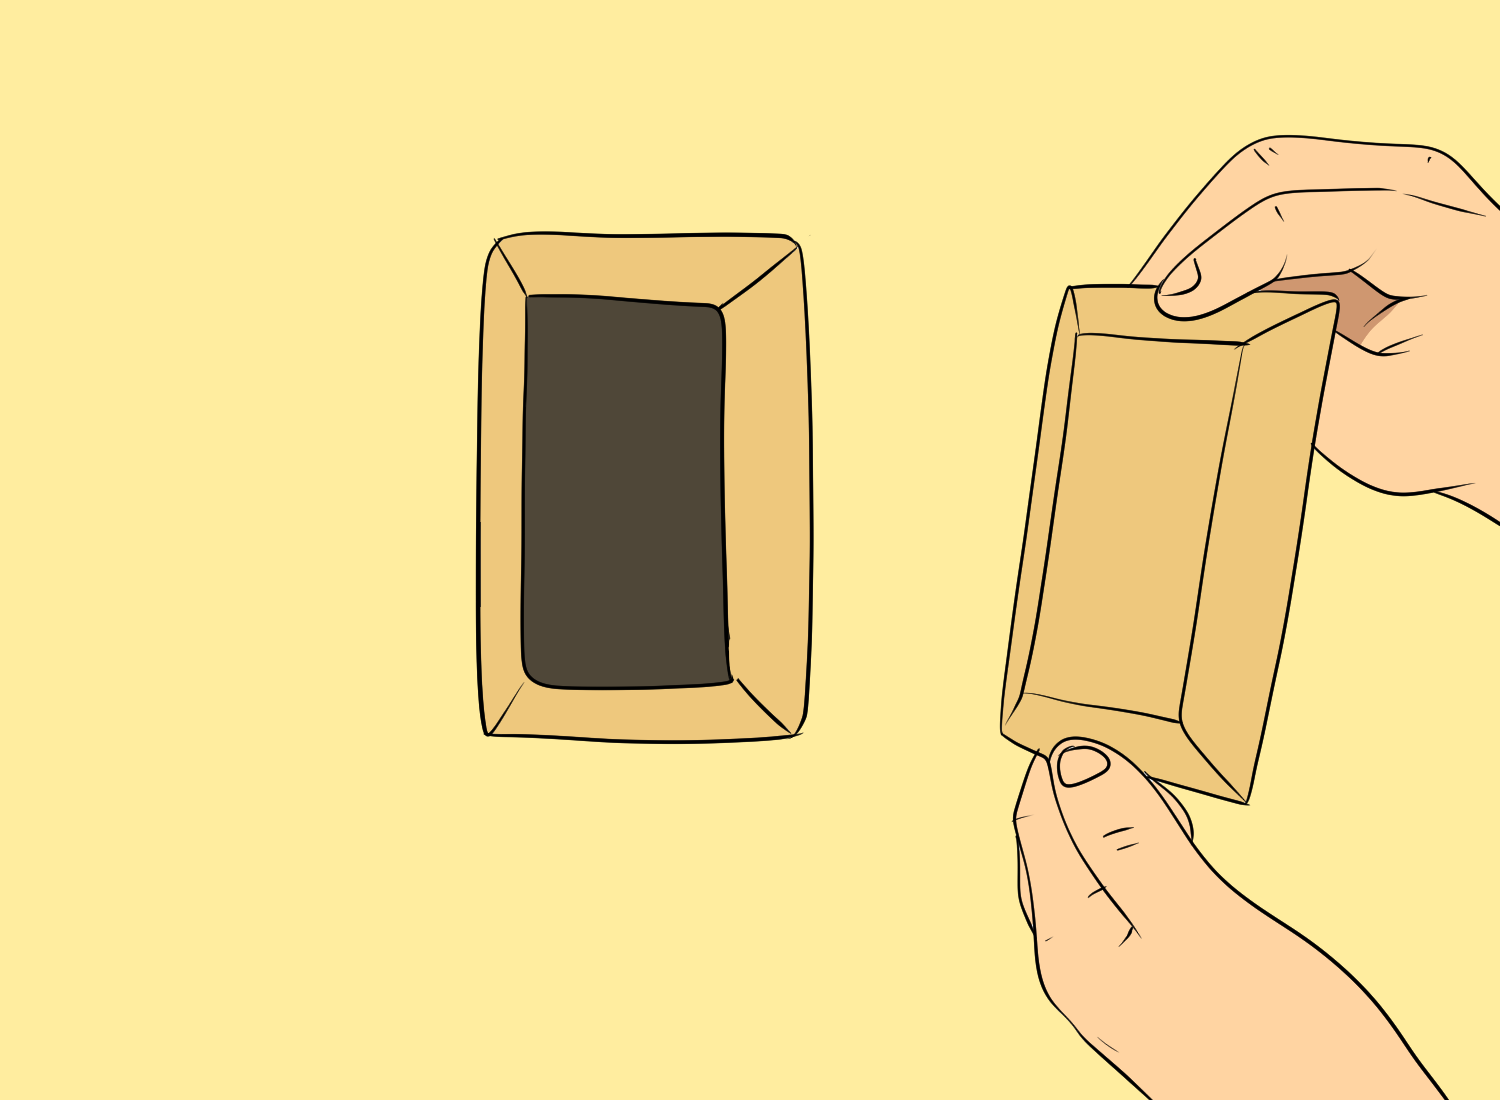
2.Place the patch over the hole and secure it to the surrounding drywall with screws or nails. Make sure the patch is flush with the wall.
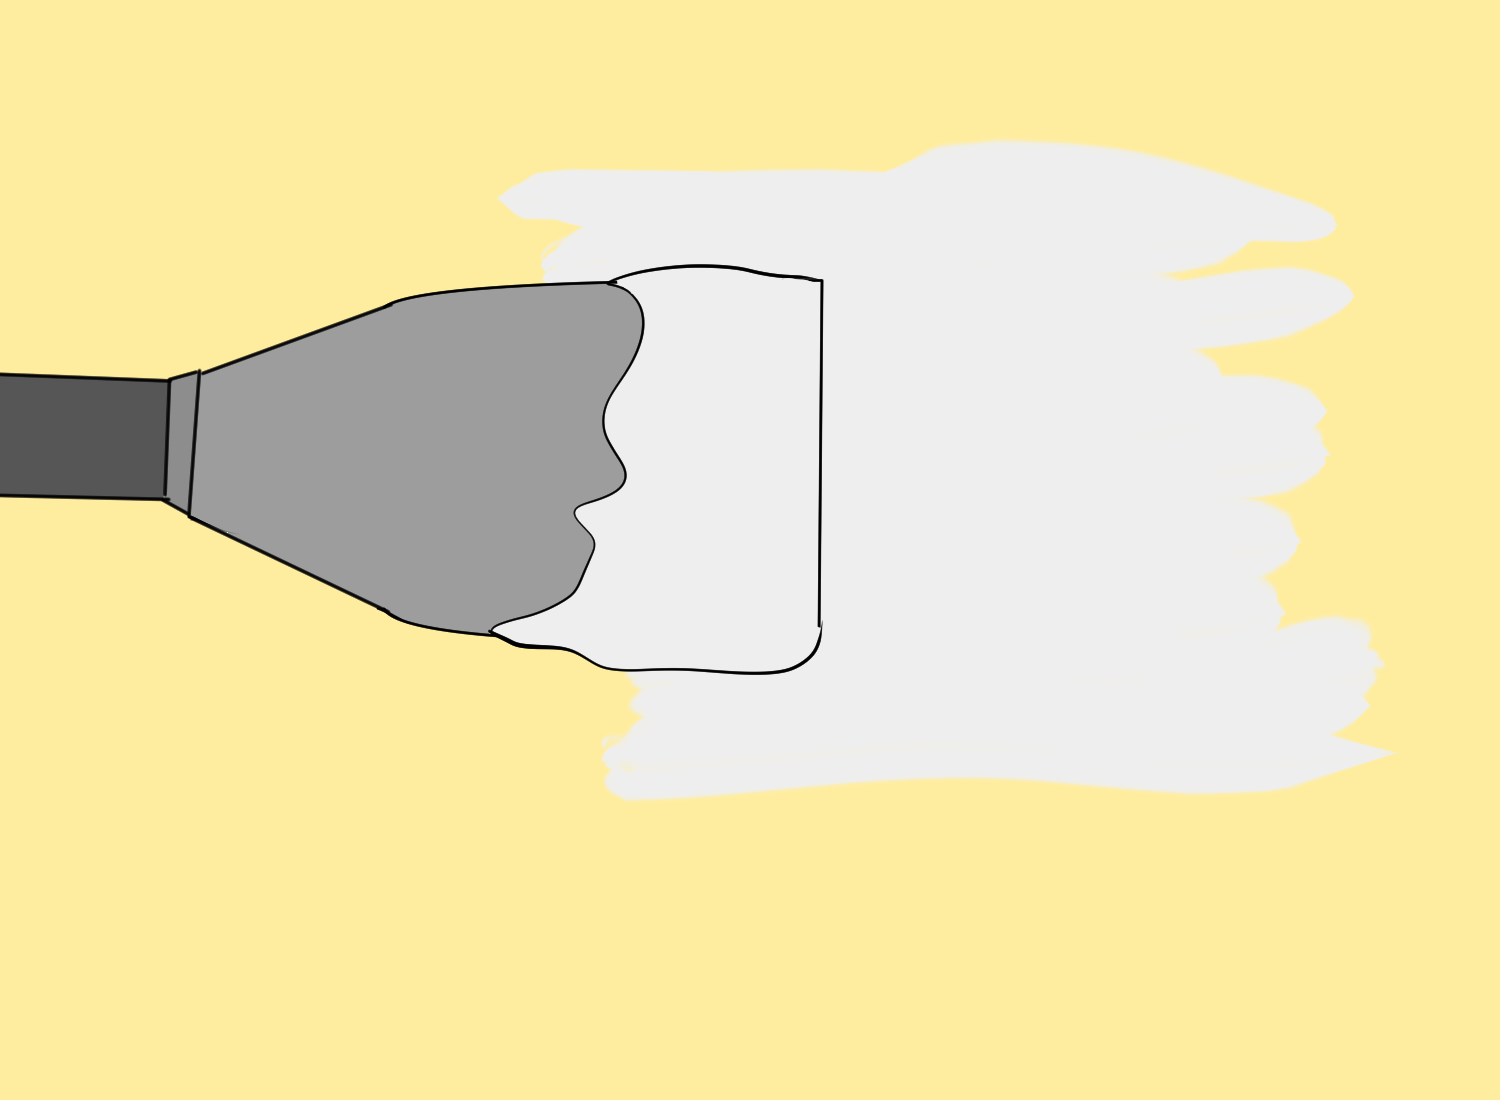
3.Apply a coat of spackle over the patch, using a putty knife. Start by filling in the center of the patch and then work your way outwards, using a feathering motion to blend the spackle into the surrounding wall.
4.Allow the spackle to dry completely, then sand it smooth with fine-grit sandpaper.
5.Apply a second coat of spackle, if necessary, and repeat the sanding process once it has dried.
Types of drywall patches
There are a few different types of drywall patches that can be used for larger holes.
- Vinyl patches are easy to use and can be cut to size with scissors.
- Mesh patches are also a good option, as they provide a strong backing for the spackle.
- Self-adhesive mesh patches are even easier to use, as they stick to the wall without the need for screws or nails.
When patching holes in drywall, it is important to take your time and work carefully. Applying too much spackle at once can lead to cracking, so it is better to apply several thin coats rather than one thick one. With a little patience and practice, anyone can learn how to patch drywall like a pro.
Post-spackling process
After the spackling compound has dried, it is time to move on to the post-spackling process. This process involves blending, sanding, priming, and painting the spackled area to achieve a smooth and seamless finish.
Blending
The blending is the process of feathering out the edges of the spackled area to blend it seamlessly with the surrounding wall. This can be done with sandpaper or a sanding sponge. Start with a coarse-grit sandpaper or sanding sponge and gradually move to a finer grit sandpaper to achieve a smooth finish.
Sanding
This is an important step in achieving a smooth and even surface. Use a fine-grit sandpaper or a sanding sponge to smooth out any bumps or ridges left by the spackling compound. Be sure to sand in a circular motion and avoid applying too much pressure, which can damage the drywall.
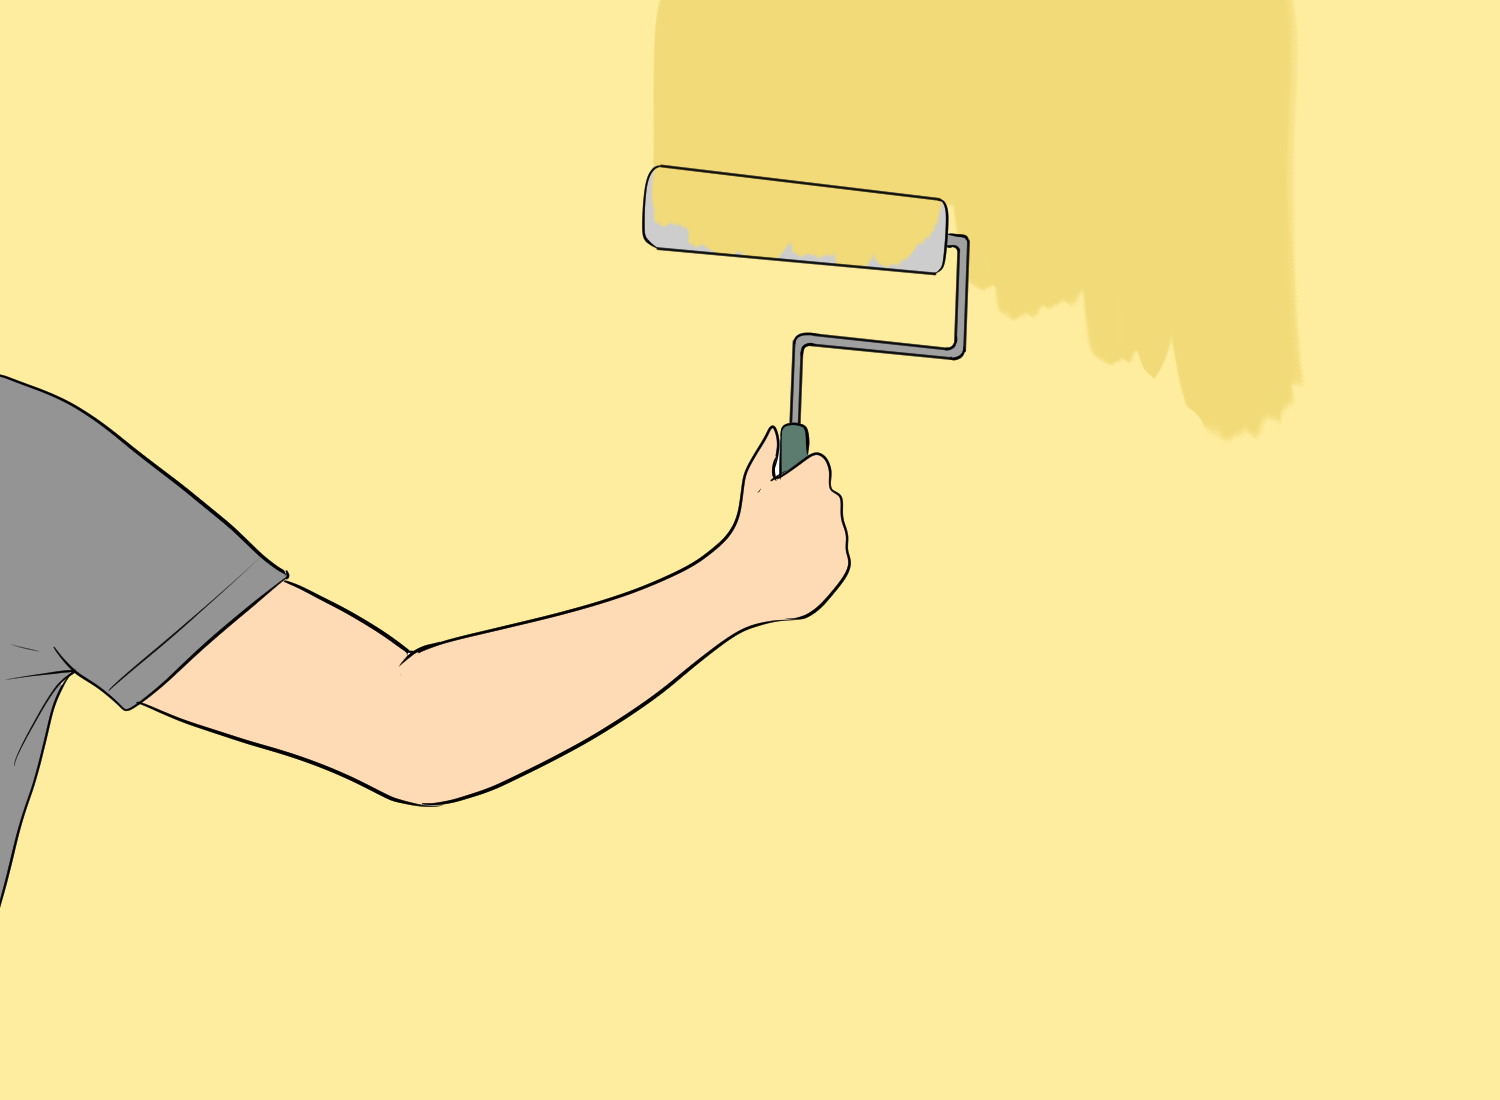
Priming
A priming is necessary to ensure that the spackled area is properly sealed and ready for painting. Apply a coat of primer to the spackled area using a paint brush or roller. Be sure to follow the manufacturer’s instructions for drying time.
Painting
After the primer has dried, it is time to paint the spackled area. Use the same paint color and finish as the surrounding wall to ensure a seamless finish. If necessary, repaint the entire wall to ensure a consistent color and finish.
Touch up
After painting, inspect the spackled area for any imperfections or paint chips. Use a small brush to touch up any areas that need it. Allow the touch-up paint to dry completely before inspecting again.
By following these post-spackling steps, anyone can achieve a smooth and seamless finish on their drywall.
FAQ's
Drywall repair can be done using a variety of materials, including spackle, joint compound, and drywall tape. Spackle is best for small holes and cracks, while joint compound is better for larger repairs. Drywall tape is used to reinforce joints and prevent cracking. It is recommended to use high-quality materials for best results.
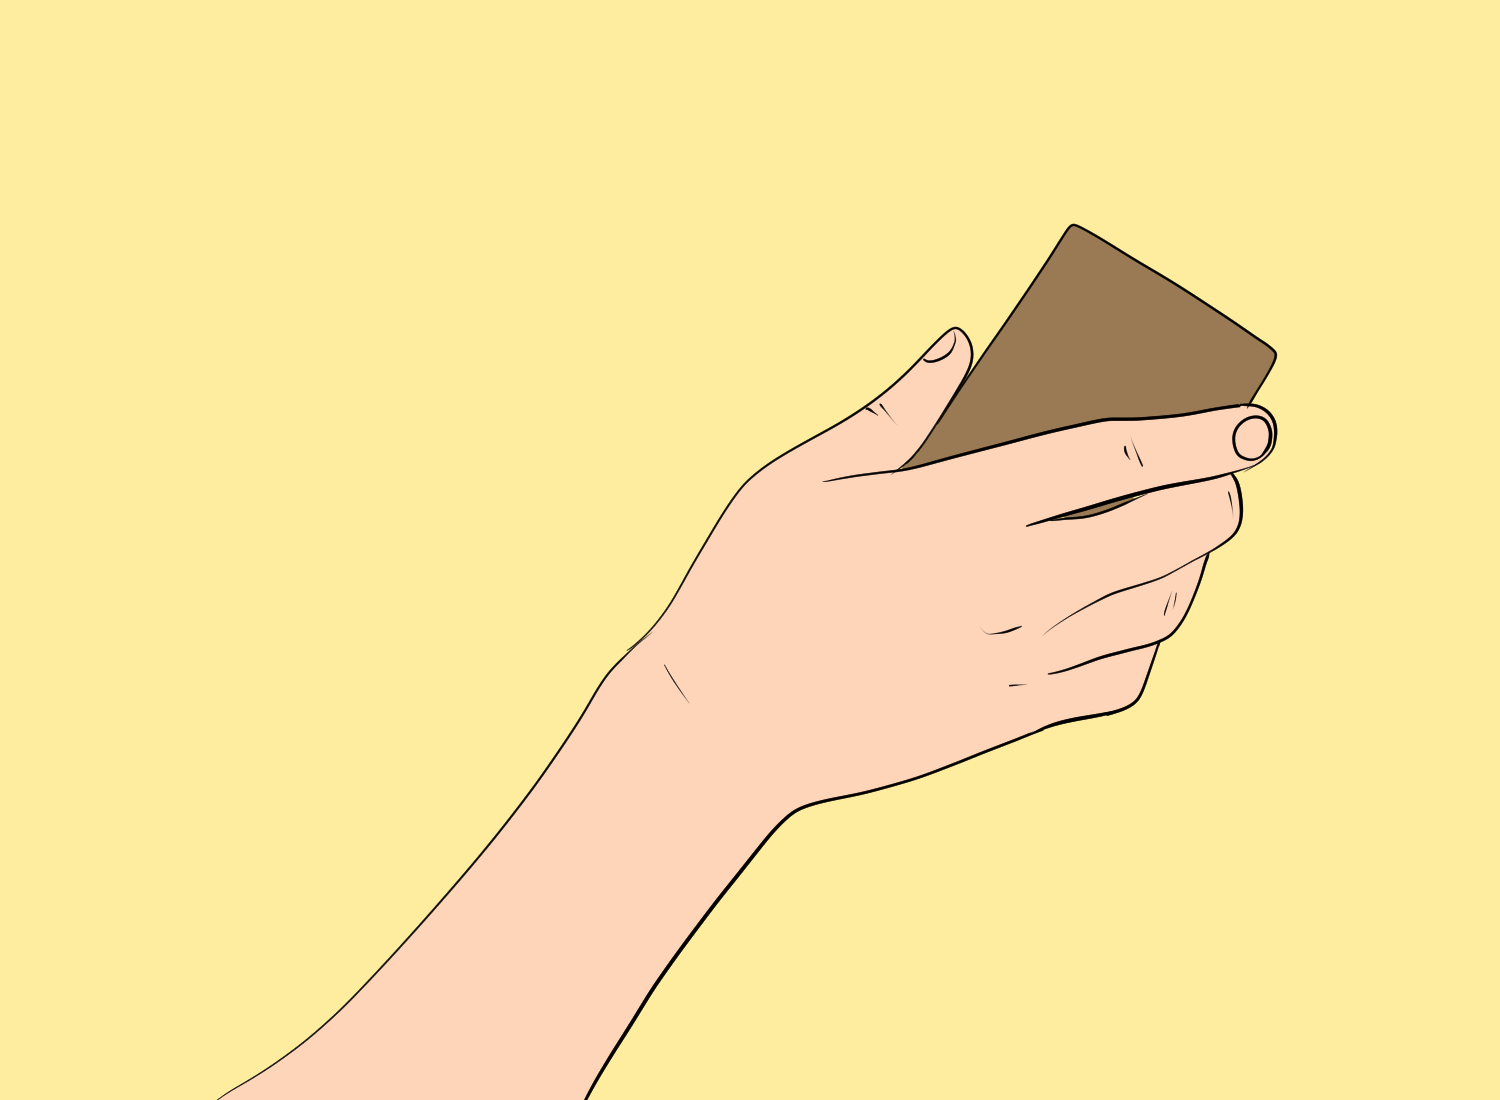
While a putty knife is the most common tool used to apply spackle, there are other options. One alternative is to use a small paintbrush to apply the spackle. Another option is to use a plastic spoon or credit card to spread the spackle. However, a putty knife is still the most effective tool for applying spackle.
Spackle is a lightweight, premixed compound used for small repairs and filling holes. A joint compound is a heavier, powdered substance that is mixed with water and used for larger repairs and finishing joints. Spackle dries faster than joint compound and is easier to sand.
Spackle is used to fill small holes and cracks in drywall, plaster, and wood. It can also be used to cover nail holes and other blemishes in walls. Spackle is easy to use and dries quickly, making it a popular choice for DIY projects.
Yes, it is recommended to sand in between spackle coats to ensure a smooth finish. Use a fine-grit sandpaper to lightly sand the surface after each coat has dried. This will help remove any bumps or ridges and create a smooth surface for the next coat.