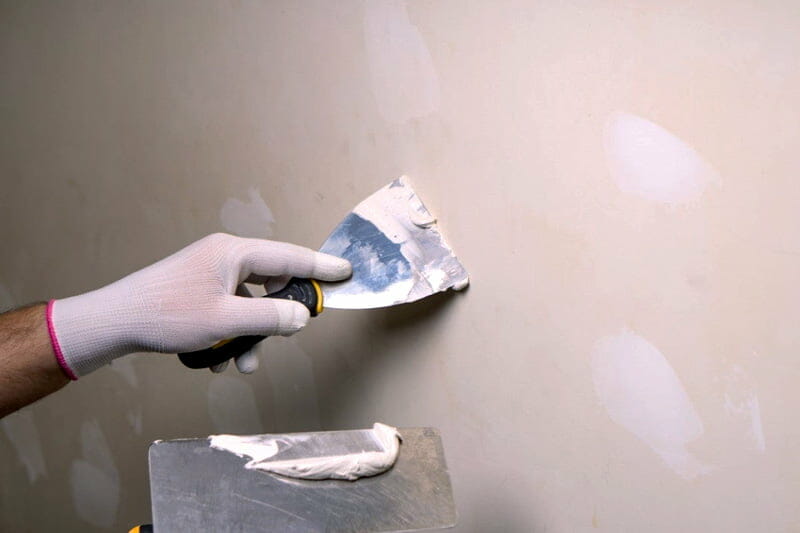
Skim coating is a costly and demanding task. However, when completed, it can rejuvenate a home and enhance its appearance, in addition to strengthening its structural integrity.
Compared to other ways of finishing drywall, skim coating is the most expensive. Spending hundreds or even thousands of dollars is normal for skim coating projects. If the walls are not very smooth or even to begin with, it will take more time, materials and will cost more.
Skim coating can be a DIY project if you want to save a few hundred bucks. However, it could get tricky and messy, so getting a contractor can be the smarter choice if you want to make sure to have good results.
What we cover
ToggleCost of Skim Coat
In terms of per square foot, the average skim coat cost would be between $1.10 to $1.30 per layer. Usually, skim coat jobs would need at least a minimum of 2 layers for optimum coat health. This would double the cost into $2 to $3 per square foot.
Depending on the quality of material and finish that you choose to have, the size of the walls or ceiling, the average cost will vary.
Here is a table showing the average cost of skim coat depending on the quality.
| Description | Average cost per square foot |
|---|---|
| Low-End Skim Coat | $0.90 per square foot |
| Average Skim Coat | $0.98 per square foot |
| High-End Skim Coat | $1.07 per square foot |
Skim coating cost by room size
The average cost to skim coat the walls of a room, assuming a 9-foot ceiling height, would be the following:
| Room Size | Average Cost |
|---|---|
| 9 x 11 | $396 - $468 |
| 11 x 12 | $455 - $538 |
| 12 x14 | $515 - $610 |
| 12 x18 | $594 - $702 |
| 16 x 20 | $713 - $842 |
| 20 x 28 | $950 - $1,123 |
| 22 x 28 | $990 - $1,170 |
Consequently, skim coating an entire home instead of small sections would be more beneficial since it would assure you that every surface in your home will have the same finish.
In the long term, it is smarter to skim coat an entire house instead of doing it in small sections at a time. However, if doing it in one blow is not warranted or if it doesn’t seem feasible, you can still opt for a skim coat in smaller sections.
Is it worth it to skim coat walls?
Skim coating is worthwhile because it ultimately improves the appearance and aesthetic appeal of drywall. Professionals and homeowners would agree and always seek out skim coating because it adds value to a home’s walls and ceiling.
Since the entire process includes removing and patching unwanted bumps and damages to clear out imperfections, this method can make dated walls appear brand-new and brighter.
Skim coating your home is an investment into the health of the drywall itself since it directly improves the longevity of the surface while making it more visually pleasing.
Is it cheaper to replace or skim coat damaged drywall?
Having a skim coat instead of removing and putting on brand-new drywall is more cost-effective. Going after an easier and more budget-friendly solution without forsaking quality is smarter than having to do a massive rework.
It’s not pleasant to deal with walls that have aged that look imbalanced, because it can make your home appear gloomy and lifeless. To make sure that your house has a fresh and consistent look, it’s important to have a quality skim coating.
Labor cost of skim coat
Skim coating walls and ceilings can be labor-intensive and would need a professional’s touch to have great results. The labor cost takes into account the time, the specificity of the finishes, the size, the materials, and the job conditions.
Normally, the labor cost is billed per hour and ranges between $50 to $100 per hour. For example, a 500-square foot area would take around 4.5 to 6.5 hours to finish, costing you at least $225 minimum.
If the target areas have initial damages, the hired contractor will also need to repair them before applying them. They will also be the ones who will source and mix the necessary compounds before the application.
National average labor cost of skim coat
For reference, below are the basic labor costs, and the national average per square foot and area:
| Description | Average cost |
|---|---|
| Basic Labor | $287 - $348 |
| National Average Cost | $492.34 |
| National Cost Range | $450.91 - $533.77 |
Basic Labor – Includes preparing the material, mixing of compounds, sanding and retexturing of wall imperfections, and professional application of the skim coat
- An average cost: $287 to $348
National Average Cost – Includes both labor cost and material cost (per 500-square foot)
- An average cost: $492.34
National Cost Range – Includes both labor cost and material cost (per 500-square foot)
- An average range of $450.91 to $533.77
When should I apply a skim coat?
Applying a skim coat to your home can cost a lot of money, time, and effort, so you should be able to know when such a process is necessary. Here is the most common situation when a skim coat is a necessary and worth-it decision:
Installation of new drywall
Skim coating brand-new drywall can assure a uniform surface that will be up for painting or priming. This should at least be done to a specific extent if you prefer your drywall to have a certain texture.
Making old surfaces look brand-new
Over time, walls can appear worn-out and outdated. Skim coating them is one the most efficient ways in restoring their look and making them appear fresher.
Repair or retexturing a drywall
If your walls have been recently repaired after unwanted damages or holes, an application of a skim coat is the best way to make it look better for paint or new texture.
Fixing imperfections from wallpaper
When removing old wallpaper on drywall, it is usual to leave damages such as tears and gouges on the drywall’s surface. Skim coating this damaged surface can hide these.
Process of skim coating a ceiling
Step 1. Prepping
The process of skim coating a ceiling starts by prepping the surface. If there is any apparent damage or holes, it should be patched by a joint compound before applying it with a primer. The compound will need to be smoothened and dried first, then a primer should be applied to it.
Step 2. Priming
A layer of primer will seal worn-out paper and will promote better adhesion to the skim coat. Doing so would also assure you that the skim coat layer will have a neat and decent finish.
Step 3. Application of skim coat
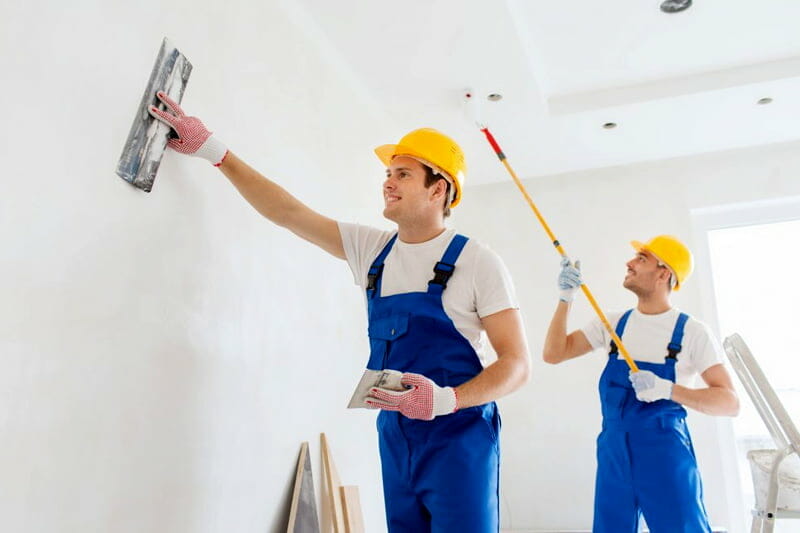
After the primer is dry, a skim coat is applied. Usually, the hired professional will work in small sections instead of the entire space at once. The thick consistency of the mud is slowly thinned out evenly across directions and smoothened out.
Step 4. Squeegee
With the help of a squeegee knife, the contractor will slowly smoothen the mud across to make sure that the surface is even. Once the joint compound is dry, the imperfections will be removed or sanded out after an inspection.
Step 5. Sanding
Most skim coating projects will require at least 2 layers of joint compound. When the first one has dried out, another is applied, which will cover the damage or the imperfections of the first layer. Once dry, it will be sanded out with sandpaper.
